
Filters can be a great way to get more out of your images, and reduce the amount of time you need to spend in post-processing software.
There are dozens of different filters on the market for your camera lens, and each one serves a different purpose and provides various visual effects.
As a photographer, it’s always good to have as many options as possible when you’re out on a photo shoot.
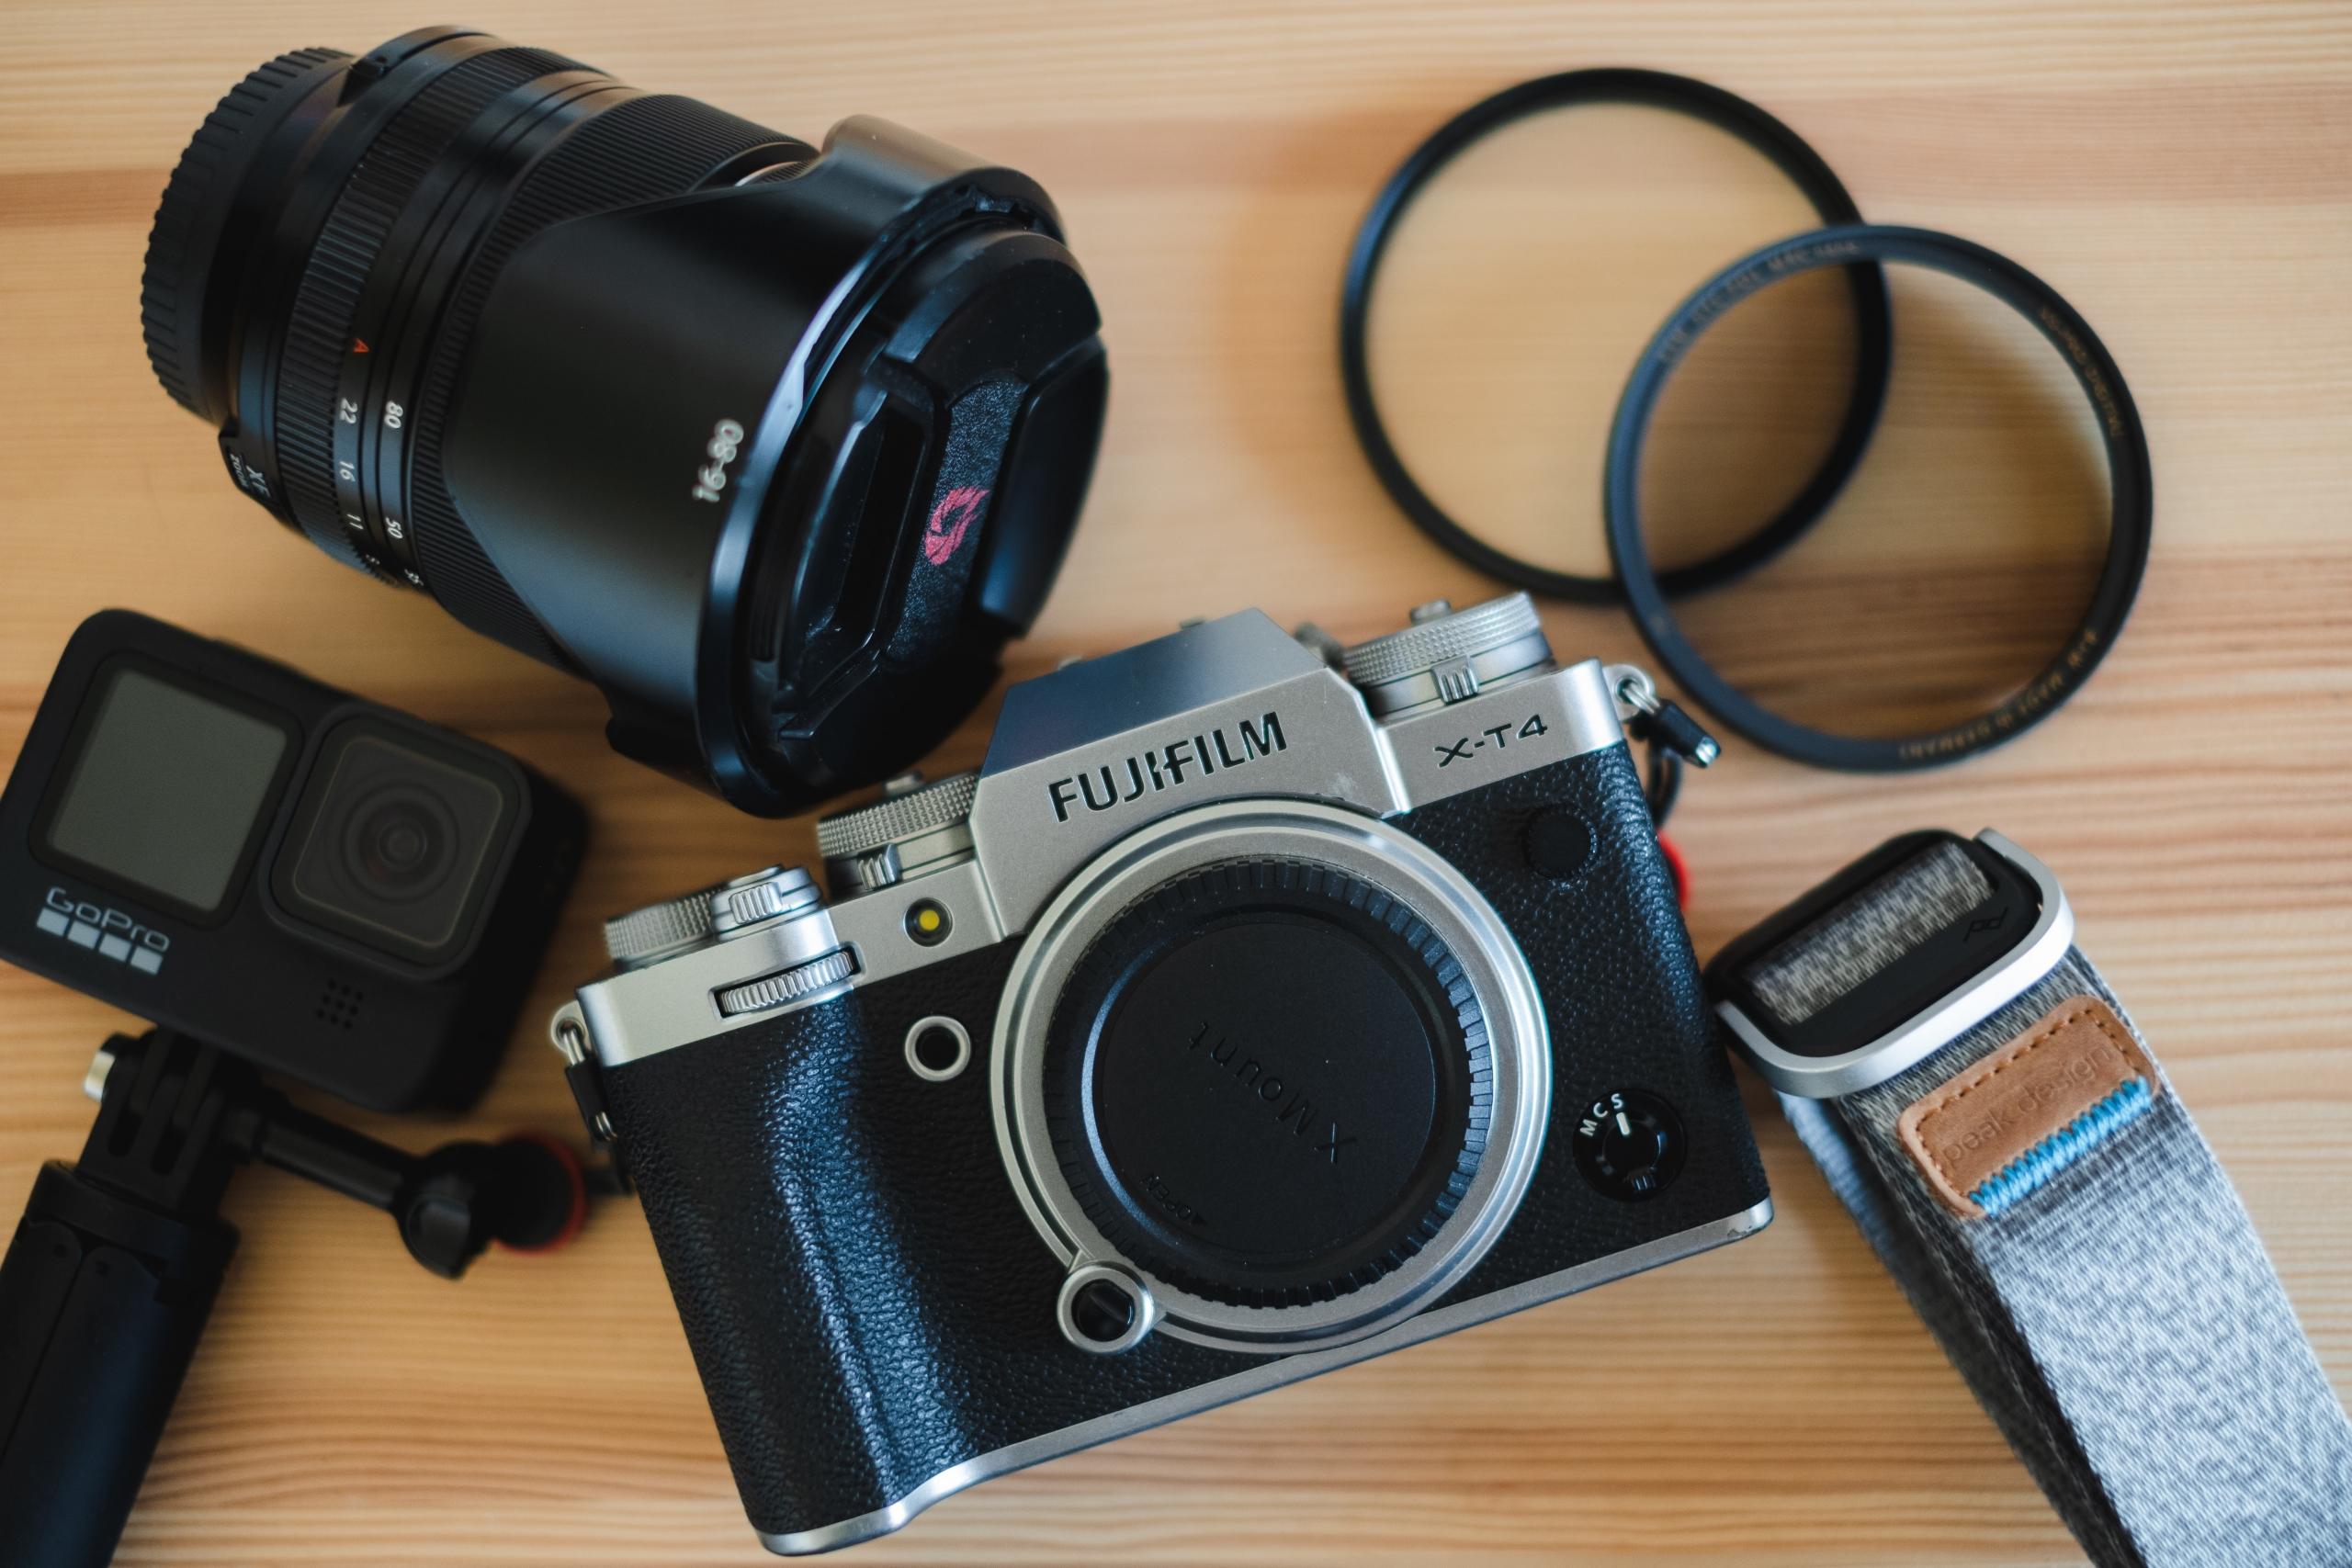
That usually translates to a variety of lenses, a tripod, a camera bag, and for many photographers, a filter or two.
In this guide, we’re going to zoom in on one particular type of filter to see if it could be worth your while: the diffusion filter.
You might already have an idea as to what this filter does, but nevertheless, we’re first going to provide an overview of the diffusion filter and then we’ll get into the specifics.


What is a Diffusion Filter?
A diffusion filter is a camera lens filter that is commonly used for portraits with human subjects, but can also be used in landscape photography.
One instance in which you might use a diffusion filter is for an interview video.
The function of a diffusion filter is to diffuse light, and create various effects as a result of this manipulation.
For example, with a diffusion filter you can merge flare with shadow, or play with the contrast between light and dark.
Many photographers talk about how diffusion filters can soften an image, and provide a general haze around certain features in an image that may put off a bright light.
Essentially, the diffusion filter achieve these various effects by spreading the light out, while not sacrificing the level of focus you have with your camera.
As such, you can get more detail in every shot.
For example, if you are shooting an interview, and you want to make sure that the interviewee’s facial features and hair are highlighted then a diffusion filter is a good option. By maintaining the sharp quality of an image throughout, every strand of hair will appear prominent providing a more dynamic shot.
Diffusion filters can also be used to create motifs in films or videos. For example, in moments when a character is in a flashback or has died and gone to heaven, you might see a diffusion light effect which shrouds their surroundings and makes their outline more prominent.
You can create a dreamlike quality with a diffusion filter, which can add character to your photos.
But how exactly do you use a diffusion filter and get the best out of it?
How to Use a Diffusion Filter
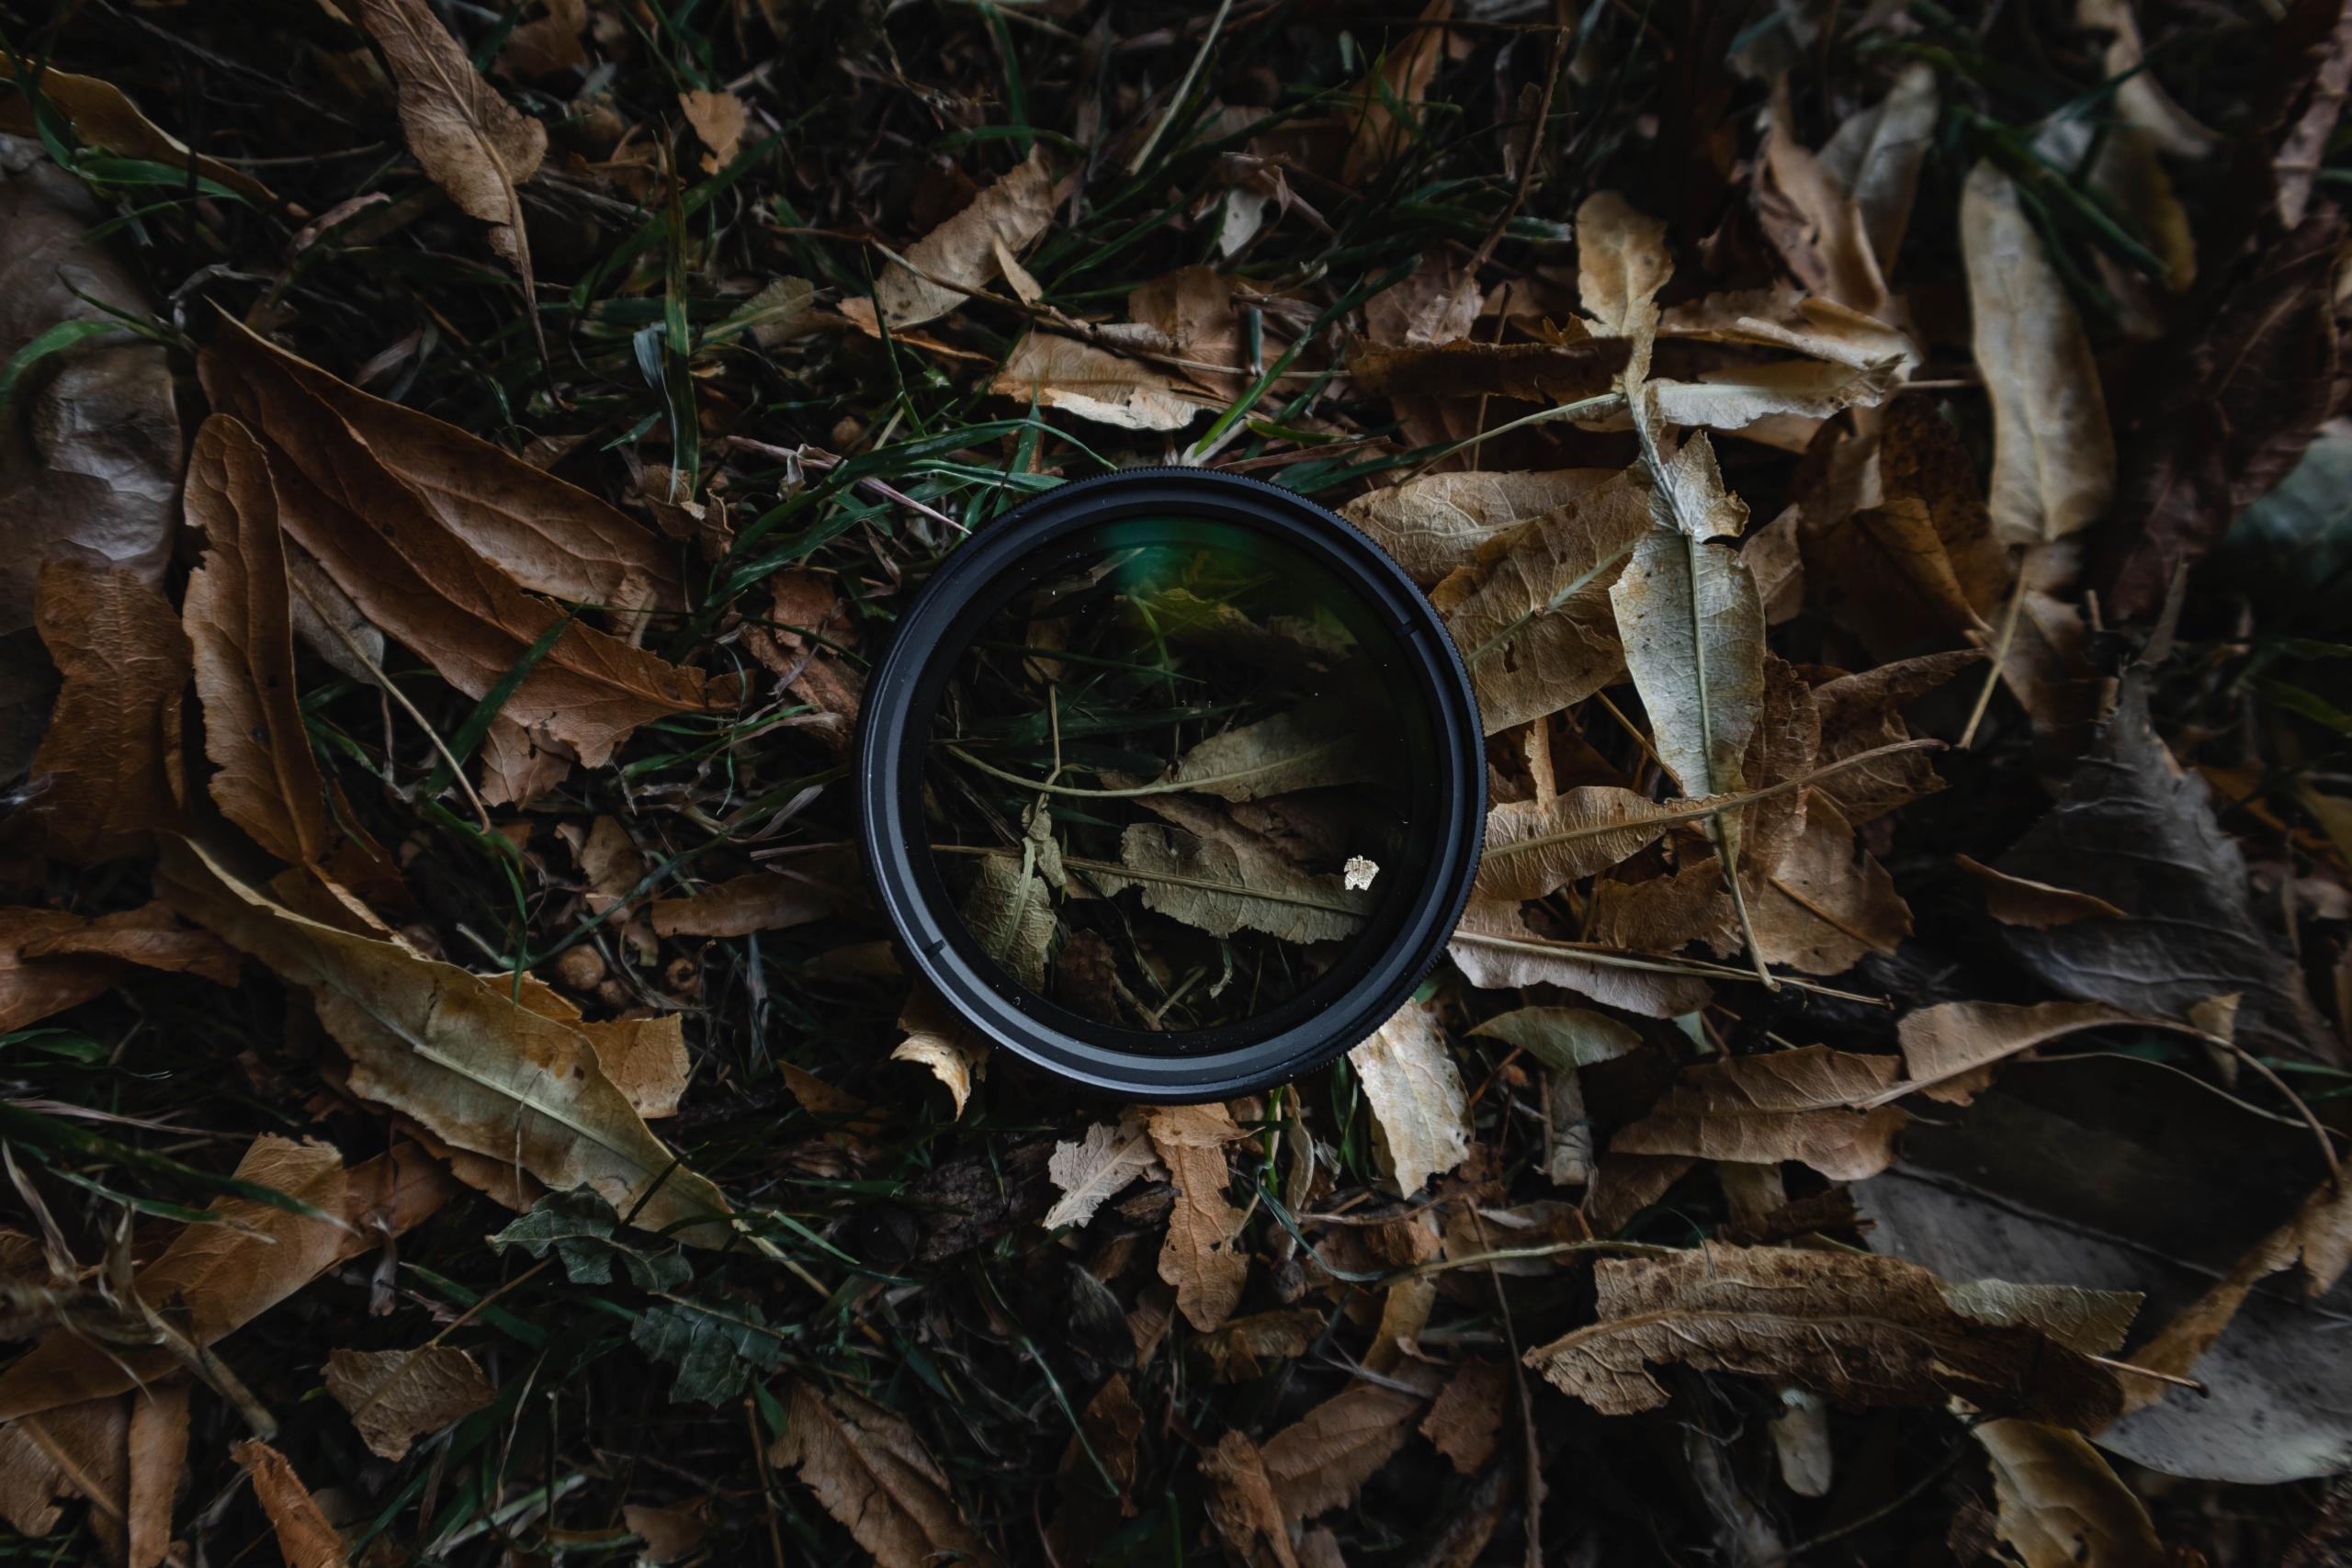
Before anything else, you need to know how to attach a diffusion filter.
Just like any other lens filter, the diffusion filter requires a simple two-step installation process.
Here’s what you need to do to:
- Check the size of your lens, which will be given in millimeters, and the size of your filter. If they match up, you’re good to go, if not, you have a problem.
- Take the diffusion filter and screw it onto the end of the lens.
When it comes to actually using the diffusion filter, there are several things you’ll want to bear in mind to ensure you get the best shots.
First, remember that you can adjust the filter by twisting the ring if you want a slightly different effect. This is crucial, and this is what gives the filter a steep learning curve, since you need to know how to adapt to different types of photo shoots.
You’ve also got to bear in mind that different the focal length of the lens will have an effect on how much diffusion you’re ae to achieve with your filter. So when you’re adjusting your focal length on the fly, you have to think about how that affects the level of diffusion if you want to capture the perfect photo.
If you regularly use a wide angle lens, we’ve got bad news for you: most filters won’t work well with it.
Why?
Because the image is stretched out and so you lose some of the detail of the filter, and the effects can be oddly dispersed throughout the photo.
One other thing to consider is that a diffusion filter doesn’t work best in strong sunlight. You’re better off finding more subtle light sources or finding an area with some shelter from the sun, otherwise you could end up with an image that looks washed out.
This is one of the best tips for using a diffusion filter, since lighting can hugely impact the subjects of your photos. Make sure that whatever you are trying to capture, it’s well-lit.
That means you should favour soft lighting over hard lighting, if you’re creating an indoor shoot.
Soft lighting is lighting which merges shade with illuminated areas and keeps a nice even level of illumination, whereas hard lighting creates stark contrasts and dark shadows.
While many photographers pick up the diffusion filter in search of the cinematic visual that it’s commonly associated with, you shouldn’t expect to be able to create this visual style from day one. It takes time to get the cinematic look, and requires a lot more than just a filter, as you’ll have to experiment with lighting and camera settings.
The Cinematic Effect
Whereas some filters, like the polarizing filter, can give the photographer access to a variety of visual effects, others like the diffusion filter create a single aesthetic effect.
That isn’t to say that the diffusion filter can’t be used in creative ways to capture all kinds of different photos, but it’s mostly known for a particular visual effect.
What is that effect?
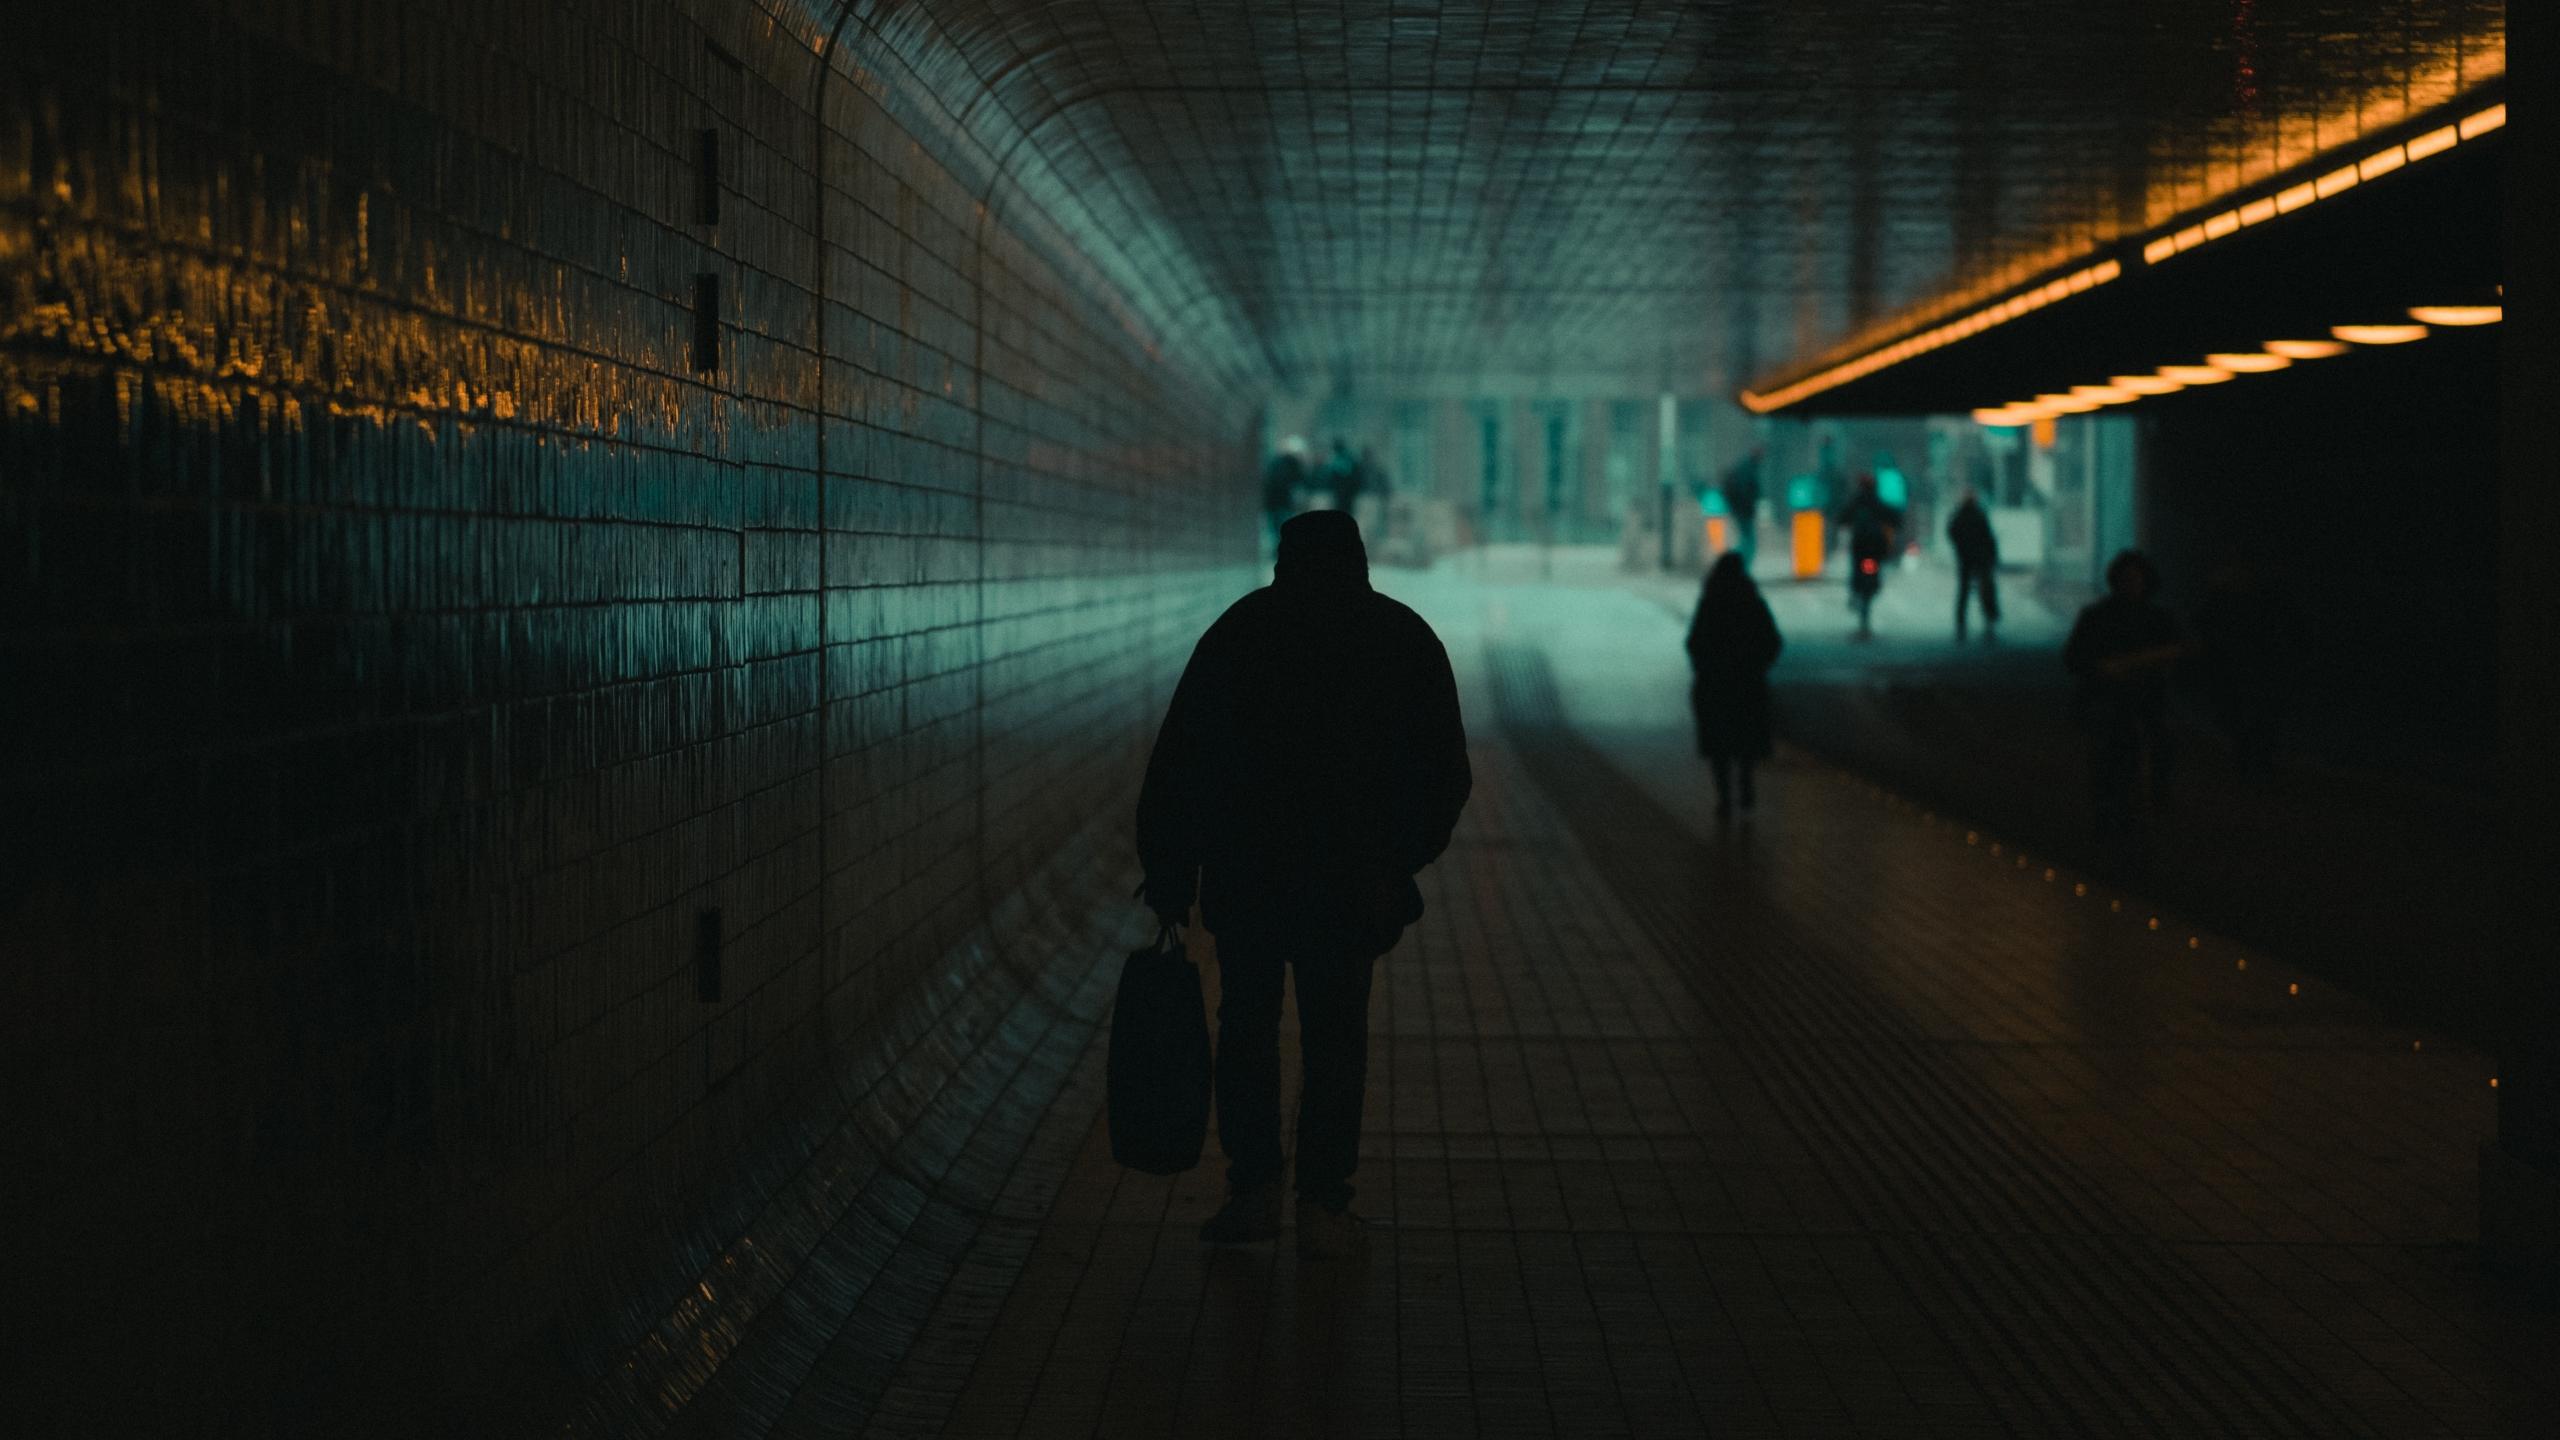
The cinematic or dreamlike state effect.
If you want to pull off photos and videos that look like they could be straight out of a Hollywood blockbuster, then a diffusion filter is your best bet.
This is a style of photo that isn’t easily replicated in post-processing software, at least not without hours of experimentation.
So how exactly does the filter give us the illusion of being on a film set?
Well, the science behind the magic is fairly straightforward. What the filter does is provide a glowing effect for the lights in the scene, it softens features, and gives a hazy visual effect.
All of this contributes to a dreamlike visual that’s hard to create on your own.
If you want your photos to feel otherworldly or you want to give your videos something extra, a diffusion filter can help you do that. This kind of effect can have a big impact on your end product and it can wow an audience, if you plan on presenting your photos or videos to one.
Diffusion Filter Buyer’s Guide
So, you’re interested in getting your hands on a diffusion filter, what’s next?
Well, you need to determine what diffusion filter best suits your needs.
It’s easy to assume that every diffusion filter would be the same, but sadly this isn’t the case. Lens filters vary greatly in price, quality, and many other factors which we’ll get into now.
Size
As we addressed earlier in the guide, if you don’t get the right size filter for your camera lens, you’re not going to be able to use it.
To avoid this issue, you should take note of your lens size and buy a filter of the same size.
So for example if you have a 46mm lens, you’ll need to get a 46mm filter to go with it.
Not all diffusion filters will offer you a wide variety of sizes, so you need to double check that the filter you choose will actually work with your equipment.
Budget
Photography and videography generally aren’t affordable hobbies or professions to get into, but that doesn’t mean you can’t stick to a shoestring budget.
With diffusion filters, the prices can vary, but tend to be in the range of £70-150.
Detail
Some diffusion filters provide you with the cinematic visuals, but at the expense of detail.
This is a bad trade-off, since the cinematic effect won’t be as powerful if the audience is presented with a subject that’s low in detail.
You want to find a diffusion filter that doesn’t lower the contrast or resolution of your camera drastically to maintain a high level of detail.
Profile
If you want a versatile diffusion filter, then you need find one with a slim profile.
With a thin filter, you can stack it with other filters to create all kinds of interesting effects. Some filters are even slim enough to work with mobile devices, which means you can cinematic visuals with your phone.
Whichever diffusion filter you decide to buy, you’ll want to make sure you know how to get the most out of it. One way to do this is to work with a tutor. With Superprof, you can find a photography tutor to work with online or in person to improve your skills and get to grips with your new equipment.
Summarise with AI:
Enjoyed this article? Leave a rating!