
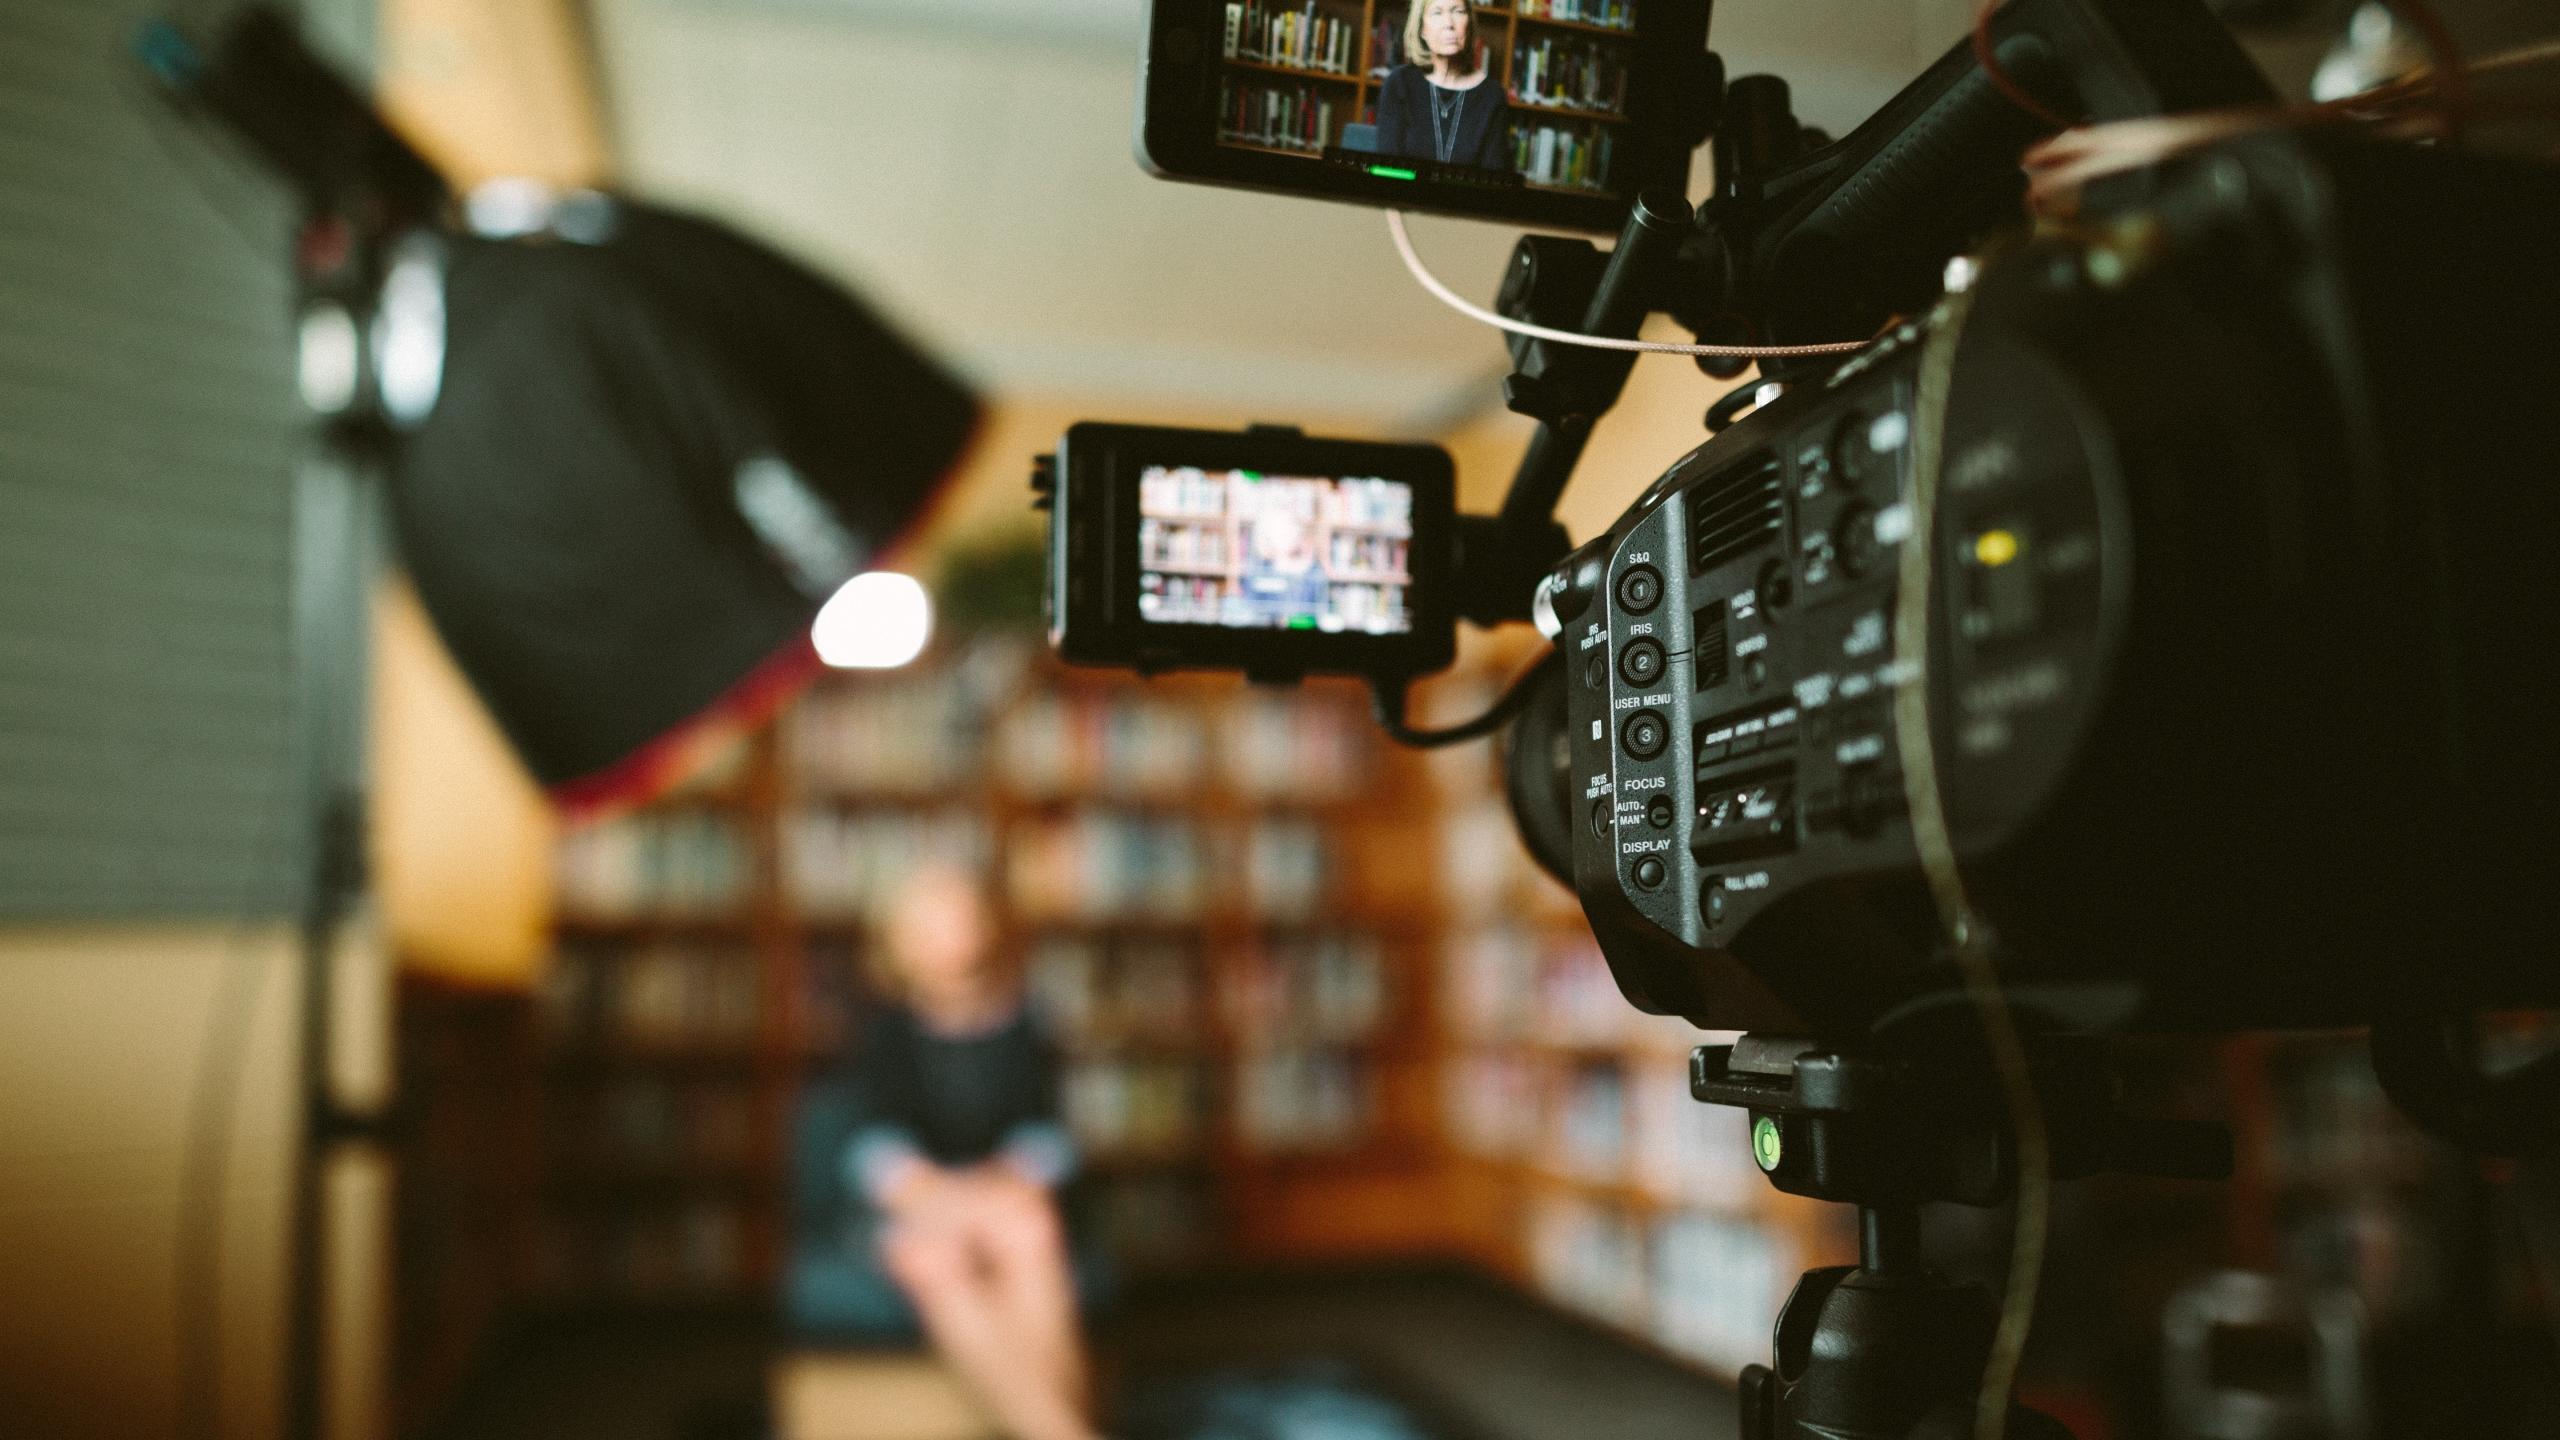
Shooting an interview, whether it’s with your best friend or an esteemed author, requires a certain degree of preparation.
If you don’t care so much about the end product or it’s something only you and your close friends will view, then it isn’t a big deal. But if you are producing a video interview that you plan on presenting to an audience, you want to make sure that it has all the elements of a studio-quality shooting.
Why?
Because the more professional your setup is, the more likely you are to satisfy the discerning viewers out there who love nothing more than scrutinizing video quality and other elements of production.
Beyond that, you will be able to draw in viewers that might not have watched the interview otherwise.
Video quality, which encompasses lighting, is something that will set your interview apart from all the thousands that populate online video streaming platforms.
By taking the time to correctly illuminate your interviewee, you give more weight to their words and increase the chances that more people will want to hear them.
If that sounds good, then join us as we cover the importance of lightning in videography, go over tips for improving your setup, and much more.


The Importance of Lighting
Lighting plays a hugely significant role in videography, and it’s one of the factors that you should pay most attention to when starting out.
When most people think of video quality, their minds will go to the resolution of the camera, the frame rate it records in, and little else.
What if we told you that this all means nothing without good lighting to back it up?
Think about it.
Would you watch an interview recorded in 8K at 60FPS in which the interviewee’s face is so poorly lit that you can barely make out their expressions?
We’re willing to wager that you wouldn’t.
Or if you did, you would likely be incredibly frustrated that you couldn’t make out how the interviewee was feeling at key moments.
The right lighting not only remedies this issue by providing clarity to the interviewer and the words were spoken, but it can also draw the viewer in and make the interview that much more compelling.
Just as pointing a torch up at your chin creates the perfect ambience for a scary ghost story, the right lighting setup can set the tone for a powerful interview.
Lighting thus becomes even more important if your interview is going to tread into emotional territory, as viewers will want to read the interviewee’s responses through micro-expressions and gestures that will only be visible with the right lighting setup.
You have to be careful with lighting though since as we’ve already established it can prime the viewer’s mind a certain way. If you’re not actively thinking about it, you could inadvertently portray the interviewee as a shady character which may betray the picture they’re trying to paint.
Even more important than lighting, though, is knowing how to shoot the video. With Superprof, you can work with a photography tutor to perfect your videography skills so you can create compelling visuals for your interviews.
What is 3-point Lighting?
One of the most commonly used lighting setups for interviews is the 3-point lighting system.
In this self-explanatory system, you have three different types of light, and each one will have its own purpose.
These lights are known as the key, fill, and backlights.
Key
The first light you need to consider, and the most important, is the key light. This will be your main light source, which is what makes it such an integral part of any interview lighting setup. In some cases, it’s the only light a videographer will use to conduct an interview, but we recommend that you supplement it will fill and backlights for the best effects.
The key light, as the main light source, will be the brightest.
Some videographers will get creative with their surroundings and position their interviewee in such a way that sunlight from nearby windows will come flooding in and illuminate them as well as any key light. So what we’re saying is this main source doesn’t have to be a huge investment on your part if you have the right mindset.
The role of the key light is to highlight the form, figure, and facial expressions of the subject. In some cases, multiple key lights are used, though in an interview setting with a single interviewee this isn’t necessary.
The key light can be what invites the viewer to feel empathy for the interviewee or another emotion, so the placement of it is crucial.
For interviews, many pros will tell you to position the key light between the interviewer and the camera, facing the interviewee. This will give you a level of clarity that audiences will appreciate, as they should be able to accurately read the interviewee’s facial expressions and emotions.
Fill
The fill light is simply used to supplement the key light, and fill in any shaded areas that may still be there.
Since it’s of secondary importance to the key light, the fill light won’t be as bright, as it serves to highlight subtle details rather than provide great clarity.
What’s interesting about the fill light is that in many cases it doesn’t even come directly from a light source.
In many cases, the fill light will come from reflectors, walls, fabric and other materials.
The key light, when it interacts with these various surfaces, can create a secondary light source that plugs in the gaps and fully illuminates the interviewee.
Back
Finally, there’s the backlight.
Otherwise known as a hair light, this is a light source that is positioned behind the subject, and usually over their heads.
The purpose of this third light is to provide depth to a subject or create a dramatic effect. However, it’s arguably the most difficult lighting source to get right.
As a result, for beginners, you may have the hardest time figuring this light source out.
Tips for Using Lighting
Now you have a general idea of what a good lighting setup for an interview might look like, let’s go over some popular tips for getting the most out of your lights.
Hard vs Soft Lighting
One of the most important things to think about when deciding on your lighting setup is whether you want to use hard or soft lighting.
Hard light refers to lights that highlight the subject by creating stark contrasts and casting shadows.
To pull off a hard light effect, you need a single beam of light from something like a camera flash as this will give you a subject with a long drawn out shadow.
Soft light provides a more balanced visual, with less contrast.
To pick the right type of lighting, consider the tone of the interview and how you want it to come across to the viewer.
Colour Temperature
Colour temperature, which is measured in Kelvin units, refers to how warm or cold the image looks.
If you’re outside, you’ll want your footage to reflect that with a warmer tone, whereas if you want to give off the impression that you’re conducting an interview in a sterile environment then cold light is best.
You can adjust the white balance in post-processing to find the perfect colour temperature for your interview.
Camera Filters
While it may seem like an unusual thing to do for an interview, you can use camera filters to create a certain effect for the viewers.
Polarizing filters for example can work to even out glare if you’re doing an outdoors interview, while diffusion filters can help you ensure the light is evenly distributed.
These filters can be easier than having an elaborate lighting setup, and will make your interview possible wherever you are and whatever lighting you have to work with.
Other Considerations for an Interview Shooting
There are of course more considerations for an interview shooting than just the lighting you use.
If you pay attention to the following factors as well as lighting, you should be well-equipped to produce a top-quality video interview.
Camera
It goes without saying that to produce a good video you need a decent camera.
Specifically, you should look for a camera that offers 4K or higher resolution, a solid frame rate, and reliable autofocus or in-body image stabilization.
Tripod
While it may be of secondary importance, a tripod is crucial for interview-style footage, since you don’t want to pay for someone to hold the camera the whole time.
Plus, a tripod will ensure the footage is steady throughout, which will make it a much easier watch.
Location
You should give a lot of thought to location since it can establish the tone of the interview.
Do you want your interviewee to feel comfortable? If so, you can set up a room in your house.
Do you want to do the interview on neutral ground? If so, book a hotel room and set up in advance.
Do you want something unique? If so, consider outdoor locations.
Summarise with AI:
Enjoyed this article? Leave a rating!