"Skill in photography is acquired by practice and not by purchase."
-Percy W. Harris
You might think that those with the fanciest cameras, most extended lenses and most expansive photography equipment are the best and the only ones who know how to take good photographs. But is that so? Not necessarily. While it is true that using the right product for each type of photography does improve the quality of a shot, a photographer's abilities are trained over time, and everyone can learn how to take professional photos by following a step-by-step guide.
A skilled photographer with an Instax mini can usually shoot far better pictures than an amateur with a DSLR.
As with any profession or hobby, it isn't enough to have talent when snapping photos because hard work, determination, and diligence are required. Also, since there are so many types of photography, other abilities are necessary for each subgenre, making it even more apparent that taking a lovely image doesn't happen overnight.
Nonetheless, without further delay, in today's article, we will look at various genres of photography and how to be a good photographer, take a perfect picture, and take professional photos of yourself, among other things.


What is Night Photography?

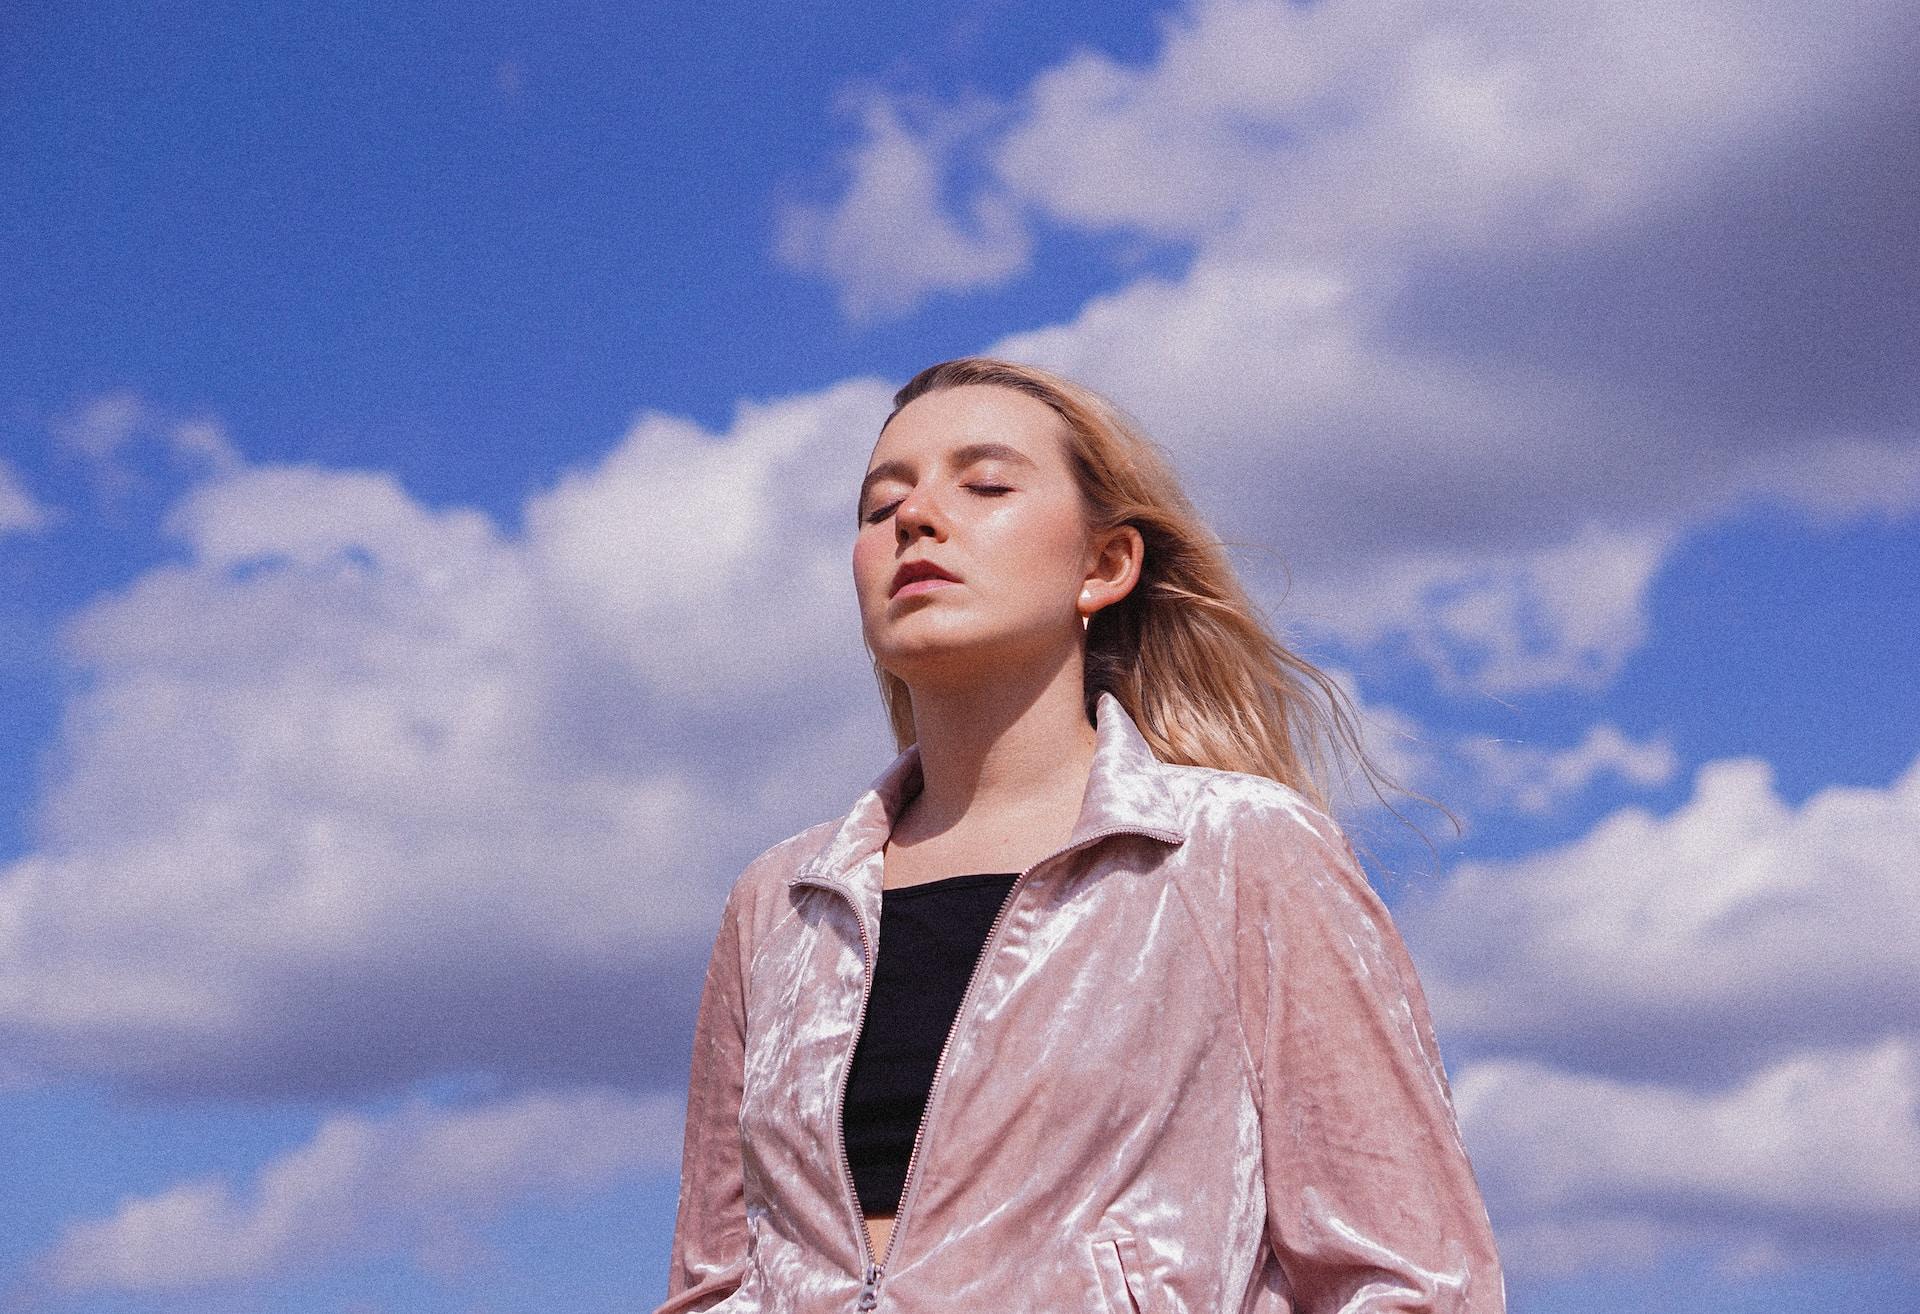
While taking photos during the day is exciting since there are so many people walking about and the lighting allows you to see your subject entirely without adjusting your camera settings, did you know that learning to take photos at night can be equally thrilling? Nighttime photography refers to pictures that are captured outdoors from the period of dusk to dawn.
Night photography is a worthy hobby since you get a different perspective, hone new abilities and discover new settings on your camera. It's perfect for most adults who work from 9-5 and can't go out during the day to take pictures.
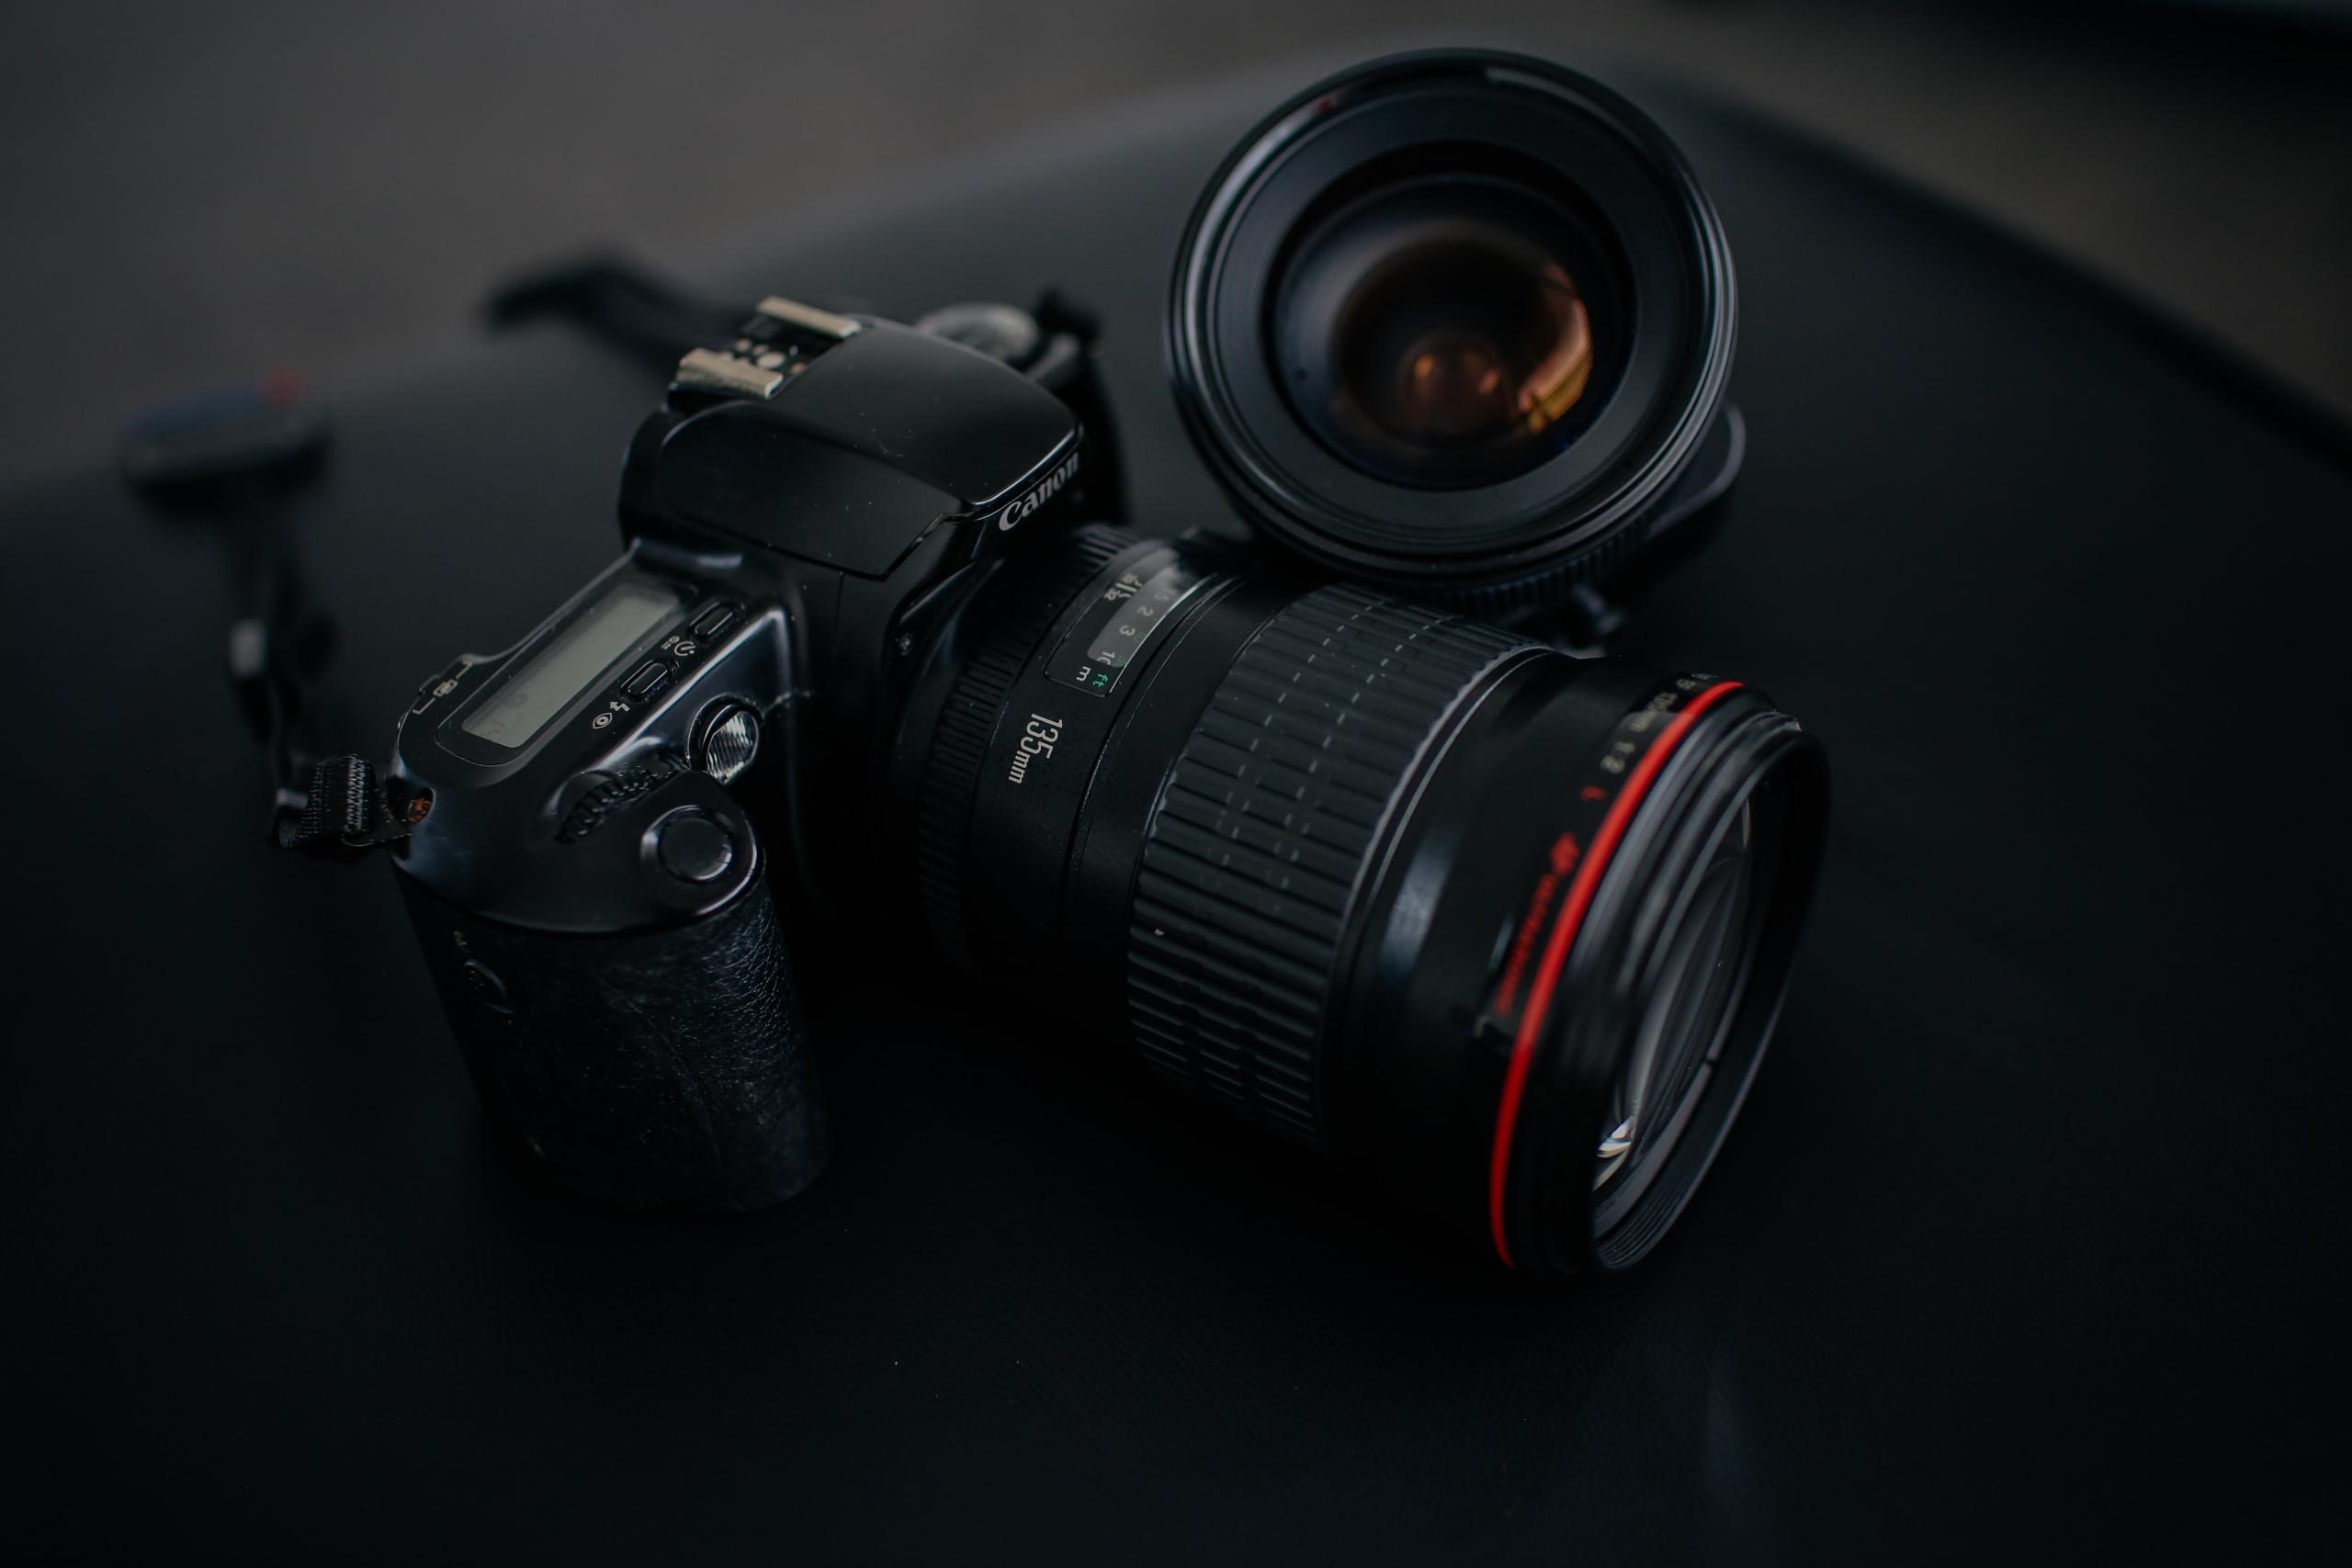
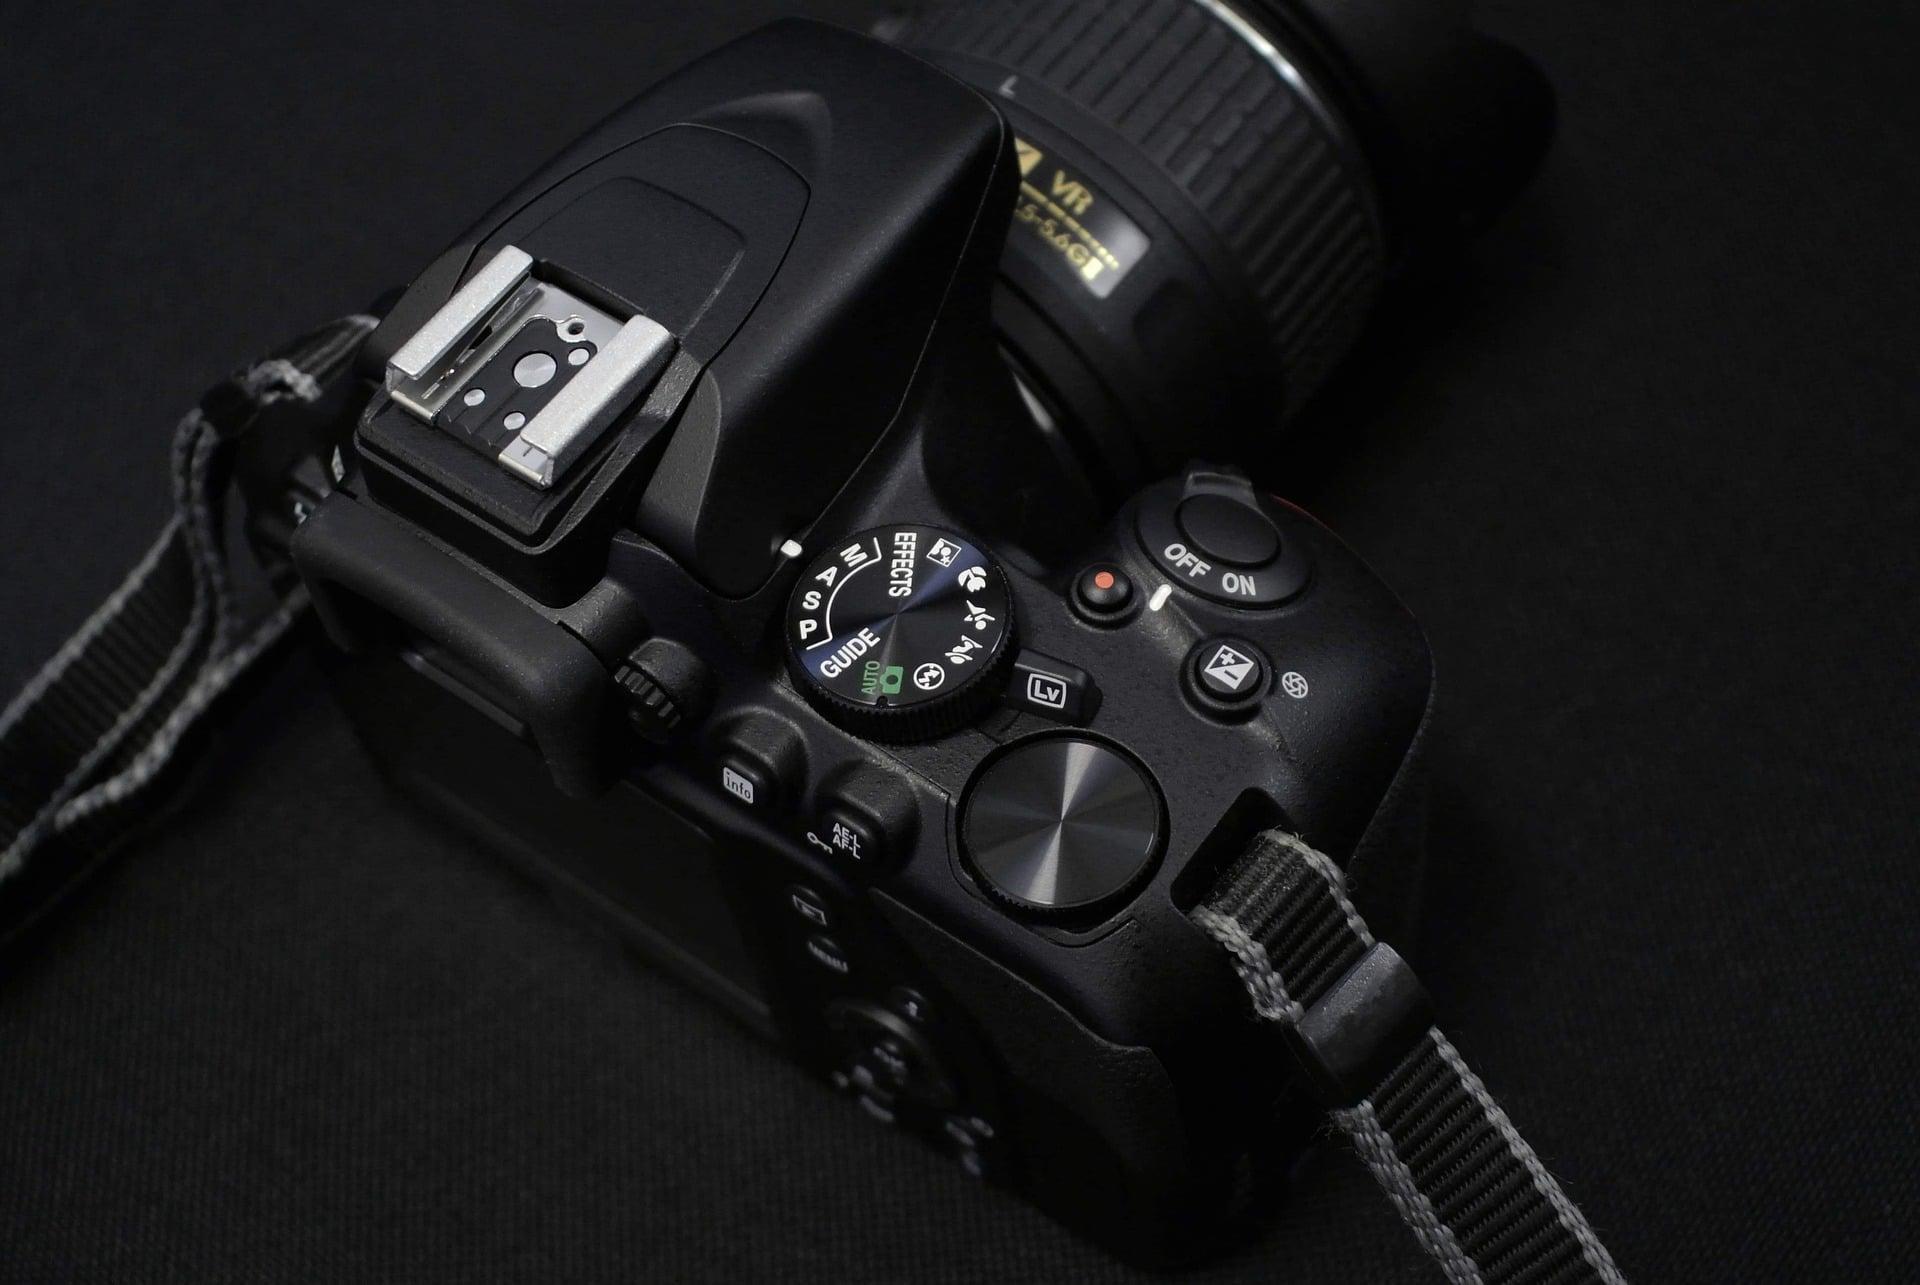
To excel at night photography, it's worth stating that having the correct equipment is necessary. Such as? A tripod, a camera bag, the right lens, and the proper camera make great photographs with the night as your background. For beginners to start on the right foot with the best product available, the following are three of the most highly recommended cameras for taking pictures in the dark:
- Sony A7sII,
- Nikon Z6,
- Canon 6D MKII.
However, while having the right tools certainly help beginners take the shot they desire, it's worth mentioning that talent is improved by taking the advice of more experienced photographers on sites such as Wikihow or Superprof. The list below highlights three tips on how to make pictures pop at night:
- Adjust Your Camera to Manual Mode: as a beginner, an automatic mode may feel more comfortable. However, when shooting in the dark, you want as much control of your camera and its settings as speed and aperture; that's why manual mode is a great way to take nighttime photography pics.
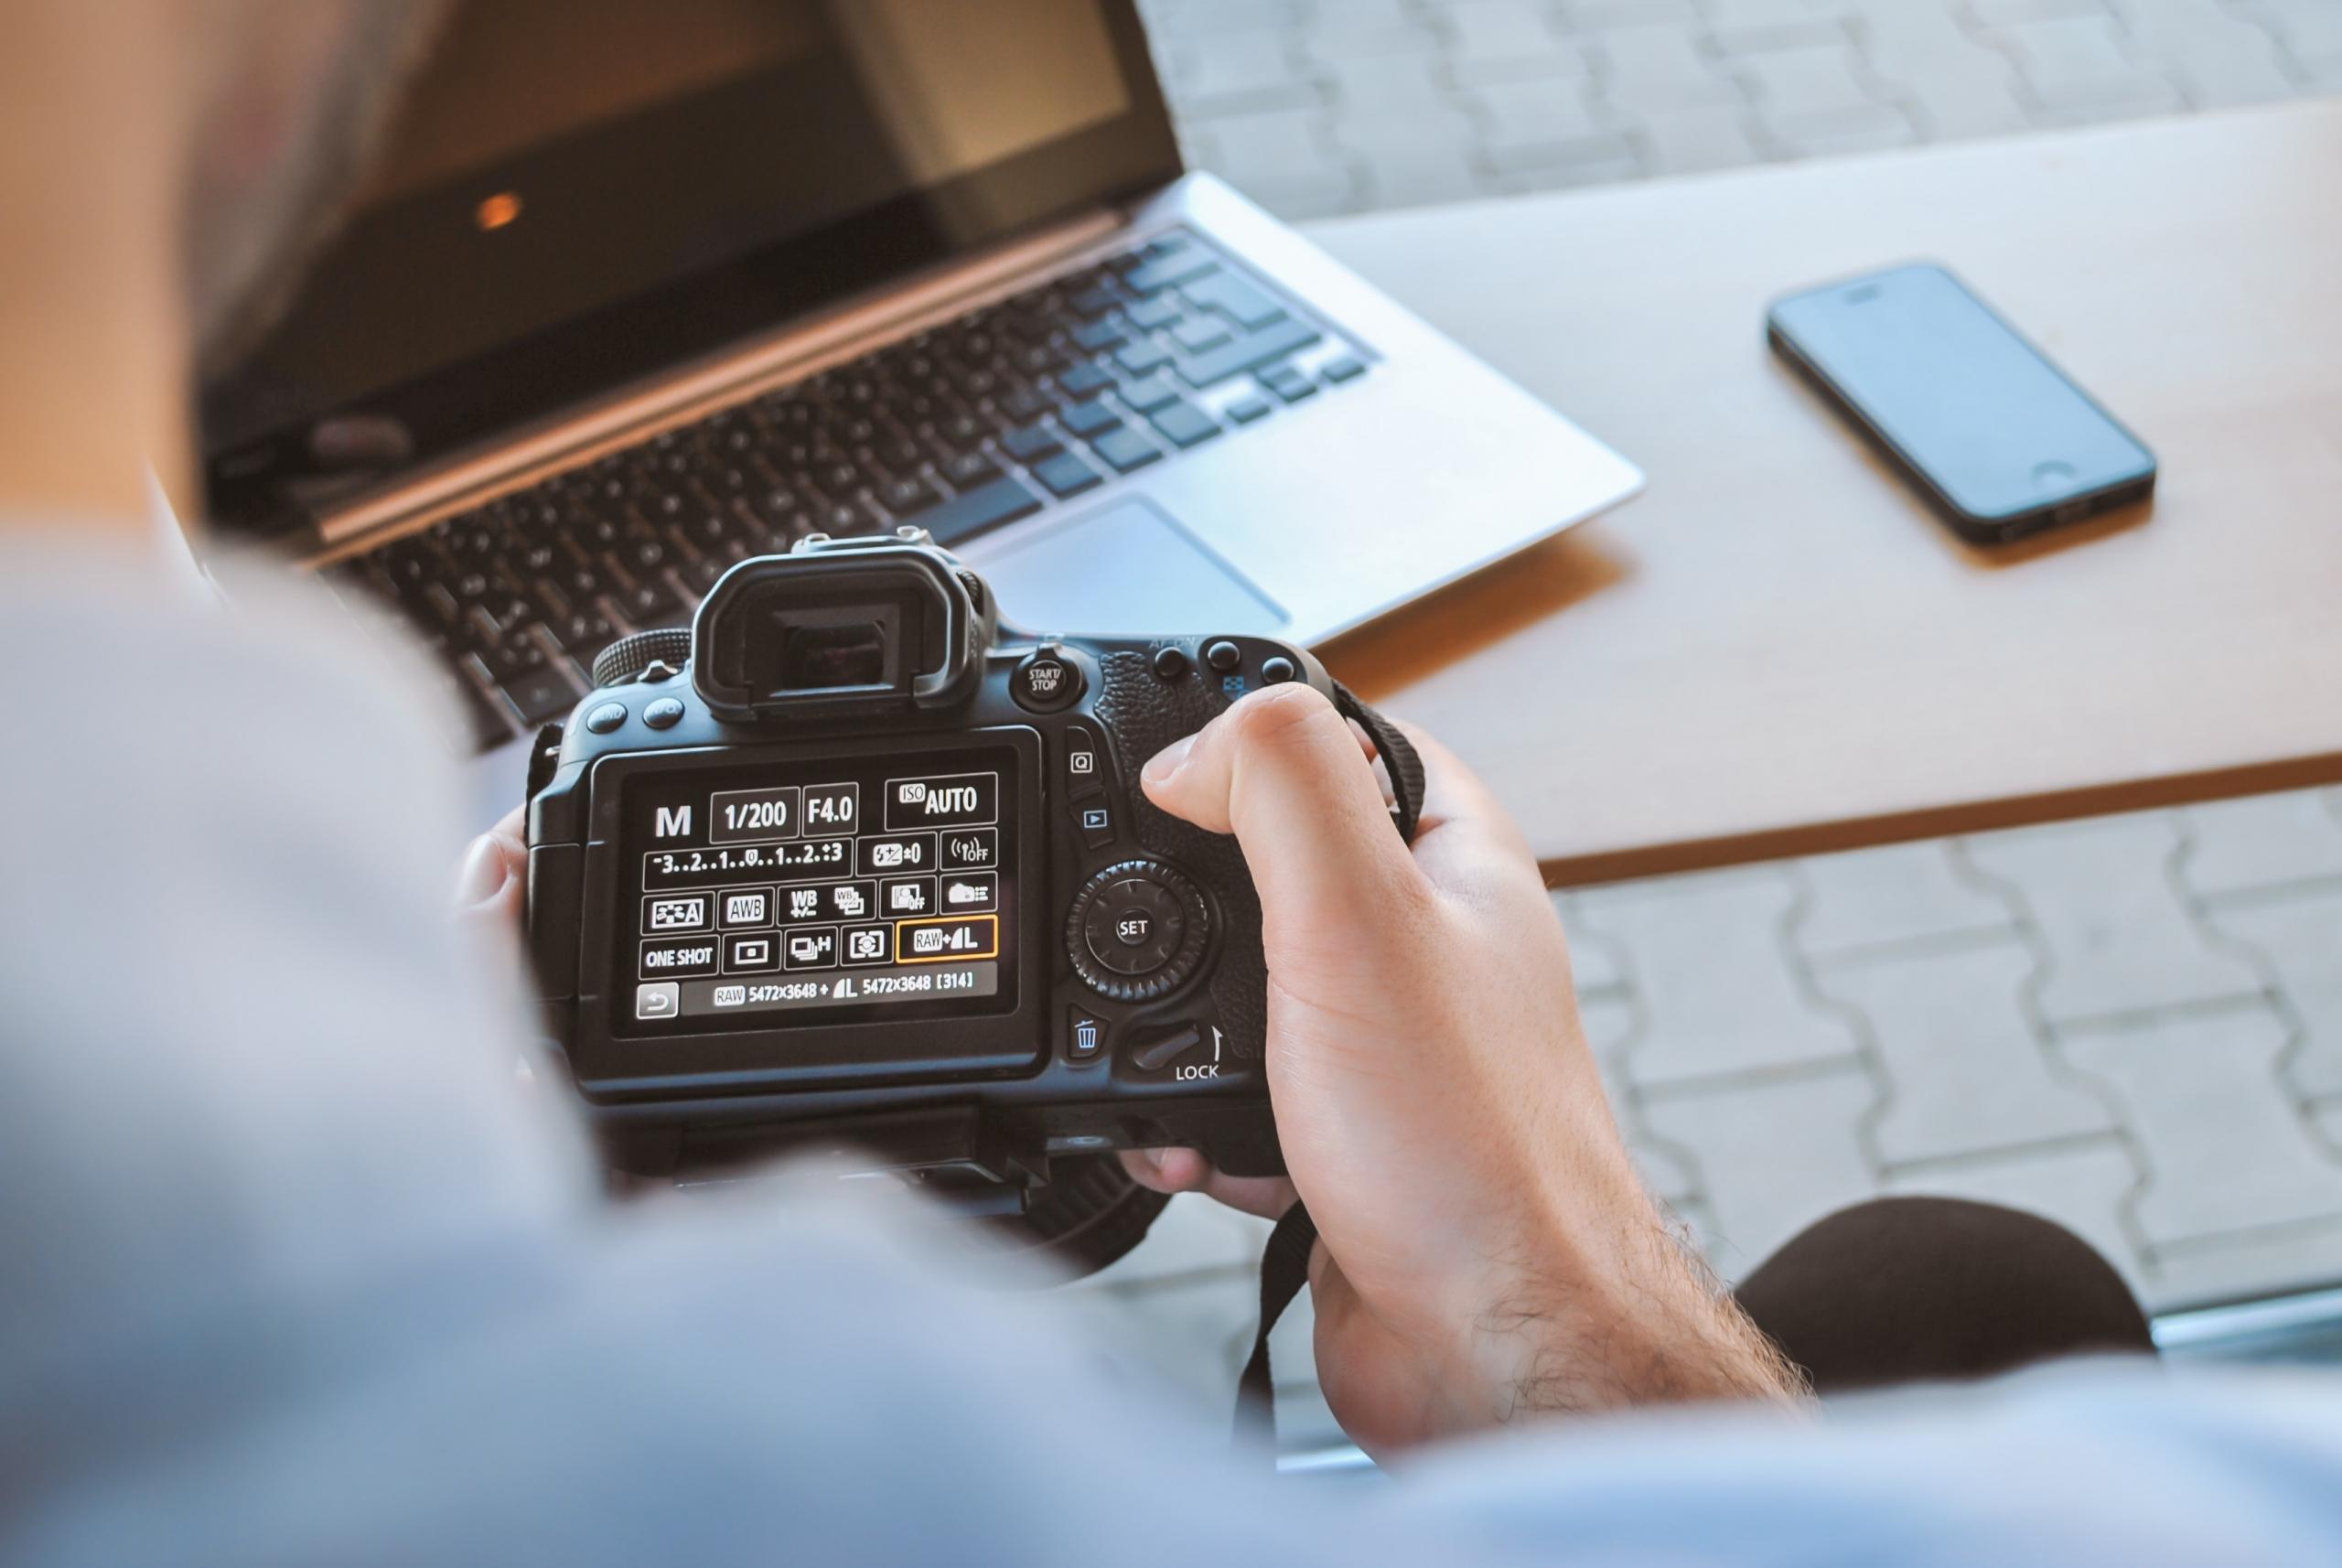
- Shoot Pictures in RAW Format: instead of shooting in the standard JPEG format, you should set your camera to shoot photographs in RAW. Why's that? For one, JPEG night photos are sometimes grainy and of poor quality. Secondly, an image in the dark requires a lot of editing, and the RAW format allows you to tweak great pictures and make them perfect.
- Keep the ISO Low: while you may have thought that low-light pictures require a high ISO setting, that's not the case. Nighttime photos look blurry if they are taken with high ISO. So, lower the ISO on your camera settings, and your pictures will shine even with a low-lit background of your portrait or another image.
If you follow one or all three of the previously mentioned suggestions for night photography, taking perfect pictures in the dark will be your new favourite hobby. Also, we suggest using a professional tutor on Superprof who has many years of experience to instruct you more about each essential step of night photography.
What Do Framing and Composition Mean in Photography?
Since photography is an artistic field, many different layers need to be studied and examined before capturing a professional photo worthy of a magazine's pages. Framing and composition are two of the most important aspects of photography that beginners should learn about.
Regarding image photography, structure and composition go hand in hand because they are equally done to make the subject and overall picture look professional.
Framing is the part of photography that aims to draw specific attention to the primary subject or object by playing with the angles and cutting unnecessary parts away from the picture. By having an idea of the fundamentals of framing, amateurs ensure that the viewer focuses their direct attention on the subject and nothing else.
Most cameras or smartphones have framing screens, so you can learn how to make photos look professional and take professional photos of yourself without using an expensive camera. Nonetheless, sometimes surrounding objects such as tunnels, bridges, windows, branches, and arches can help frame pictures and set the perfect background. To ensure that framing is well done, you must adhere to the following rules to capture good photos like a pro:
- Use natural frames,
- Focus your attention on the main object,
- Choose a remarkable subject with a great background to make your photo shine.
But what is composition? Well, an essay in photography is defined as how things are arranged in the photo and where they appear. The design uses experience and camera settings to reach the goal the photographer envisioned. Specific fields of professional photography like portrait, still-life, and wedding photography require a person to plan and compose the right photo carefully.
To successfully compose a photo, whether using an iPhone or a high-end camera, photographers must keep in mind that they need to think about their vision beforehand so that they can adjust the light based on the time of day, try to shoot from different angles and balance the image diagonally to see if it all works together.
Also, it's worth stating that amateur image takers should heed the following five rules when composing pictures:
- Leading Lines,
- Rule of Thirds,
- Negative Space,
- Horizon Line,
- Symmetry and Patterns.
If you need additional assistance with framing and composition in photography, we recommend hiring a private tutor from Superprof for affordable aid.
What are 10 Tips on How to Take Better Pictures in Street Photography?
A major subdiscipline or type of photography is known as street photography. But what does that entail? Street photography is also known as "candid" since it takes pictures in public places without others being aware that an image is being taken. There is no posing for street photography since everything looks natural and relaxed. You can use any photography product, such as an expensive DSLR camera or iPhone, to shoot professionally in the street.
It's worth mentioning that street photography is a highly recommended hobby since it's accessible to all. Multiple subjects can be found while wandering the streets. In addition, it dramatically enhances skills like creativity and imagination, which we all need.
But is there any advice available on how to get better at shooting street photography? Absolutely. Without further delay, the following mention ten essential tips that are necessary to help photographers succeed at capturing images in the street:
- Bring Your Camera Everywhere: you never know when you'll find a perfect opportunity to take pictures, so bring your camera or iPhone nearly everywhere you go.
- Be Respectful of Others: after taking pictures of subjects or slightly before, you should ask permission from the person; you don't want copyright issues just for a great shot!
- Practice in All Weather: instead of being only a fair-weather photographer, practice taking pictures in the rain and when it's snowy since you'll be surprised at the images you can take.
- Look for Unique Gestures: by looking for unique gestures of people, your street photography will stand out more and be remarkable.
- Have a Good Camera Lens: a highly recommended camera lens with zoom and a wide angle will prevent you from getting too close to others and making them uncomfortable.
- Compact Cameras are Best: since you'll be taking pictures regularly and walking around looking for opportunities to take snapshots, purchasing a camera that doesn't look too intimidating and is small enough to fit in your pocket is powerfully suggested. Buying the most high-end iPhone also is a great help if you want a small but excellent camera.
- Observe Your Surroundings: don't just start taking pictures; it's a great help to look at everything around you since that will inspire and prepare you for greatness. With the development of modern technology, you can now remove image backgrounds effortlessly. This can come in handy when you capture something unsightly or distracting in the background.
- Find Shadows and Shapes: sometimes, the shadows and shapes that reflections make on streets are fantastic for avant-garde photos that others may observe.
- Work the Angles: rather than always taking eye-level shots, it's a good idea to get down low or go high because the angles might give you another perspective.
- Use Monochrome: the city streets always look better in black and white, so don't be afraid to use the Monochrome on your camera.
The ten previously mentioned tips serve as an aid to guide you in the right direction when taking photographs in the street.
What is the Aperture of a Camera?
Another important aspect of photography is known as aperture. But what is aperture? The aperture in photography can be defined as the opening of a lens's diaphragm through which light passes. So, essentially, the aperture is the crack of the camera lens that emerges to capture the scene in front of it.
There are many different aperture settings or stops, and it can be understood that the lower f/stops allow for more exposure since they represent larger apertures. However, on the other hand, higher f/stops give less exposure to light since the crack is much smaller.
Aperture is necessary since it creates better pictures by determining the amount of light in a photograph, the depth of field, and the overall sharpness of an image.
To better comprehend the aperture and when to use it in photography, the following are the f-stops and their outcome is:
- f/0.95 – f/1.4: available on specialised lenses purchased for a specific purpose, such as taking photos in the dark of the sky, shooting evening pictures at a wedding, or taking portraits in the dimly lit streets.
- f/1.8 – f/2.0: also great for low-light shots, f-1.8 to f-2.0 create very aesthetically pleasing pictures that provide great depth and angles at a close range.
- f/2.8 – f/4: the most restricted mode on various camera lenses, fantastic for capturing moments in travel, sports, wildlife, and other everyday photography.
- f/5.6 – f/8: perfect for individuals who want to take pictures of landscapes, architecture, and scenery. This aperture lens is not for portrait photography.
- f/11 – f/16: used by many photographers for landscape pictures and macro photography since they provide a significant depth of field that is a tremendous help.
- f/22 and less: used by complete beginners who have no idea what they are doing because pictures look very ordinary without any specific sharpness.
The different aperture settings allow distinct shutter speeds while shooting images on a colourful or white background.
We highly recommend hiring a private tutor who conducts lessons in a city or town nearest you in the UK to learn more about aperture.
In conclusion, we hope that the information provided in today's article was a tremendous help and enough to motivate you to start practising photography as an amateur. No matter your learning speed, you got this!
Summarise with AI:
Did you like this article? Leave a rating!