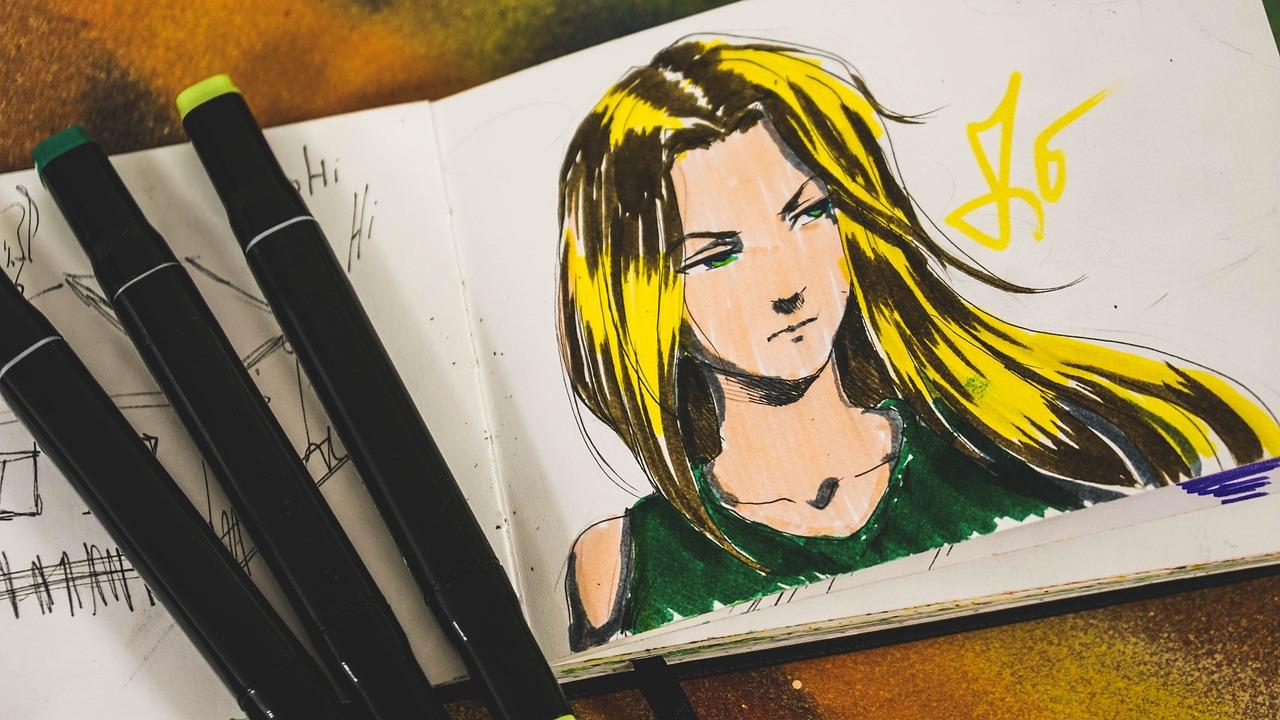

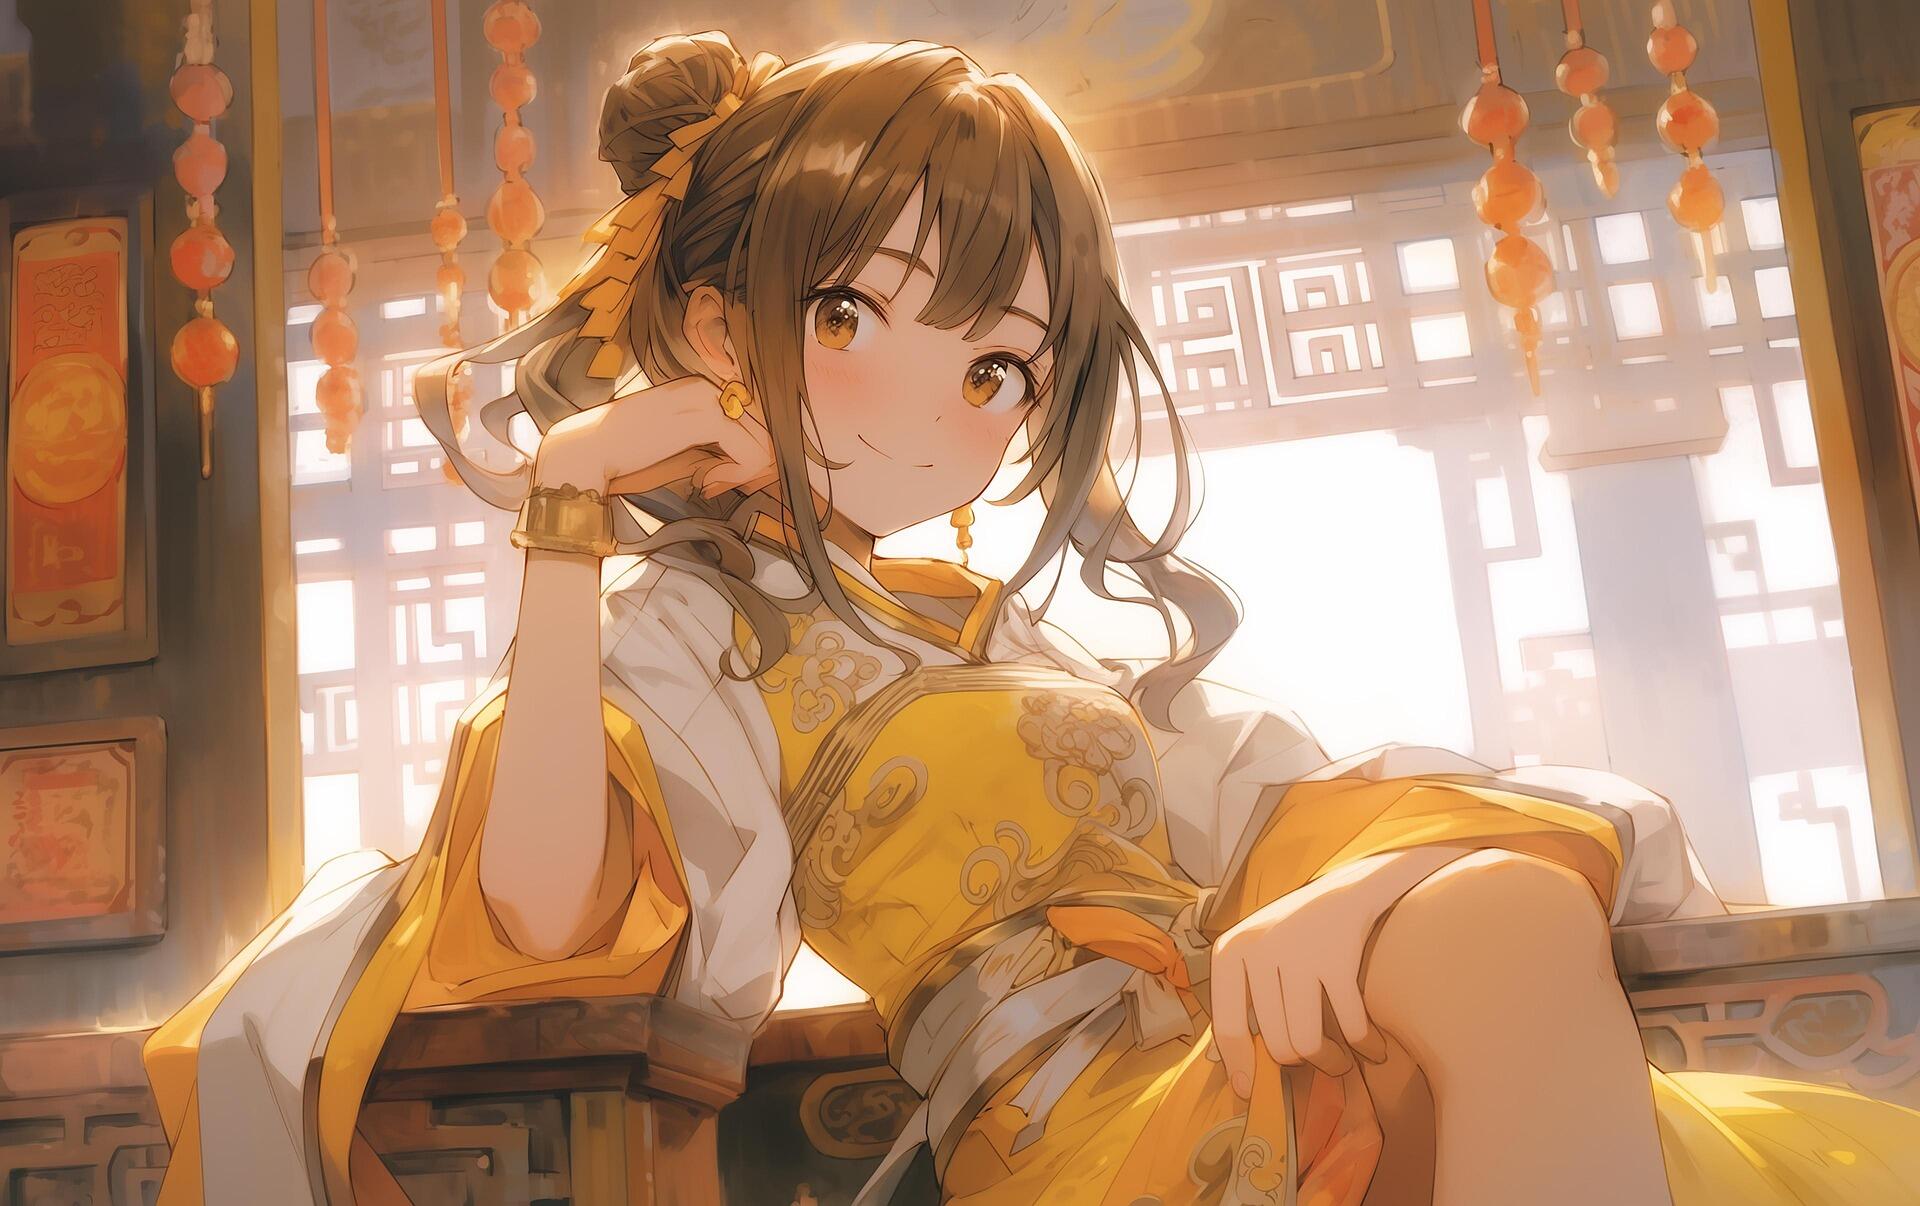
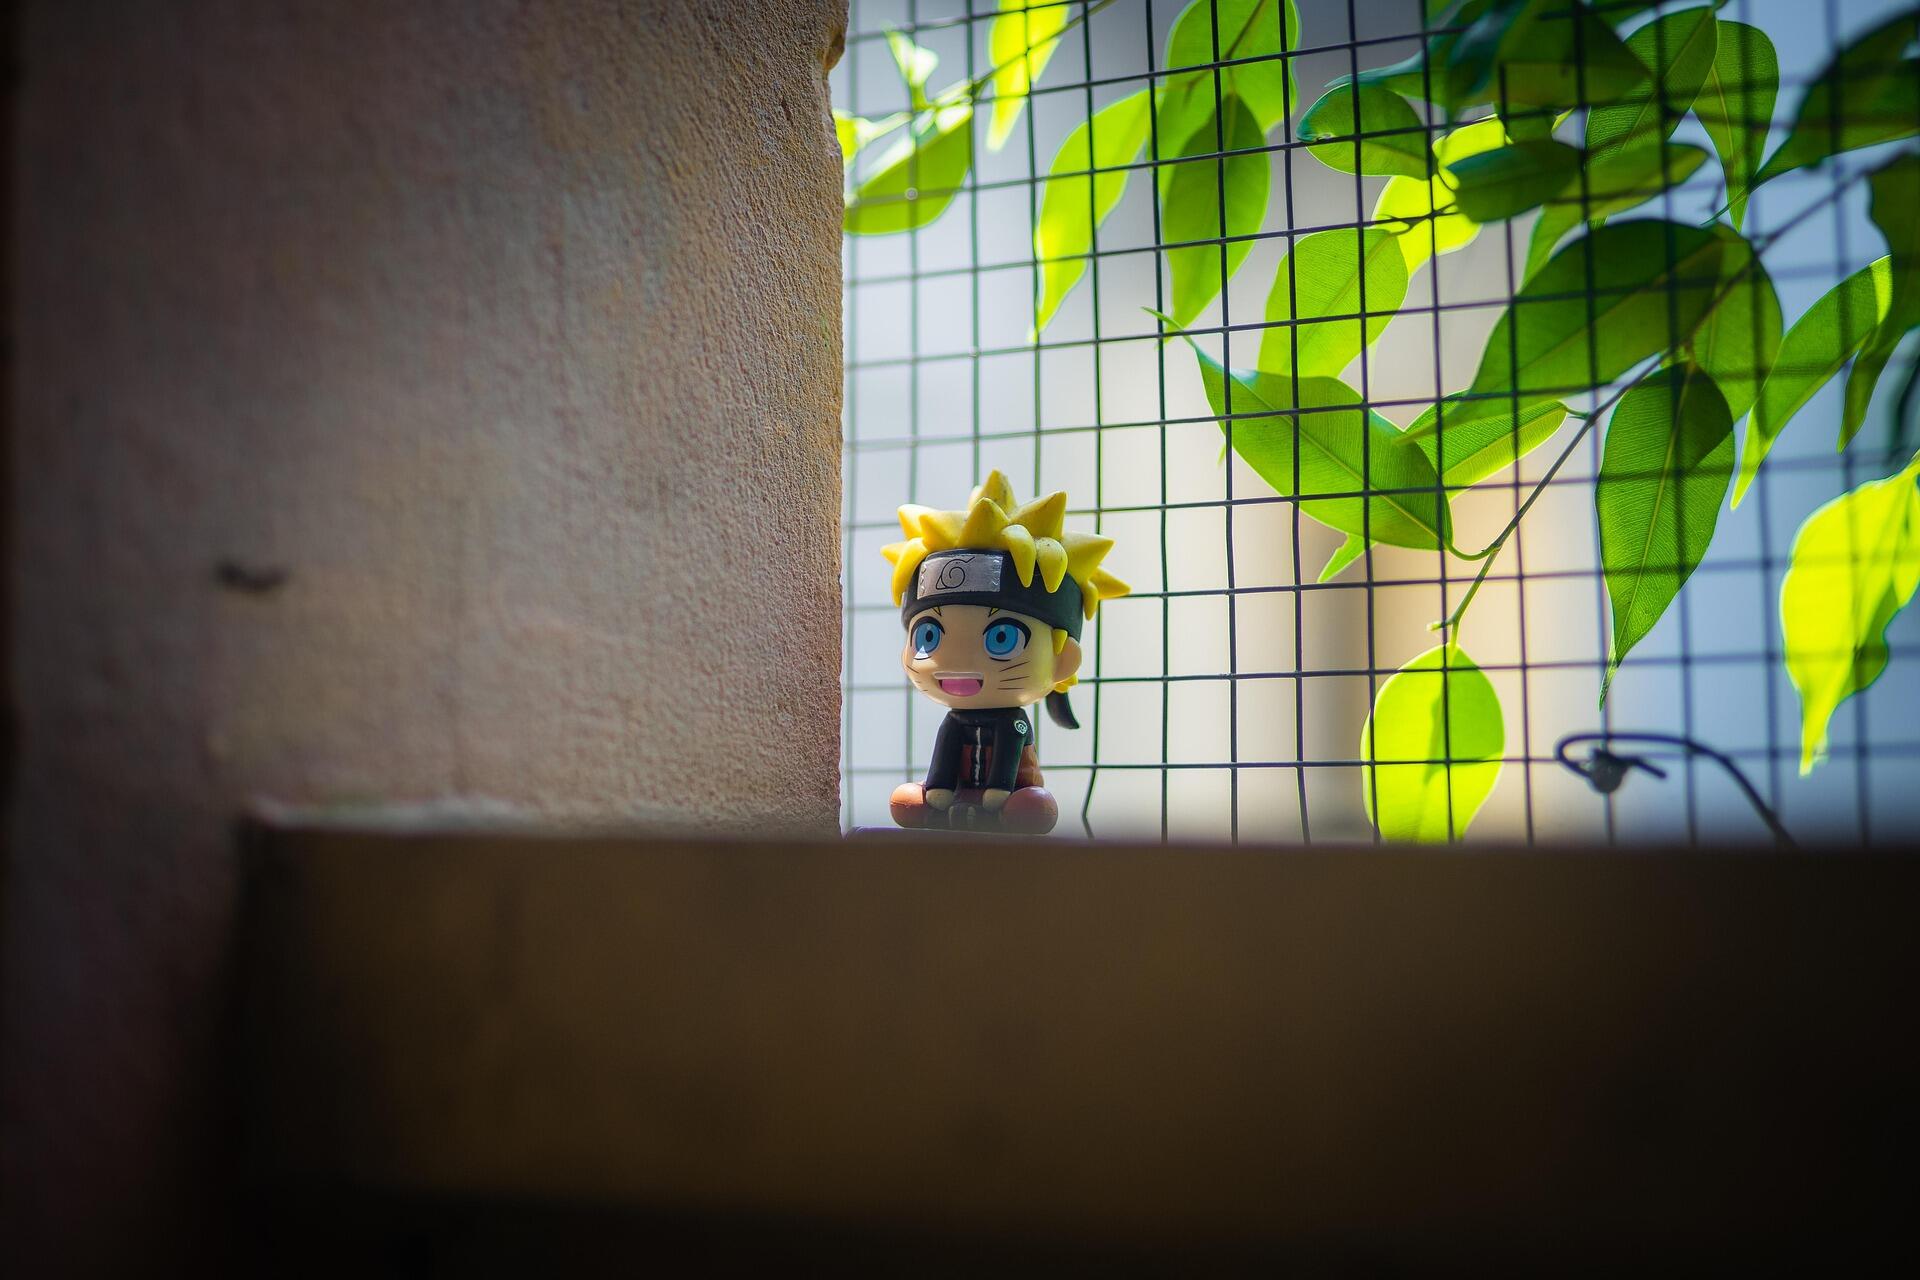
Over the years, anime-style art has become one of the most recognisable and popular drawing styles in the world. Featuring everything from spiky hairstyles to glowing auras, large expressive eyes, and countless striking designs (including demons, angels, monsters, and everything in between), it's no wonder so many beginners find themselves inspired to pick up a pencil and try out creating cool-looking anime characters for themselves.
But how do you level up your artwork so it looks more in line with the professional pieces drawn by top mangaka or famous anime studios? Don’t worry, this guide will walk you through how to draw anime step by step - from getting comfortable with basic shapes and proportions to drawing facial features, hairstyles, clothing, and more.
How To Start Drawing Anime: Step-by-Step
- Start with mastering simple shapes and rough proportions before worrying about any of the fine details
- Learn the basics of anime features such as eyes, facial expressions, hairstyles, plus body structure
- Practise drawing heads, faces, and poses step by step until you can draw them from memory
- Experiment with hair, clothing, and accessories to give characters more personality in their design
- Utilising movement, expressions, and light and shadow is a great way to give your drawings more flair


🎨 Understanding Anime Art Style
Before learning how to draw anime, it helps to understand what gives the style its distinctive look. Keep reading the section below to find out more:
Characteristics of Anime Art
Yes, anime art is usually easy to recognise, but it is also surprisingly varied. For example, a fantasy action series, romance anime, comedy, or horror story can all look completely different, yet still feel unmistakably “anime”. Generally, this comes from a shared set of visual features that many anime and manga artists rely on
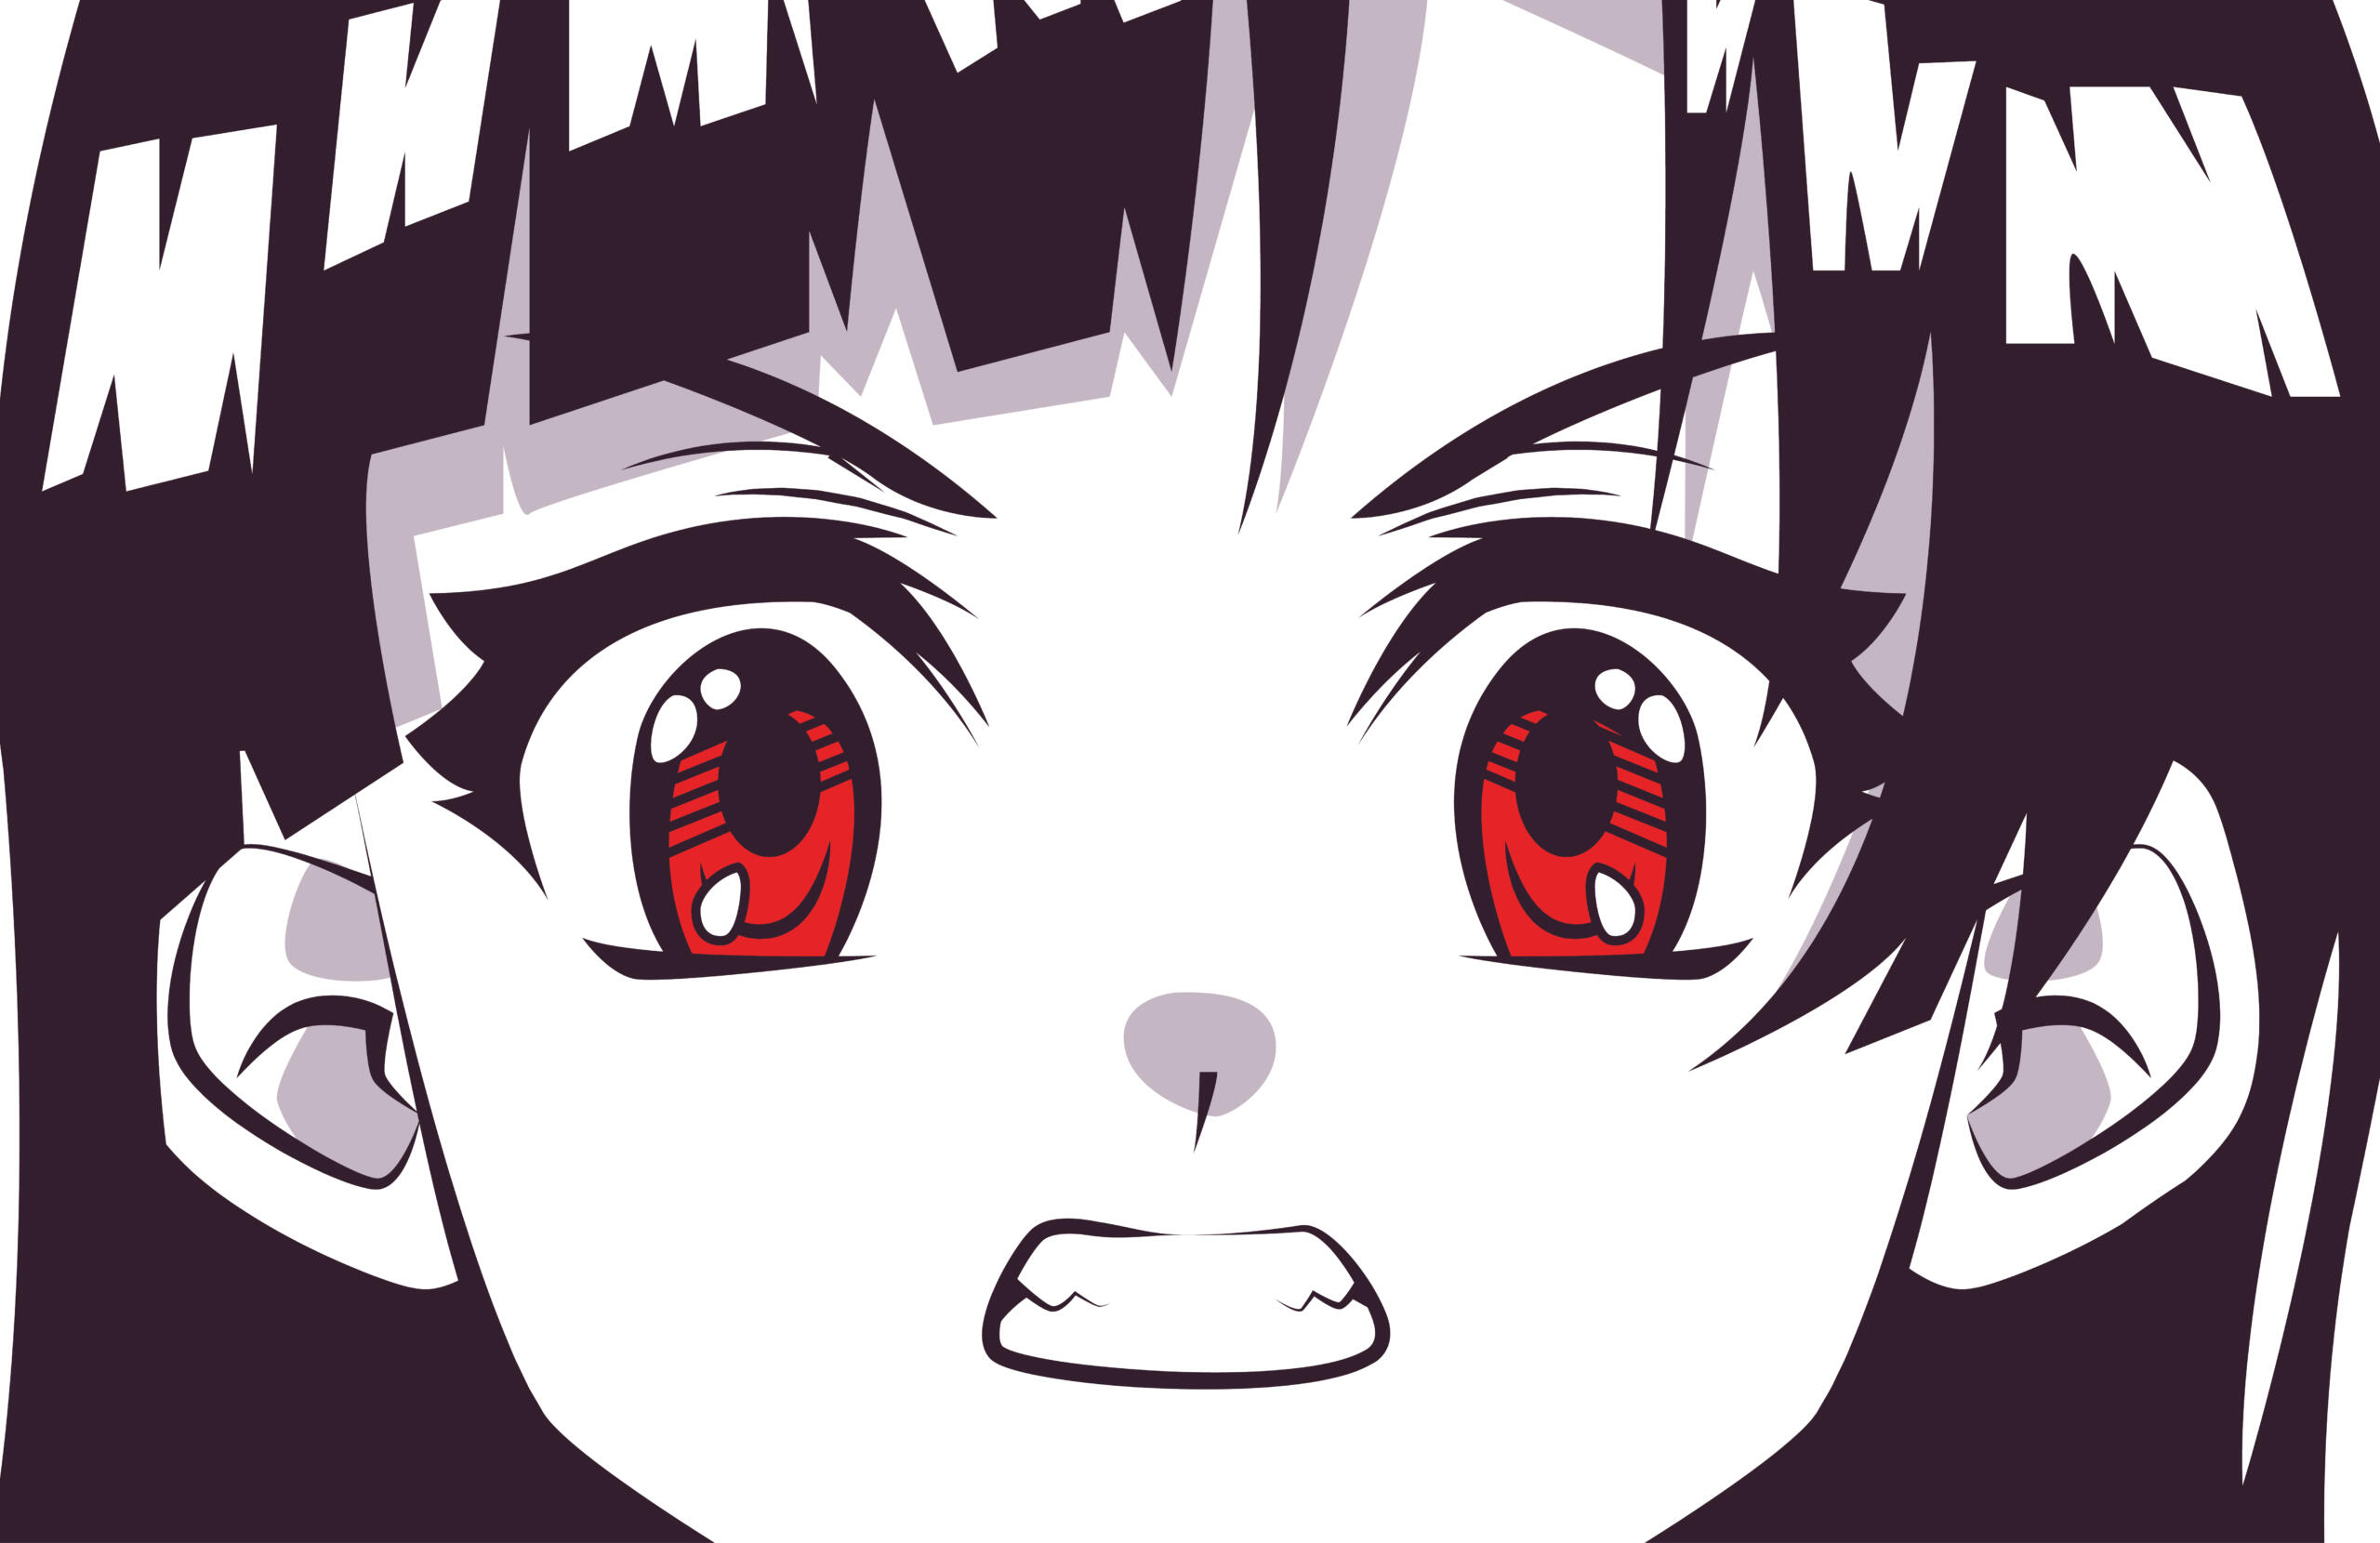
👀 Large, Expressive Eyes
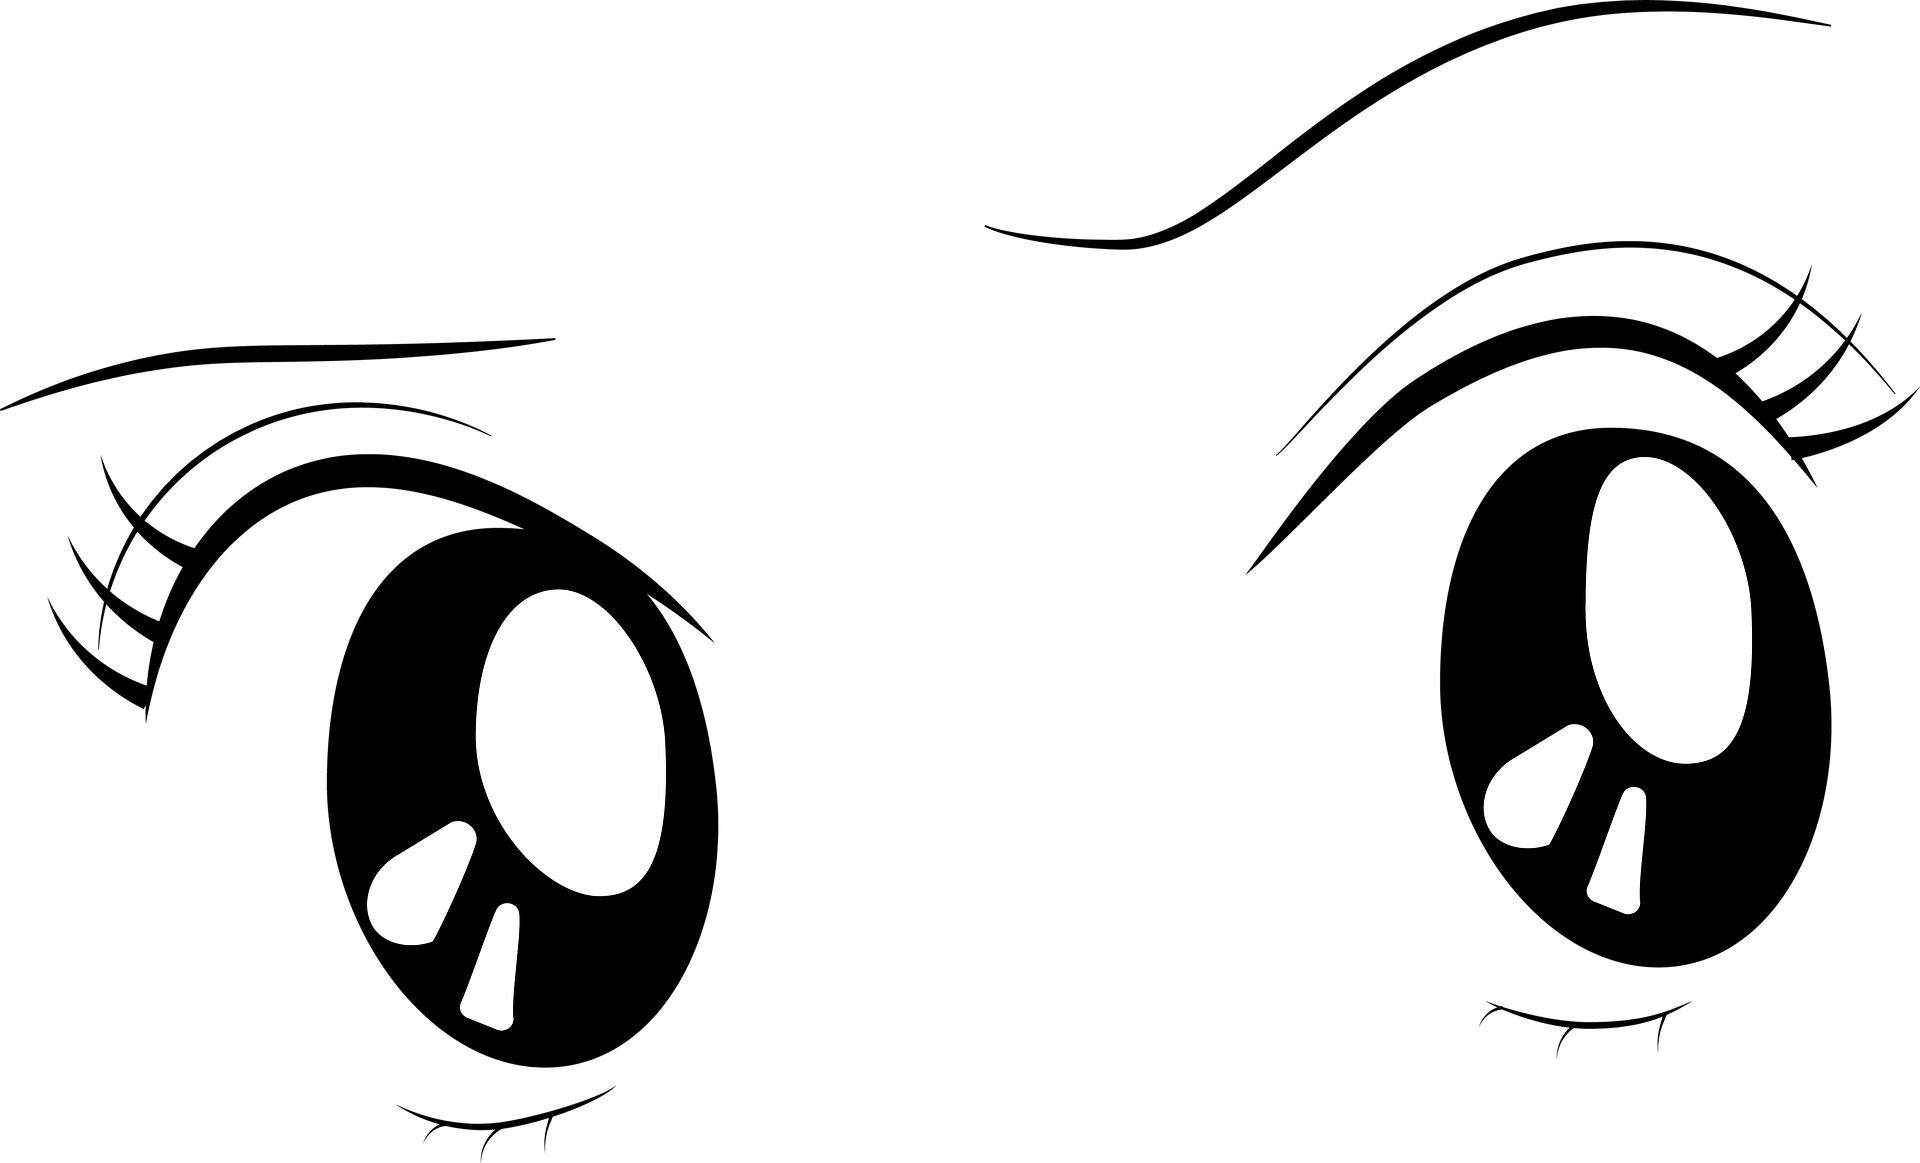
Arguably, the best-known characteristic of anime art is the use of highly expressive eyes. In most anime and manga styles, the eyes are significantly larger and more detailed than in realistic drawings.
The reason for this is that it helps artists communicate emotions. However, not every anime style uses oversized eyes - more mature or realistic seinen series (anime aimed at adults) tend to use sharper, narrower designs.
Whilst learning to draw anime, spend extra time practising eyes. A surprising amount of personality comes from small changes in shape and detail in this area.
✏️ Simplified Facial Features
Additionally, anime characters are often drawn with simplified mouths and noses, too. Rather than filling a face with tons of realistic anatomical details, most artists in the industry try to keep features cleaner so expressions stand out better (and also to save time).
However, it's not uncommon for anime characters to feature other complex designs like tattoos, horns, or even scars on their faces to make them unique or memorable.
💇Distinctive Hairstyles and Silhouettes
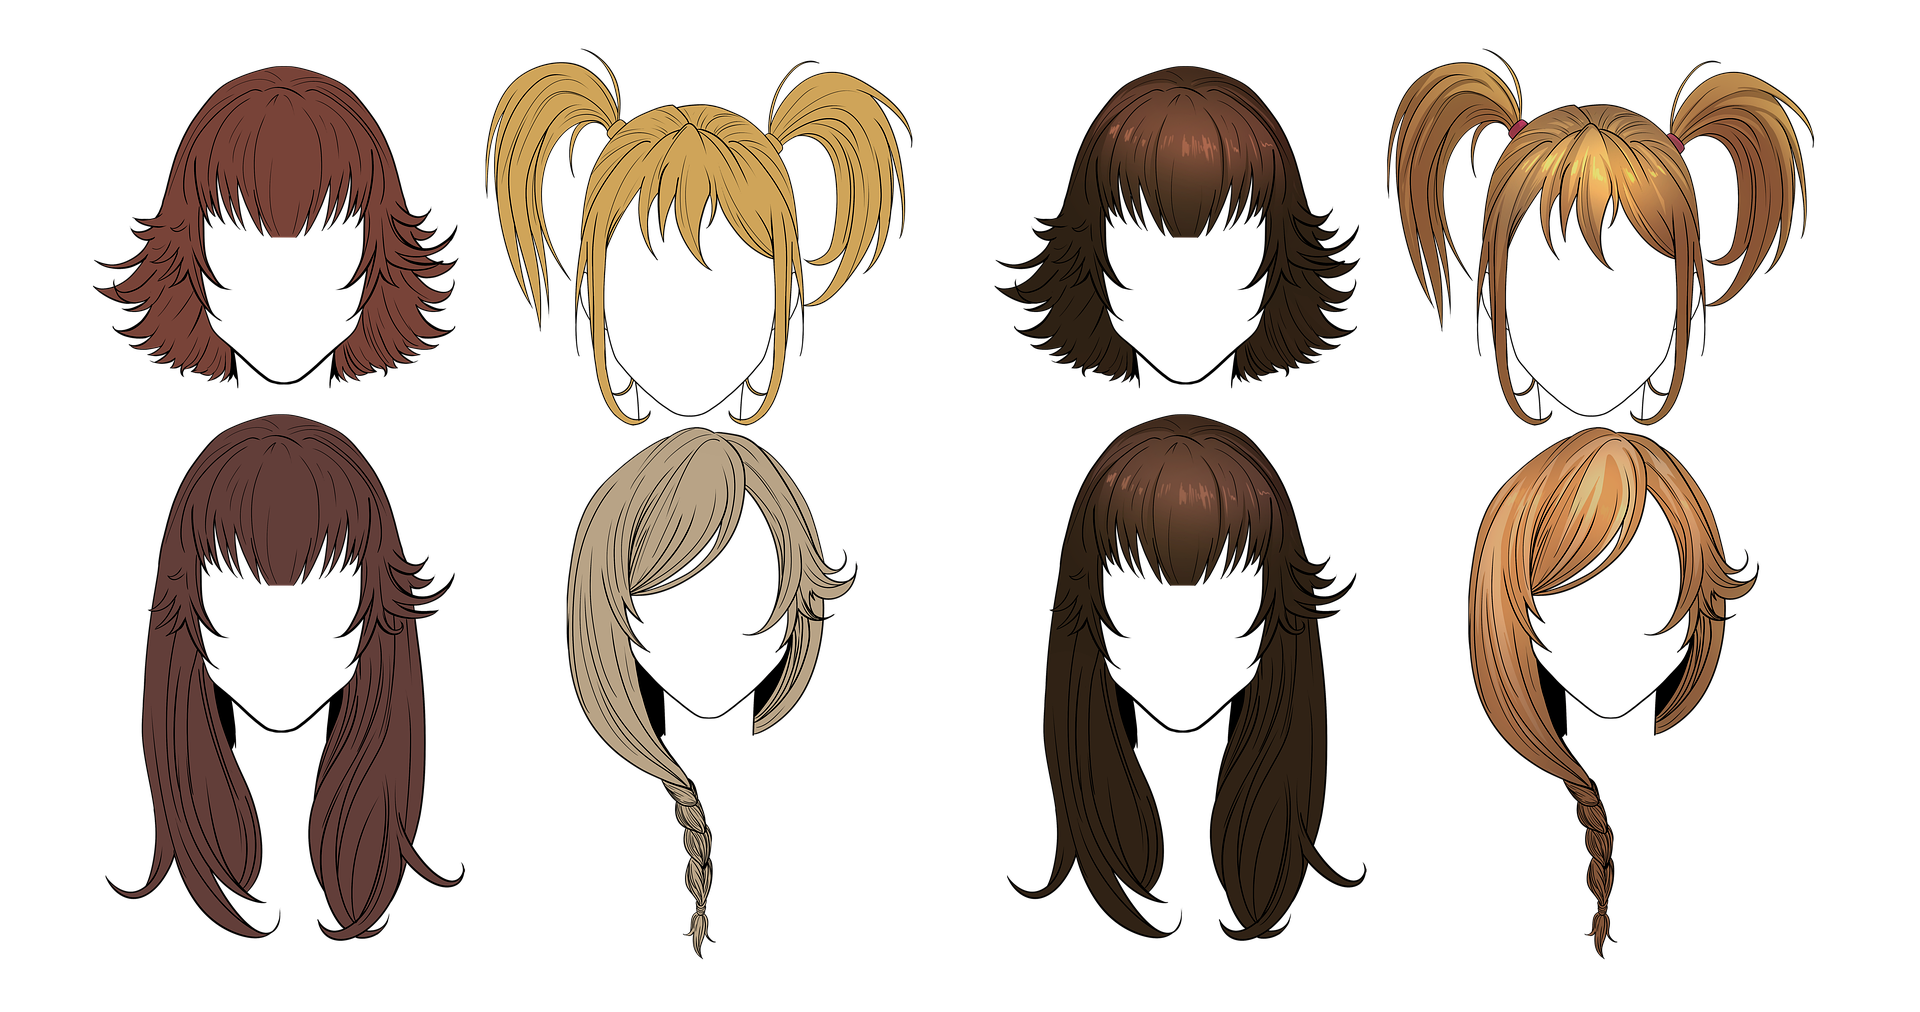
Next to eyes, distinctive hairstyles are one of the most iconic parts of anime design, made famous by series like Dragonball Z and Naruto where sharp spikes and instantly recognisable shapes helped characters stand out.
Hair can also hint at a character's personality as well. For example, wild and messy styles might suggest energy and confidence, while softer, less spiky hair may point towards a more stoic and reserved character.
🎭 Exaggerated Expressions and Emotion
Similarly, anime also pushes facial expressions further than more realistic mediums in art. One of the most famous examples of this comes from One Piece, where even the most serious or threatening of villains can show a goofy side when opening their mouths comically wide in shock or frustration.
Some common anime expression techniques include:
🧰 Essential Tools and Materials
Probably the biggest mistake beginners make when learning how to draw anime is assuming they need expensive equipment. In reality, plenty of artists started out with little more than a pencil and paper (and a healthy amount of regular practice). While better tools like a drawing tablet can feel nice to use later on, the most important thing early on in your journey is getting comfortable sketching consistently.
Traditional Drawing Supplies
| Tool | What It's Used For | Beginner Friendly? |
|---|---|---|
| HB pencil | Light sketching and rough outlines | Yes |
| Eraser | Fixing mistakes and adjusting proportions | Yes |
| Sketchbook or paper | Practising faces, poses, and characters | Yes |
| Fine liner pen | Going over finished drawings | Yes |
| Coloured pencils or markers | Adding colour to characters | Yes |
Digital Drawing Tools

If you prefer drawing on a screen, digital art can be a fun option too. Many artists within the Japanese art community use drawing tablets, styluses, or apps to sketch characters and experiment with colour more easily.
A fair word of warning, though, we do recommend learning to draw with pencil and paper first, as it helps you get more comfortable with the fundamentals first. Sketching by hand gives you a better feel for proportions, line control, and small mistakes that are easy to miss when an app can instantly erase or correct them!
| Tool or Software | What It’s Best For | Good for Beginners? |
|---|---|---|
| Clip Studio Paint | Manga, anime art, comic panels, line art | Yes |
| Procreate (iPad) | Sketching, colouring, anime fan art | Yes |
| ibis Paint X | Mobile anime drawing and practice | Yes |
| Krita | Free digital illustration software | Yes |
| Wacom Tablet | More advanced digital drawing setup | Yes |
| XP-Pen / Huion Tablets | Affordable drawing tablets for beginners | Yes |
Keep a small sketchbook or digital folder of practice drawings, even the messy or bad-looking ones. Looking back at older sketches after a few weeks is one of the easiest ways to spot improvement and figure out what areas still need more work. Even the biggest creators of famous anime series had to start somewhere, after all.
🚀 Step-by-Step Guide to Drawing Anime
In this section, we'll go through everything you need to know to take your anime drawing skills to the next level, step by step.
Basic Anatomy and Proportions
Obviously, anime anatomy is pretty stylised, but most characters still follow a loose structure to ensure they don't look awkward or strange.
A simple trick artists use is measuring the body using the head as a guide. In simple terms, ask yourself: how many heads tall is this character?
| Character Type | Typical Height | What This Usually Looks Like |
|---|---|---|
| Chibi character | 2–4 heads tall | Tiny body, oversized head, playful or comedic look |
| Younger character | 4–5 heads tall | Shorter proportions with a more childlike appearance |
| Teen character | 5.5–7 heads tall | One of the most common anime body types, often seen in school or action series |
| Adult character | 7–8 heads tall | Taller frame with longer legs and a more mature look |
🧍 Head and Torso
Start with a simple circle for the head, then lightly sketch the neck and torso underneath. At this stage, think about positioning rather than detail. You are simply working out where everything will sit.
💪 Arms and Legs
While simplified, arms and legs on an anime character still need to feel balanced. As a rough guide, elbows usually sit around waist level while hands often fall near the upper thigh when the body is relaxed.
⚖️ Balance and Posture
Lastly, take a second to check posture. Does the character look stable standing up? If one leg carries more weight, the shoulders and hips may tilt slightly too.
Drawing the Head and Facial Features
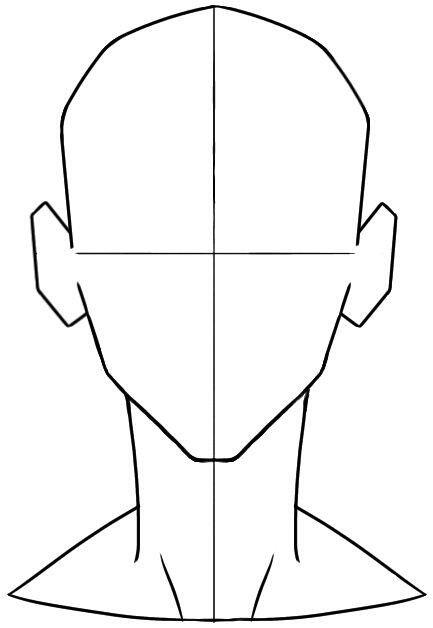
Anime faces might look complicated for a newbie, but most begin with a loose outline and a few light guide marks1. Once the placement feels right, details such as eyes, eyebrows, and mouths become much easier to sketch.
Designing Anime Hair
Now we are at what is arguably the most fun part of anime drawing - hair. From wild spikes and layered fringes to flowing styles and dramatic bangs, anime gives artists a lot of freedom to experiment.
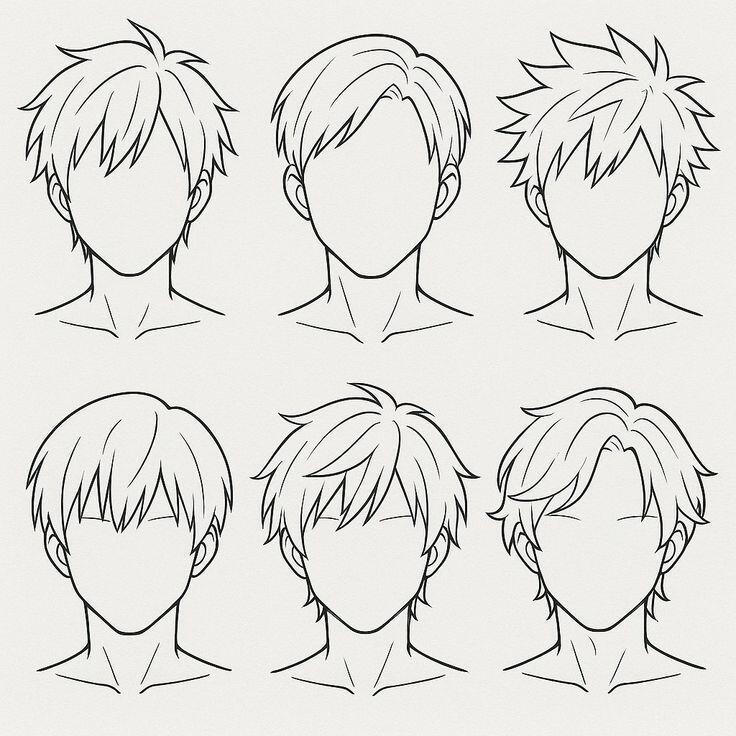
That said, there are still a few habits worth following if you want your hairstyles to feel more polished and closer to the kind of artwork seen in popular manga or anime series.
- 1. Leave Space Above the Head - One thing beginners often miss is volume. Hair rarely sits flat against the scalp in anime art, so leave a little room between the head and the outer edge of the hairstyle to stop it from looking squashed.
- 2. Draw Hair in Sections - Instead of sketching hundreds of individual strands, break the hairstyle into larger sections. Think about bangs, side pieces, or thicker clumps of hair first, then add smaller details afterwards.
- 3. Think About Direction and Movement - Hair usually follows a natural flow. Long hair tends to fall downward, while action scenes may show strands sweeping backwards or moving with the character. Even spiky anime hair often points in a consistent direction.
- 4. Add Detail Last - Once the hairstyle feels right, add a few loose strands, sharper edges, or highlights to give it extra personality without making it look overcrowded.
Outfitting Your Character
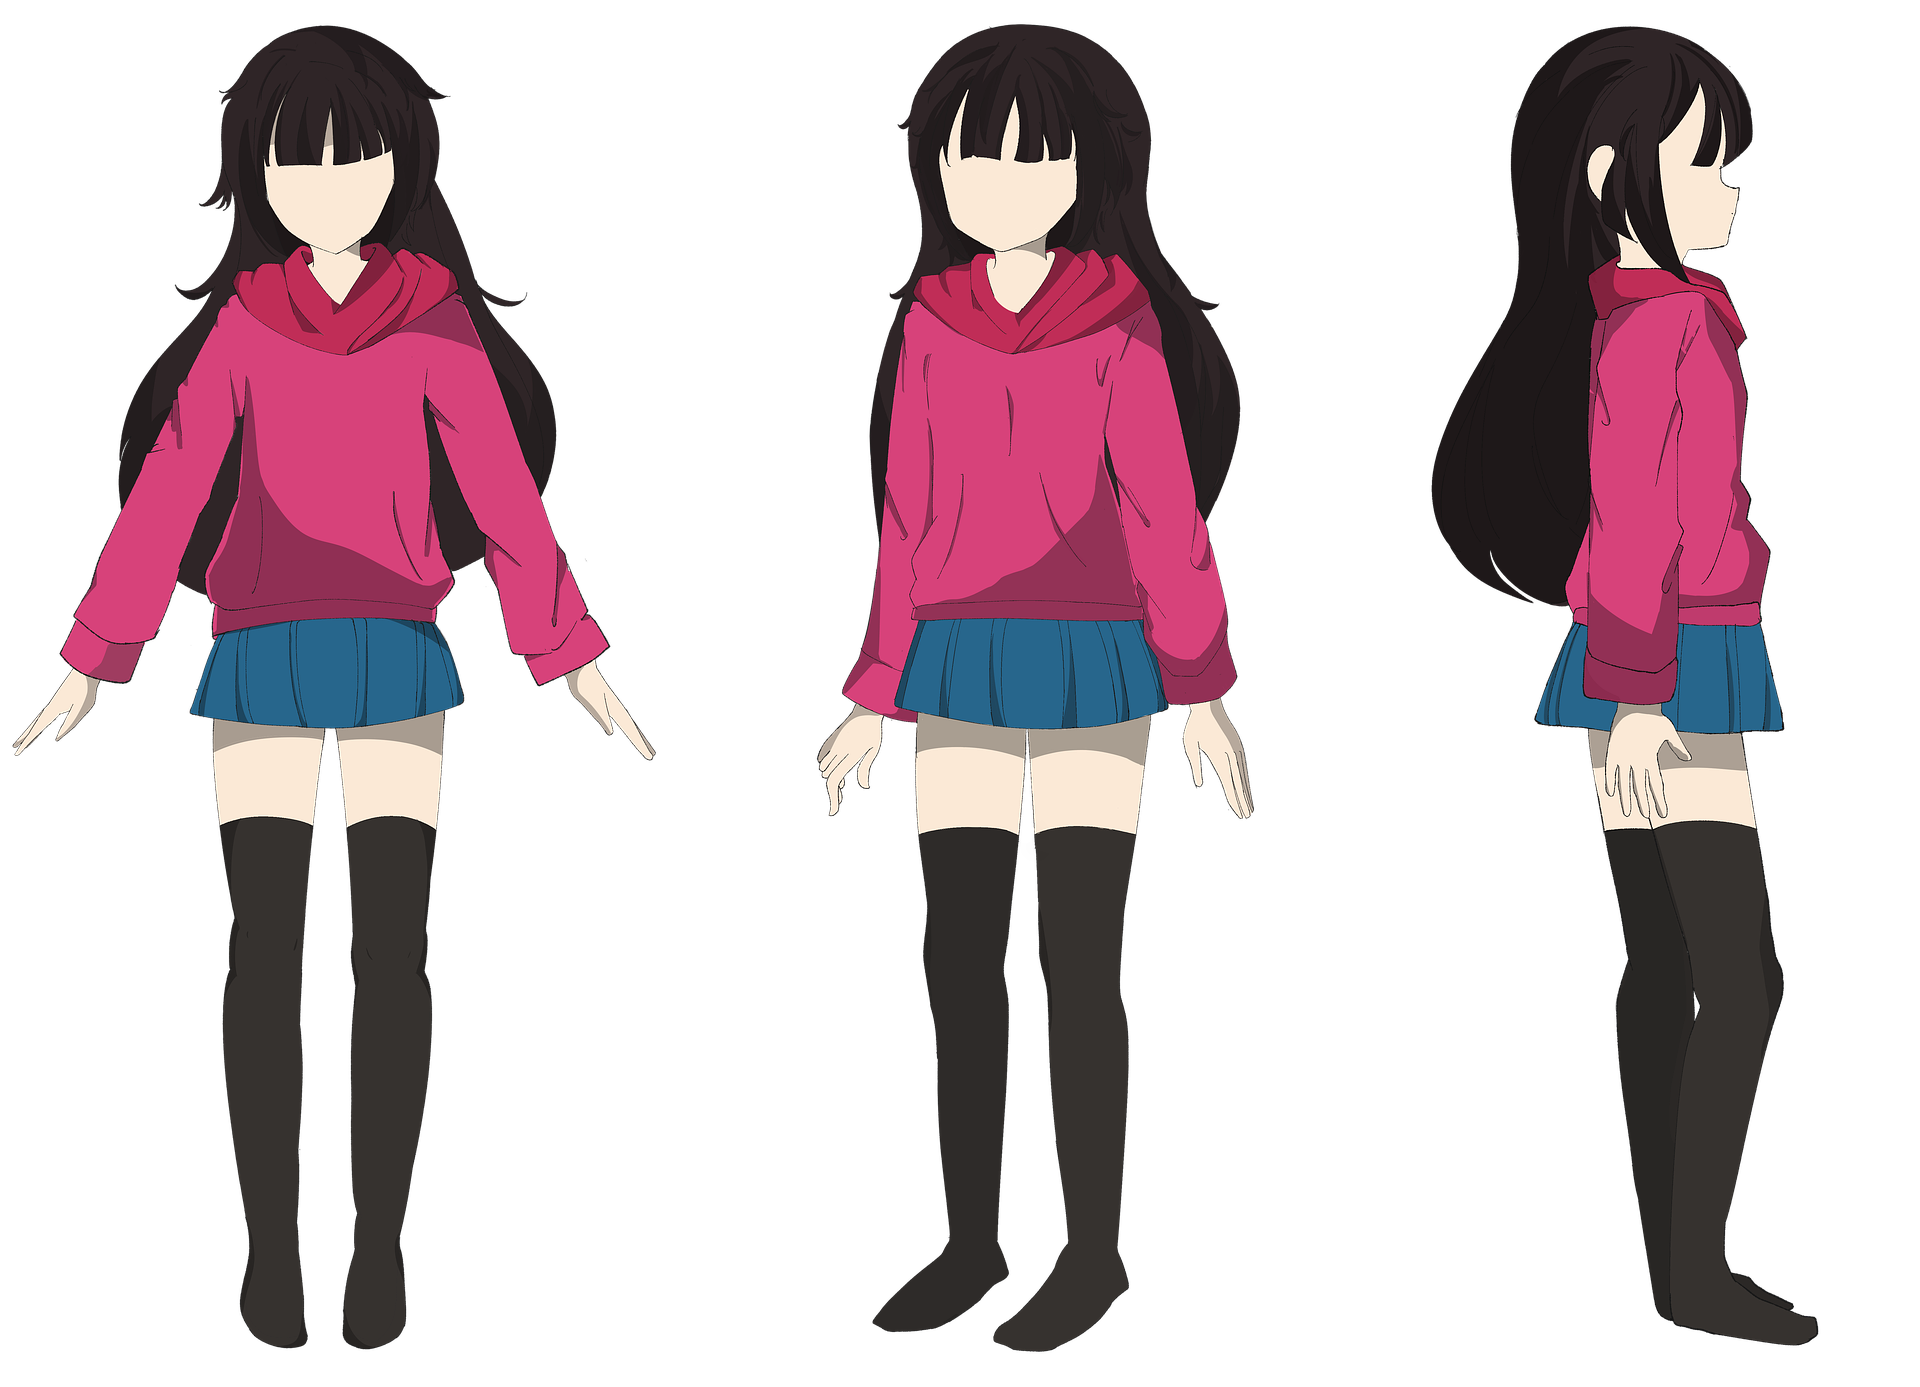
Aiming to give your character a real sense of identity? Then the final part of your design should centre around what they're wearing. However, drawing clothing can be one of the harder parts of the process to master.
If folds feel awkward to draw, grab a hoodie or jacket nearby and spend a minute looking at how the material hangs. Real clothes are the best reference.
Adding Expressions and Emotions
A well-drawn face means very little if every character looks emotionally blank. For example, someone standing tall with sharp down-facing eyebrows gives a very different feeling to someone slouching with wide eyes and a nervous smile.
| Expression | Facial Changes | Body Language | Drawing Tip |
|---|---|---|---|
| Happy / Excited | Wider eyes, lifted cheeks, open smile | Relaxed stance, arms open, energetic posture | Raise eyebrows slightly and open the mouth a little more to make excitement feel stronger |
| Annoyed / Angry | Narrowed eyes, lowered or angled eyebrows, tighter mouth | Folded arms, clenched fists, tense shoulders | Tilting eyebrows downward can quickly make a face feel more frustrated or serious |
| Nervous / Embarrassed | Small smile, blush marks, slightly widened eyes | Looking away, awkward pose, shoulders pulled in | Tilting the head slightly or avoiding eye contact can make awkward moments feel more believable |
| Sad / Tired | Lower eyelids, flatter mouth, softer expression | Slouched posture, lowered head, slower pose | Small changes often work best here to avoid making sadness look overly dramatic |
⚡Making Your Anime Drawings Feel More Dynamic
Familiar with how to construct your anime characters? Perfect, in this section, we’ll look at a few simple ways you can make your anime drawings feel more lively/ polished.
Incorporating Motion and Action
One of the main reasons why anime fight scenes feel so exciting is movement. Characters rarely stand perfectly still - leaning into punches or twisting while jumping, etc. A good place to start trying to do this yourself is thinking about the direction of movement:
| Technique | What It Does | Beginner Tip |
|---|---|---|
| Dynamic poses | Makes characters feel more energetic | Slightly tilt the body instead of drawing characters standing perfectly straight |
| Motion lines | Suggests speed or impact | Add short lines behind fast punches, jumps, or movement |
| Hair and clothing movement | Helps scenes feel less stiff | Let hair, sleeves, or scarves move with the action |
| Foreshortening | Adds depth to poses | Make hands or feet look slightly larger if moving closer to the viewer |
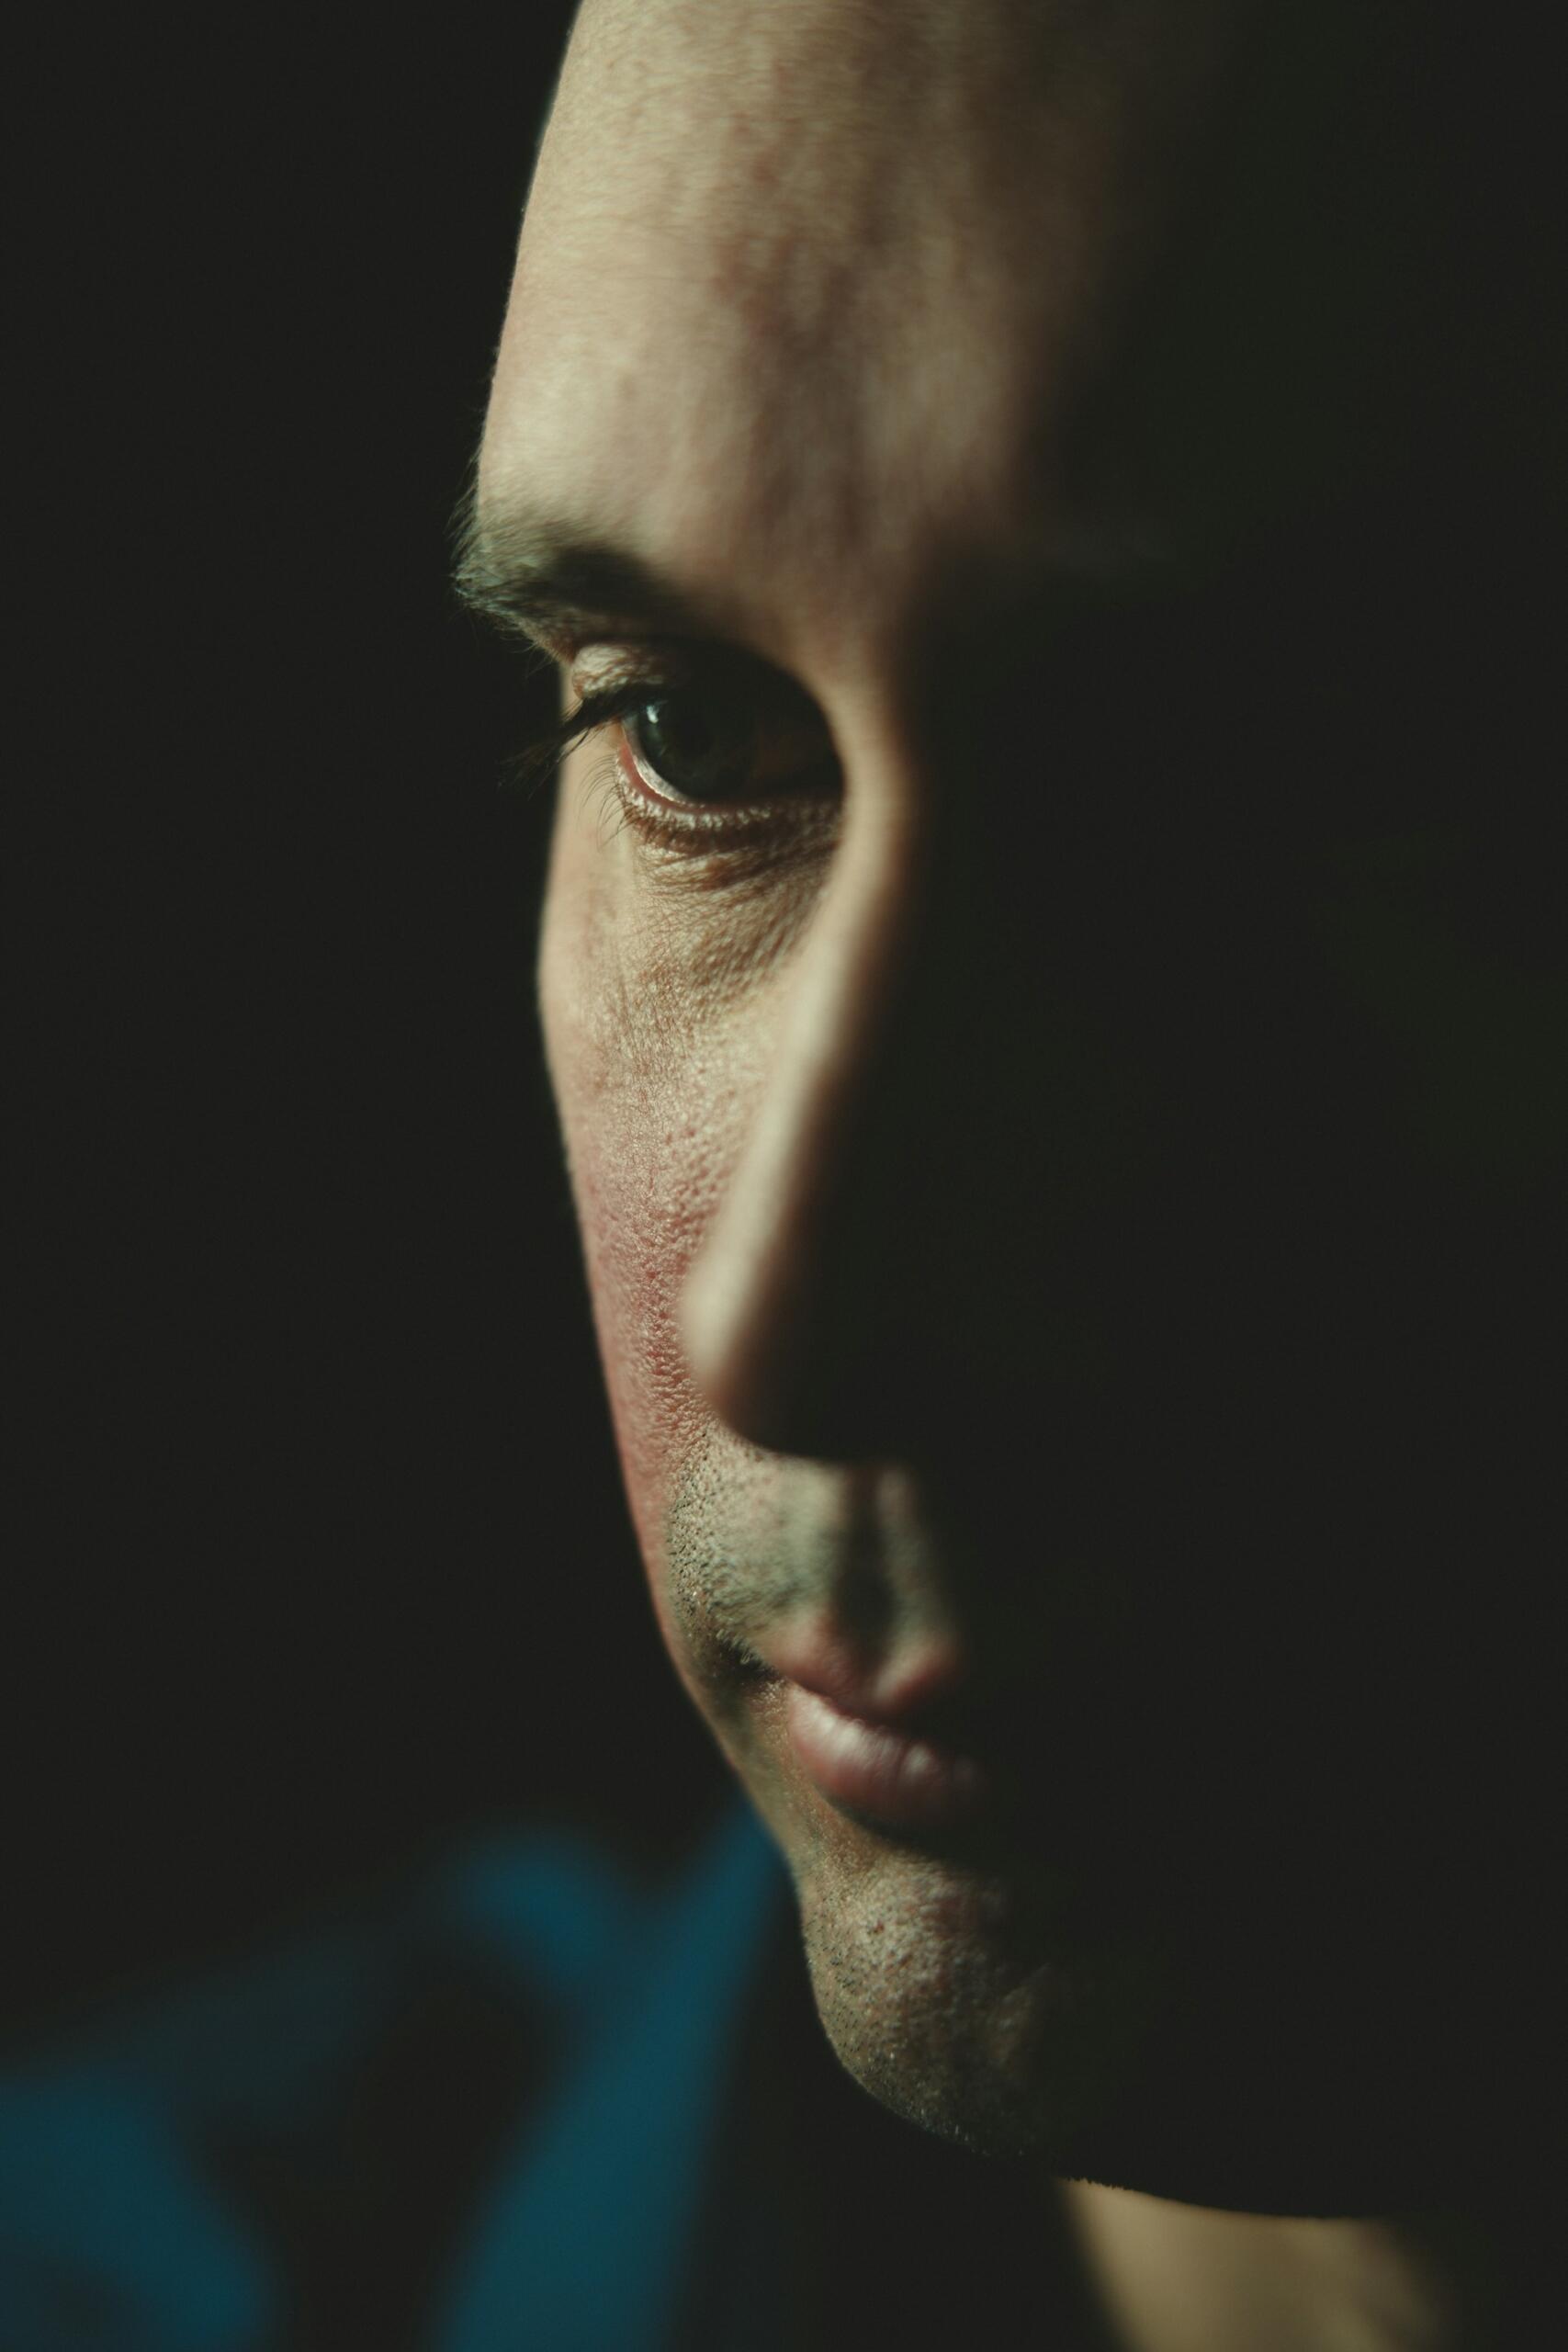
Understanding Light and Shadow
Shading usually works best when you keep it simple. Before you go ahead and add any shadows to your drawing, try to figure out what angle you want the light to hit your subject from. Depending on where the light is, the shadows will look drastically different, as detailed here:
Light From Above
When light comes from above, shadows tend to sit under the chin, fringe, nose, neck, and clothing folds.
Light From the Side
Meanwhile, side lighting creates stronger contrast and can make scenes feel more dramatic. One side of the face and body stays brighter, while the opposite side falls into shadow. This works especially well for action scenes or emotional moments.
Light Directly in Front
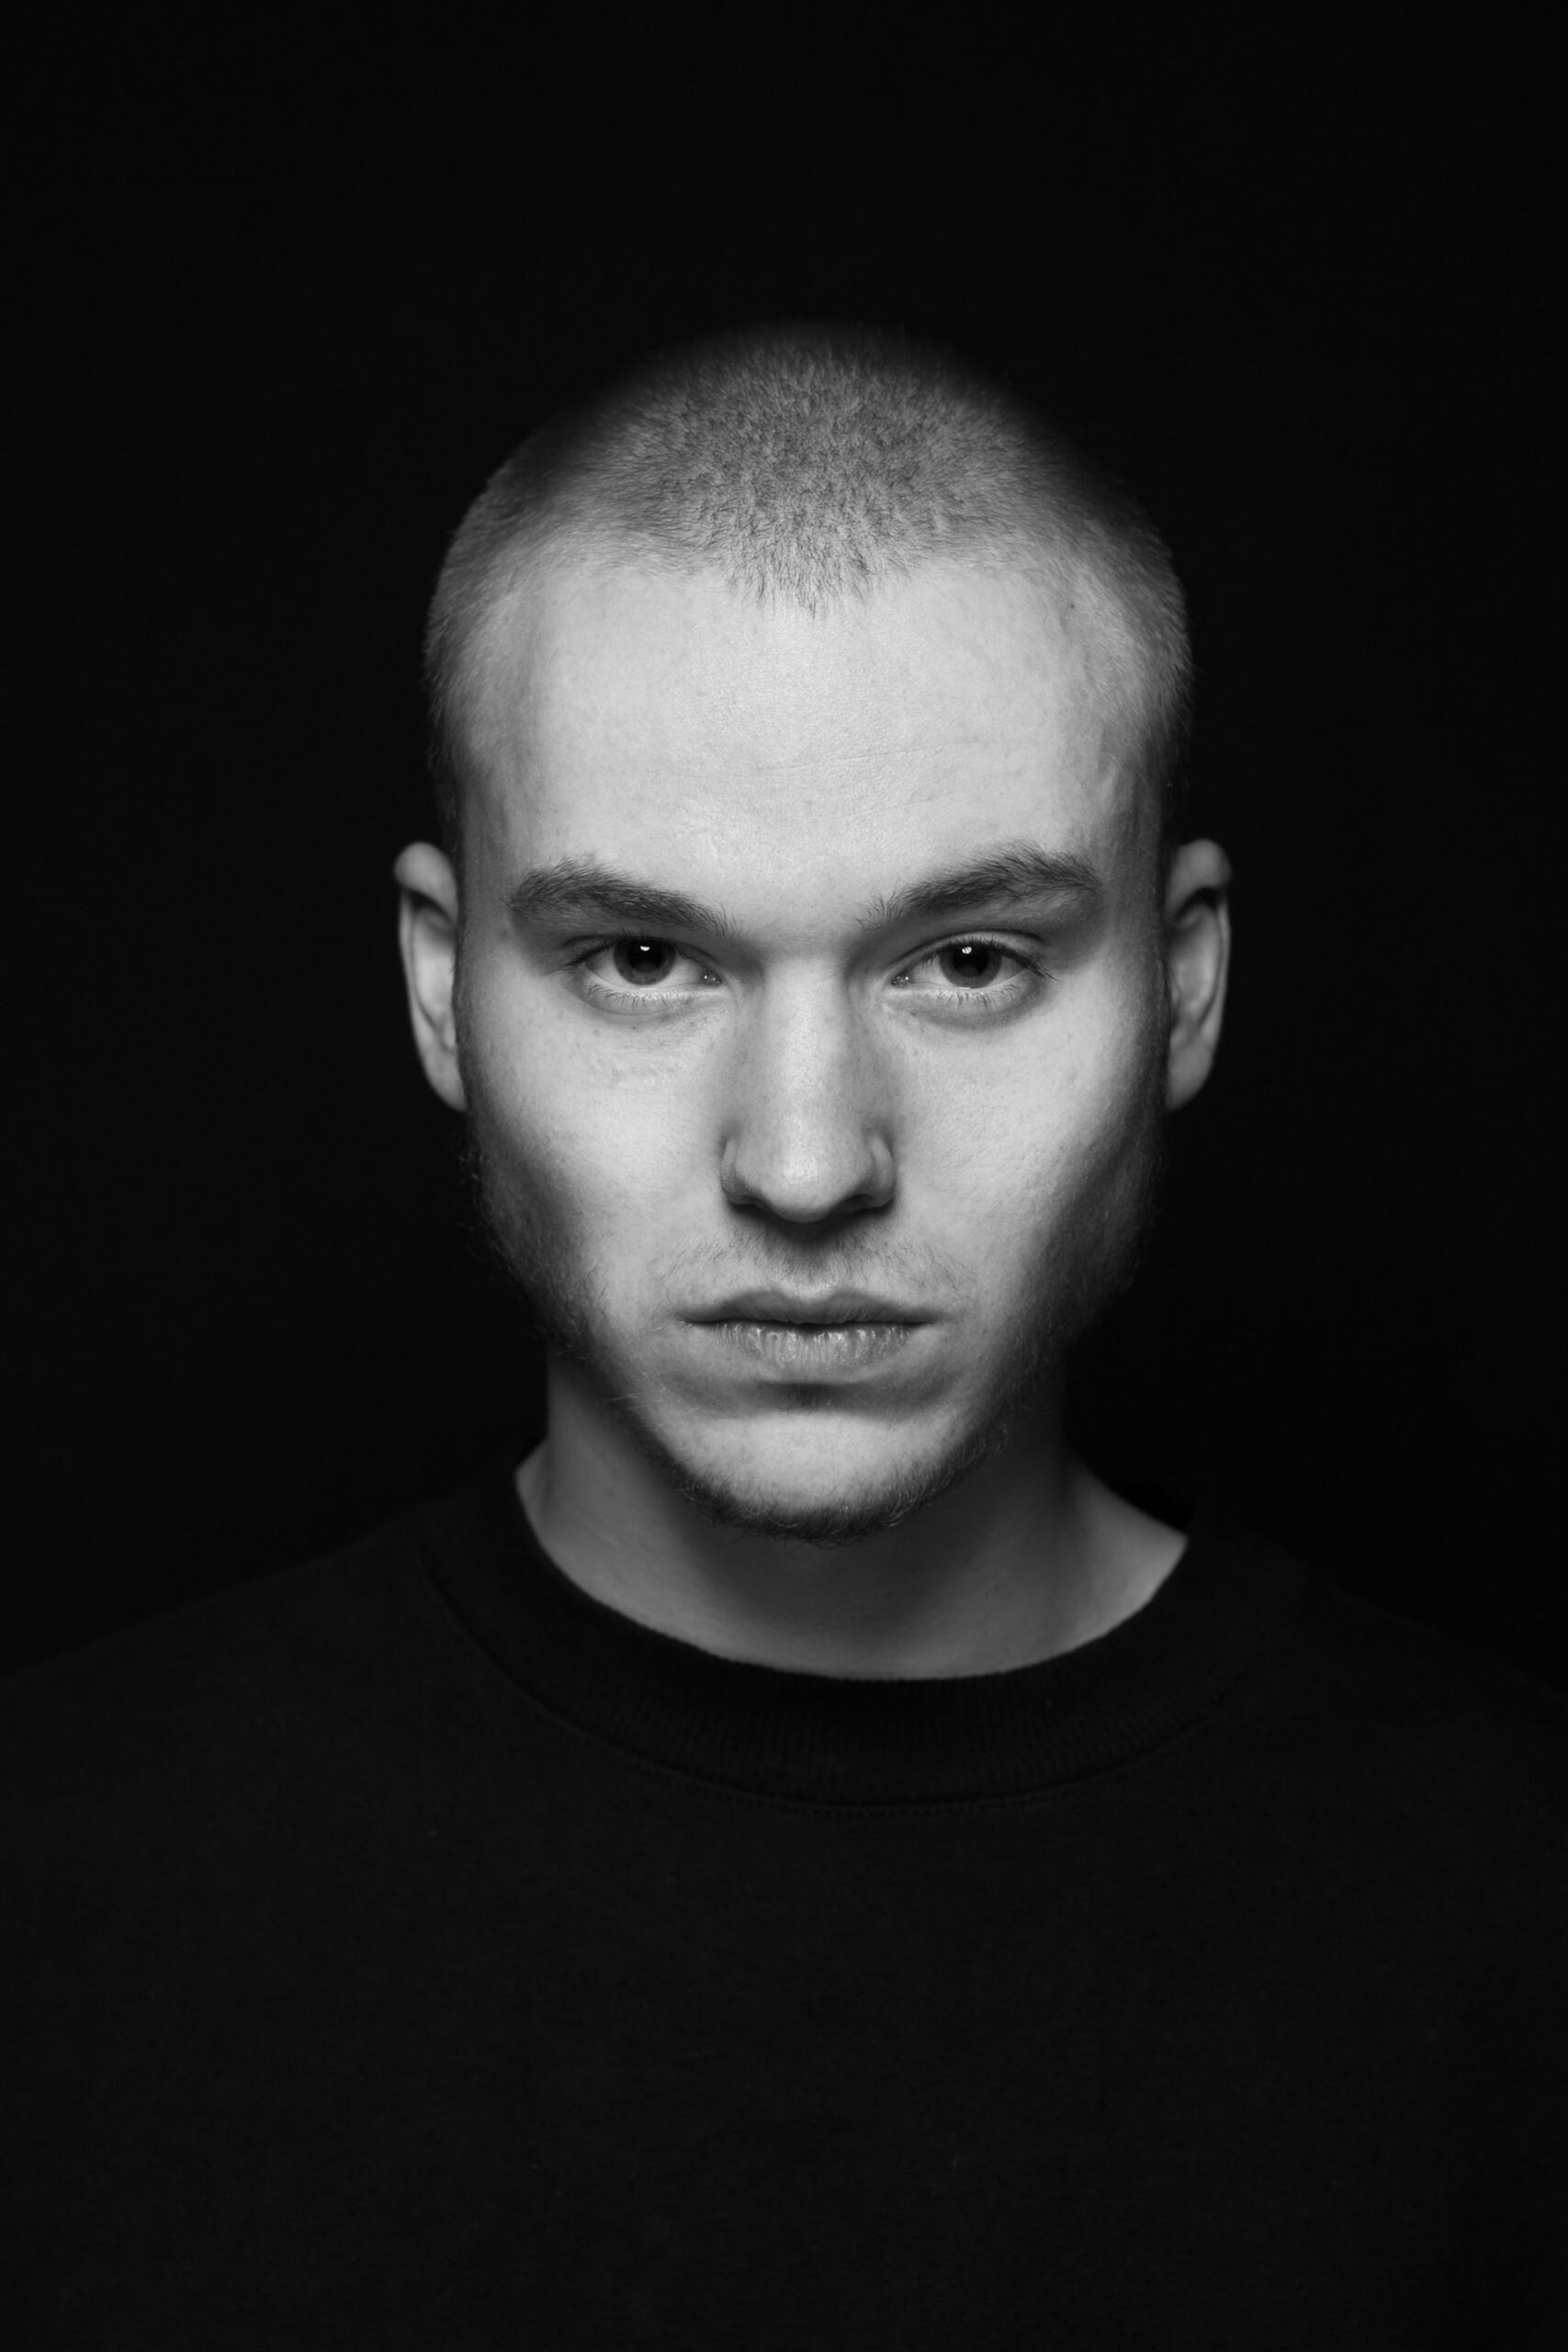
Lastly, light shining from directly in front reduces harsh shadows and makes the face look brighter and clearer. You may still notice soft shading beneath the chin or hair, though the overall drawing often appears flatter.
Learning to draw anime takes time, and getting stuck on things like proportions and shading is completely normal. If you’d like a bit of extra support, Superprof has drawing tutors who can help you improve at your own pace - whether you’re practising the basics or trying to make your characters look more polished.
References
- Burgess, L. (2025, May 3). Anime drawing tips for beginners. Astropad. https://astropad.com/blog/anime-drawing-tips-for-beginners/
- How to draw anime-styled portraits! by MistedSky - Make better art | CLIP STUDIO TIPS. (n.d.). CLIP STUDIO TIPS. https://tips.clip-studio.com/en-us/articles/4035
Summarise with AI:
Did you like this article? Leave a rating!