
"Drawing is exercise for a restless imagination." -Tim Burton
Whether you appreciate art and the artistic techniques that make it possible or not, there is something that can be said about drawing. Sketching or drawing creates beautiful images and is also a fantastic hobby that helps persons reduce stress, increase creativity, and develop parts of their brain.
Since drawing includes the sketching of any object, living thing, or landscape, there are many subdisciplines of drawing worth specialising in. Such as? For example, nature drawing is an excellent start for beginners and includes sketching breathtaking natural elements such as animals, mountains, and forests.
Without further delay, in today's article, we'll take a look at some tips for nature drawing to improve the sketching of reindeer, rainbows, rainforests, and still-life objects. Let's get drawing!


Reindeer Drawing

Whether you're drawing different animals from nature, plants, or people, there are many advantages of drawing that are worth addressing. Such as? The list below highlights some benefits of drawing to encourage beginners to start:
- Sketching improves creativity,
- Drawing is a brilliant stress reliever,
- Learning to draw increases a person's emotional intelligence.
Also, since there are so many beautiful things to draw, people can spend years honing their abilities and getting better. So, since so many aspects of sketching are worth your attention, why would anyone want to draw a reindeer? Well, reindeer are beautiful creatures that can be sketched realistically. By going through the steps of drawing reindeer, beginners become more skilled at sketching other animals such as horses, cows, moose, and deer, to name a few.
Let's take a look at a brilliant way to draw a reindeer that beginners will love.
Drawing a Reindeer for Beginners
As an amateur drawer, it is sometimes difficult to know where and how to start when drawing a creature as gorgeous as a reindeer. The list below mentions some essential steps to sketching an outstanding reindeer:
- Draw a cone-shaped nose. Next, you should draw a small curved line at the tip.
- Continue the bottom snout line to make the line that will be the neck. Next, add a tiny eye at the top of the snout. Finally, above the look, add a triangle-shaped ear.
- Draw the first antler. The bottom branch is long and slightly curved. The middle branch has three smaller branches. The top branch curves upwards with three small branches right at the top.
- Repeat the exact instructions from step 3 to draw an antler on the other side.
- Draw a long like for the reindeer's back. It bends down sharply at the rump.
- At the end of the drawing line for the neck, start sketching the long thin front leg down. There is a thick hoof at the bottom. Draw the back of the leg up to make the belly line.
- Continue the belly line back from the front leg toward the hind leg. The back of the rear leg is angled upwards and then curves inward towards the rump.
- Draw another front leg in front of the first front leg. Then, right behind the hind leg, add the second back leg. Finally, add a very short stubby tail to the reindeer's backside.
If you need additional help or have more questions about drawing a reindeer, we highly recommend hiring a professional art tutor who conducts online and in-person courses.
Rainbow Drawing
Do you like the beauty of seeing natural rainbows in the sky? Are you mesmerised by the colours in a rainbow? If so, you might as well learn how to sketch one!
Though rainbows are typically drawn by young children, adults who are drawing amateurs can easily find enjoy their moments sketching rainbows.
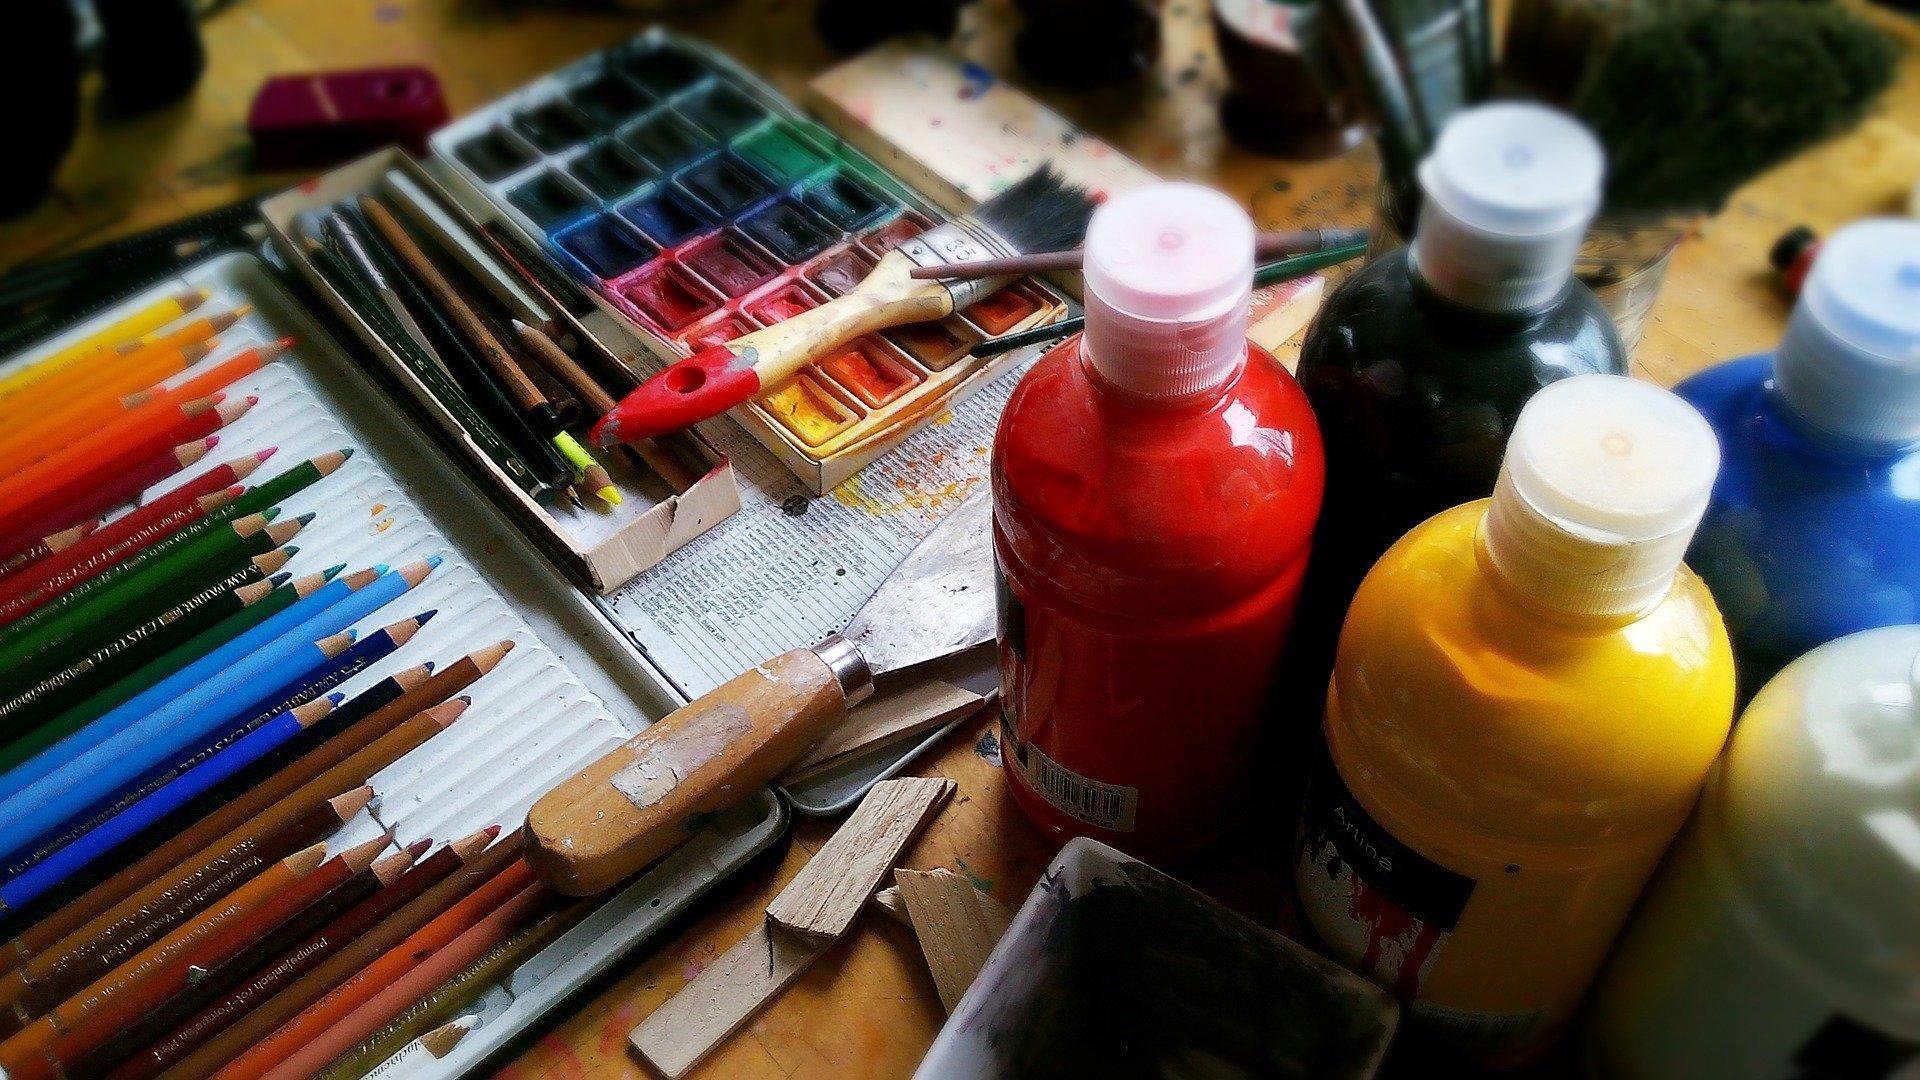
Before starting your rainbow sketch, it's essential to keep in mind that there are some necessary art supplies that you should have in your house before getting started. Such as? For example, equipment such as pencils, colouring pencils, sketchpads, watercolour paper, pastels, kneaded erasers, and permanent markers are highly recommended to draw a rainbow. Once the right art supplies have been purchased at a local art shop, sketchers are ready to follow the instructions of a guide and test out their skills.
But, how can I draw a rainbow? To successfully sketch a rainbow that you can be proud of, the following steps should be applied:
- Draw the horizon line,
- Start the rainbow on the page by drawing the top curve,
- Add two evenly spaced curves below the first one that you have drawn,
- Continue to add more angles that are somewhat less long than the first ones,
- Finish with two more lines that are drawn. There should be a total of eight lines.
- If you want, draw background details such as bushes, clouds, flowers, and animals.
- Finish the drawing by colouring in the spaces with your favourite colours. Take a look at the classic colours of a rainbow and how the structure is followed.
- To make your bright colours stand out, you might want to trace the lines with a permanent marker.
While there are many drawing tutorials on how to sketch a rainbow, the previously mentioned steps are guaranteed to get you the rainbow you've always wanted.
Rainforest Drawing
The beauty of the rainforest and its sheer wildness has inspired many illustrators to start drawing animals, trees, plants, flowers, and bodies of water from the jungle. There are so many species of natural elements in the rainforest that a person can spend their entire life drawing rainforest scenes and not reach the end!
Nonetheless, sometimes even the most accomplished drawers sometimes lack imagination and motivation. So, they need to stay on top of their game by going out for walks in nature to be immersed in their surroundings and spend time looking at the art pieces of others.
But, how does one draw a stunning rainforest scene that they are proud of? Let's take a look at the following steps:
- The first step is drawing a basic outline for your rainforest layout. Start by sketching out the tops for the trees above, and then draw the stems for the trunks.
- Secondly, you'll want to have many different plants in the Amazon, which means you will have to draw a variety of foliage. Begin by sketching the foliage of the tress, and then draw the hanging vines and large leaves you see.
- Finish sketching out the treetops and then draw the tree trunks as you see them drawn on pictures of jungles. Once that is done, you can sketch in more loose or low hanging tropical vines and then sketch in the background for your rainforest landscape.
- Fourthly, draw a large fern leaf and draw a low laying tree limb with some moss growing on it. You will then draw some more leaves surrounding the front of the area.
- Fifthly, tweak your sketch by drawing in some more leaves, trees and defining the features in your drawing with some shading. Finishing the picture means starting to erase all the guidelines and shapes you drew in step one to clean up your drawing before adding colour.
- If you want, you can add colour and do some additional darkening of the lines to make the photo stand out.
If you need additional inspiration to draw a rainforest scene, it would be a great idea to hire a professional art tutor on Superprof with years of experience and qualifications to back up their skills.
Still-Life Drawing

Another sketching that is incorporated in the sector of nature drawing is that of still-life art. Alike, all other aspects of art, still-life drawing boasts many benefits that you should know about. Such as? Those who take part in sketching still-life pictures tend to find a way to manage stress more effectively and develop their creativity.
Also, it's important to state that there different types of still-life drawings that are highlighted in the list below:
- Flower Pieces,
- Breakfast or Banquet Pieces,
- Animal Pieces,
- Symbolic Life Stills.
To successfully sketch still-life images, there are specific techniques that all beginner, intermediate, or advanced students must be aware of. The list below mentions the methods employed by artists of still-life sketching:
- Measuring the object,
- Starting with the shapes before anything else,
- Spending time shadowing the thing that is drawn,
- Model the appropriate form,
- Add the last details and adjust the drawing to your needs.
Also, whether you are sketching still-life flowers, animals, or other inanimate objects, some steps need to be taken to prepare the scene for drawing. For example, it's necessary to determine whether the background is too busy or too much contrast. Additionally, the position of the object, the viewpoint (from above or straight on), the lighting, and whether you want to add additional elements needs to be considered before the drawing or sketching starts.
To get the best advice and make sure that what you are doing is in line with the drawing you have selected, it's essential to enlist the help of a private art instructor. But, where? Superprof. By searching for a still-life art tutor on Superprof, you are guaranteed quality education at an affordable price.
In conclusion, learning how to draw different aspects of nature sketching such as reindeer, rainbows, rainforests, and still-life pieces is an immersive experience that all persons should try at least once in their life. So, start learning to draw today!
Summarise with AI:
Did you like this article? Leave a rating!