
Elegant and majestic, people have loved them throughout history. In recent years, the number of people participating in equestrian sports has decreased. However, people still love horses.
So how can you draw them?
We’ve got the answer right here.


How to Learn How to Draw a Horse
Are you a beginner?
Everyone was at some point and every artist had to learn one way or another.
Step 1: Gather Reference Images
- Find high-quality reference images of horses. Look for different poses and angles to get a better understanding of the horse's anatomy.
Step 2: Study Basic Anatomy
- Familiarize yourself with the basic anatomy of a horse. Pay attention to the proportions of the head, body, legs, and tail.
Step 3: Start with Basic Shapes
- Begin your drawing by sketching basic shapes to establish the overall form of the horse. Use circles and ovals for the head, body, and limbs.
Step 4: Add Guidelines for Proportions
- Use light lines to add guidelines for the proportions of the horse. This will help you maintain correct proportions as you add more details.
Step 5: Outline the Body
- Start outlining the horse's body, paying attention to the curves and contours. Use longer, flowing lines to capture the natural shape of the horse.
Step 6: Define the Head
- Add details to the horse's head, including the eyes, ears, and muzzle. Pay close attention to the expression and the angle of the head.
Step 7: Refine the Details
- Work on adding details to the rest of the body, including the mane, tail, and hooves. Pay attention to muscle definition and fur texture.
Step 8: Shade and Add Texture
- Use shading to add depth and dimension to your drawing. Observe how light falls on the horse's body and replicate it in your drawing. Pay attention to the direction of the light source.
Step 9: Focus on Details
- Spend time refining and adding small details to enhance the realism of your drawing. This includes details like facial features, muscles, and fur.
Step 10: Evaluate and Adjust
- Take a step back and evaluate your drawing. Compare it to your reference images and identify areas that need improvement. Make any necessary adjustments to refine your work.
Some artists prefer to learn on their own. You can also teach yourself how to draw. By using tutorials or books, you can practise and learn the necessary techniques. There are a lot of useful guides on how to draw horses. There are entire books dedicated to the subject.
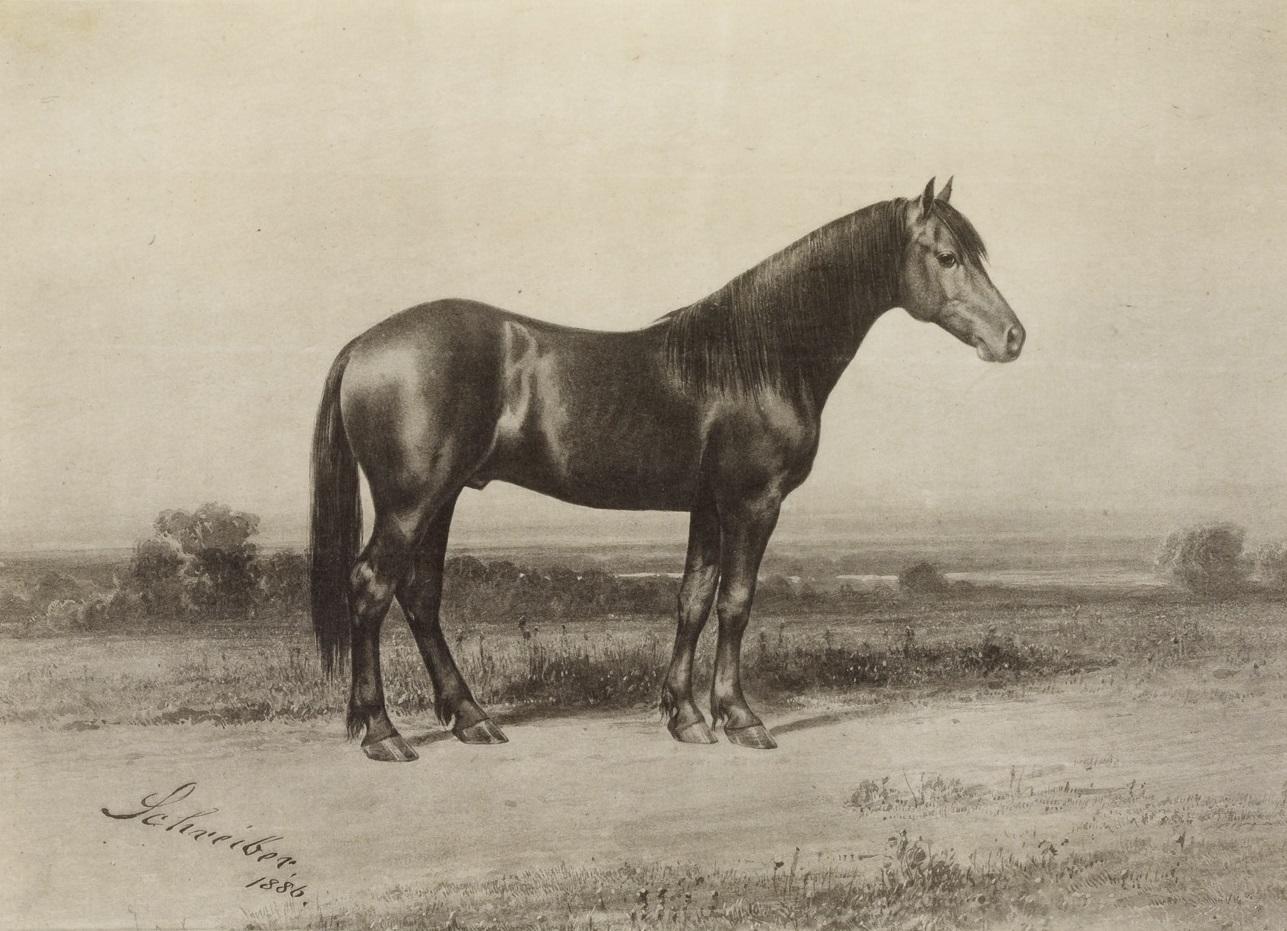
To learn how to draw a horse, you’ll need a reference. This can be a photo or an actual horse. If you live near any fields with horses in them, make the most of this.
Of course, copying a photo isn’t the same as drawing a horse in the real world. With a photo, you have the time to copy the horse and its orientation. With a live horse, you have to watch the horse as it moves. This will help your drawings to feel more alive. However, you will have to draw quite quickly to capture the horse’s poses before adding the detail later.
How to Draw a Horse’s Head
A lot of people are interested in horses. It’s one of the first animals that children will try to draw but it’s also one of the first challenges you’ll face as an artist.
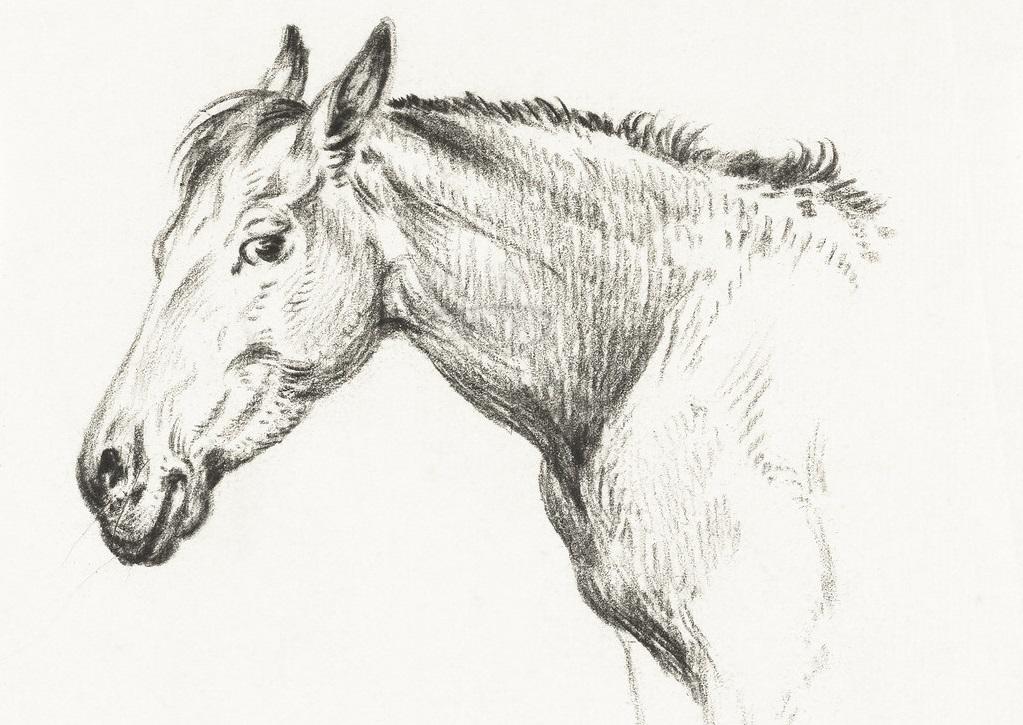
Drawing a horse requires quite a few skills. You can teach yourself these skills or learn them from a teacher. Whether you want to learn how to draw a horse, you might want to start with the head:
- Draw the outline: Unlike human faces where you start with the features, you’ll want to start with the outline for a horse’s head. This outline will help you place the features on the head.
- Draw the ears: It’s quite easy to place a horse’s ears on its head. They’re right at the very top of the head and are slightly rounded.
- Draw the mane: What would a horse be without its main? You can draw a horse’s main much like you’d draw a person’s hair. Generally, it surrounds the ears and hangs down on the horse’s forehead. It also spreads along the entire neck.
Draw the facial features: Once you’ve done the outlines, you just have to draw the nose, eyes, and mouth.
Find out more about drawing animals.
If you need help, look for tutorials online.
Horses are often considered quite hard to draw. There are artists who can draw incredibly realistic horses. However, drawings like this can take a very long time. You also need to ensure you get the proportions right. Again, look for guides on drawing horses.
- Start by drawing a circle in the middle of your page. This will act as the horses cheeks.
- Next, draw a trapezium pointing downwards or the direction you want the horse’s head to face. This will be the horse’s muzzle.
- You can then place the eyes at the top of the circle and the ears on the top of the end.
- From there, you’ll draw the neck and mane.
- Now you’ve got the basic structure of your drawing done. You then need to add the details like the hair, light and shadow, and muscles.
You can draw an entire horse if you’re feeling up to it.
The Easy Way to Draw a Whole Horse
Once you’ve mastered drawing the horse’s head, why not draw the whole horse?
The most complicated thing about drawing horses is making them look right in motion. If you’re drawing a moving horse, you need to pay particular attention to the legs. Again, look for specific guides online.
Find more drawing classes here on Superprof.
Start with the body and then add the legs. For the hooves, it only takes a few lines at the bottom of the horse’s legs. The tail is easily added, too.
Drawing a Realistic Horse
Much like when drawing a horse’s head, drawing a realistic horse in its entirety takes a lot of work in terms of technique, observation, and patience.
The horse’s body can be made using circles or ovals for the upper and lower body. You can use simple geometric shapes as the basis for your drawings. You can do this for any horse or animal. By using shapes as guides, you can ensure that the proportions of the horse are correct.
It’s a good idea to draw these shapes with a pencil so you can erase it later. It’s a good idea to use erasable coloured pencils so you can distinguish these lines from the lines you want to keep. You can find them in most art shops.
Once you’ve done the sketch, you can start adding detail and depth to the animal. Like any other animal, a horse has muscles and isn’t a smooth and uniform shape. You can use a pencil to add light and shadow to the drawing to create depth.
You can also use colours to add detail to this depth.
Drawing Horses in Motion
Drawing horses from the front or the side is usually the most common way to draw them. However, if you want to bring your creation to life, it’s much better to draw a horse that’s moving.

Perspective can also make your horse drawings even better. You can still use geometric shapes when drawing with perspective. You will have to change the lighting and shadow, though. You need to think carefully about where the light is coming from so that your drawing makes sense.
Learn about drawing dogs with Superprof...
Learning how to draw in general
When teaching yourself to draw, you need to be rigorous. Regular practice is the best way for getting better at drawing! You could always attend drawing lessons. Whether it’s in a club, at a school, or with a private tutor, drawing lessons can help you get better at drawing horses. Make the most of the time you spend in them.
Why not study a degree in art if you’re passionate about it?
Whether you want to become a biological illustrator or an artist, you can learn about it at university, too.
If you're interested in improving your drawing skills or just learning how to draw, consider getting help from one of the many talented and experienced tutors on the Superprof website. You can find private tutoring in a wide range of academic subjects and hobbies such as art and drawing.
You can enjoy face-to-face tutoring, online tutoring, or group tutoring. Each type of tutoring comes with advantages and disadvantages so think carefully about which is right for you, your preferred learning style, and your budget.
Learn about drawing cats with us.

Face-to-face tutoring is probably what you think of when you think of tutoring. These sessions between a tutor and a single student can be tailored to the learner, their learning objectives, and their personality. Usually, these types of tutorials are more expensive than the others as you're paying for a bespoke service, but they're also the most cost-effective as every minute is spent focusing on your learning.
If you can't find any suitable tutors working in your local area, you can always opt for online private tutorials. As the tutor doesn't have to worry about travelling to their students and can schedule more sessions each week as a result, they tend to charge less per student per hour. In many cases, online tutoring, when done right, can be just as effective as face-to-face tuition.
Group tutorials are an excellent option for those on a budget as the cost of the tutor's time is shared amongst all the students in the class. This does mean the sessions won't be completely tailored to you, but you will have the opportunity to compare your work to the other students' and learn from each other.
Don't forget that many of the tutors on Superprof offer the first lesson or hour for free. You can use these sessions to try out several tutors before choosing which one is right for you.
Tips:
- Practice regularly to improve your skills.
- Don't be afraid to make mistakes; they are part of the learning process.
- Experiment with different techniques and styles to find what works best for you.
- Seek feedback from others to get different perspectives on your work.
Find more drawing classes here on Superprof.
Summarise with AI:
Did you like this article? Leave a rating!


