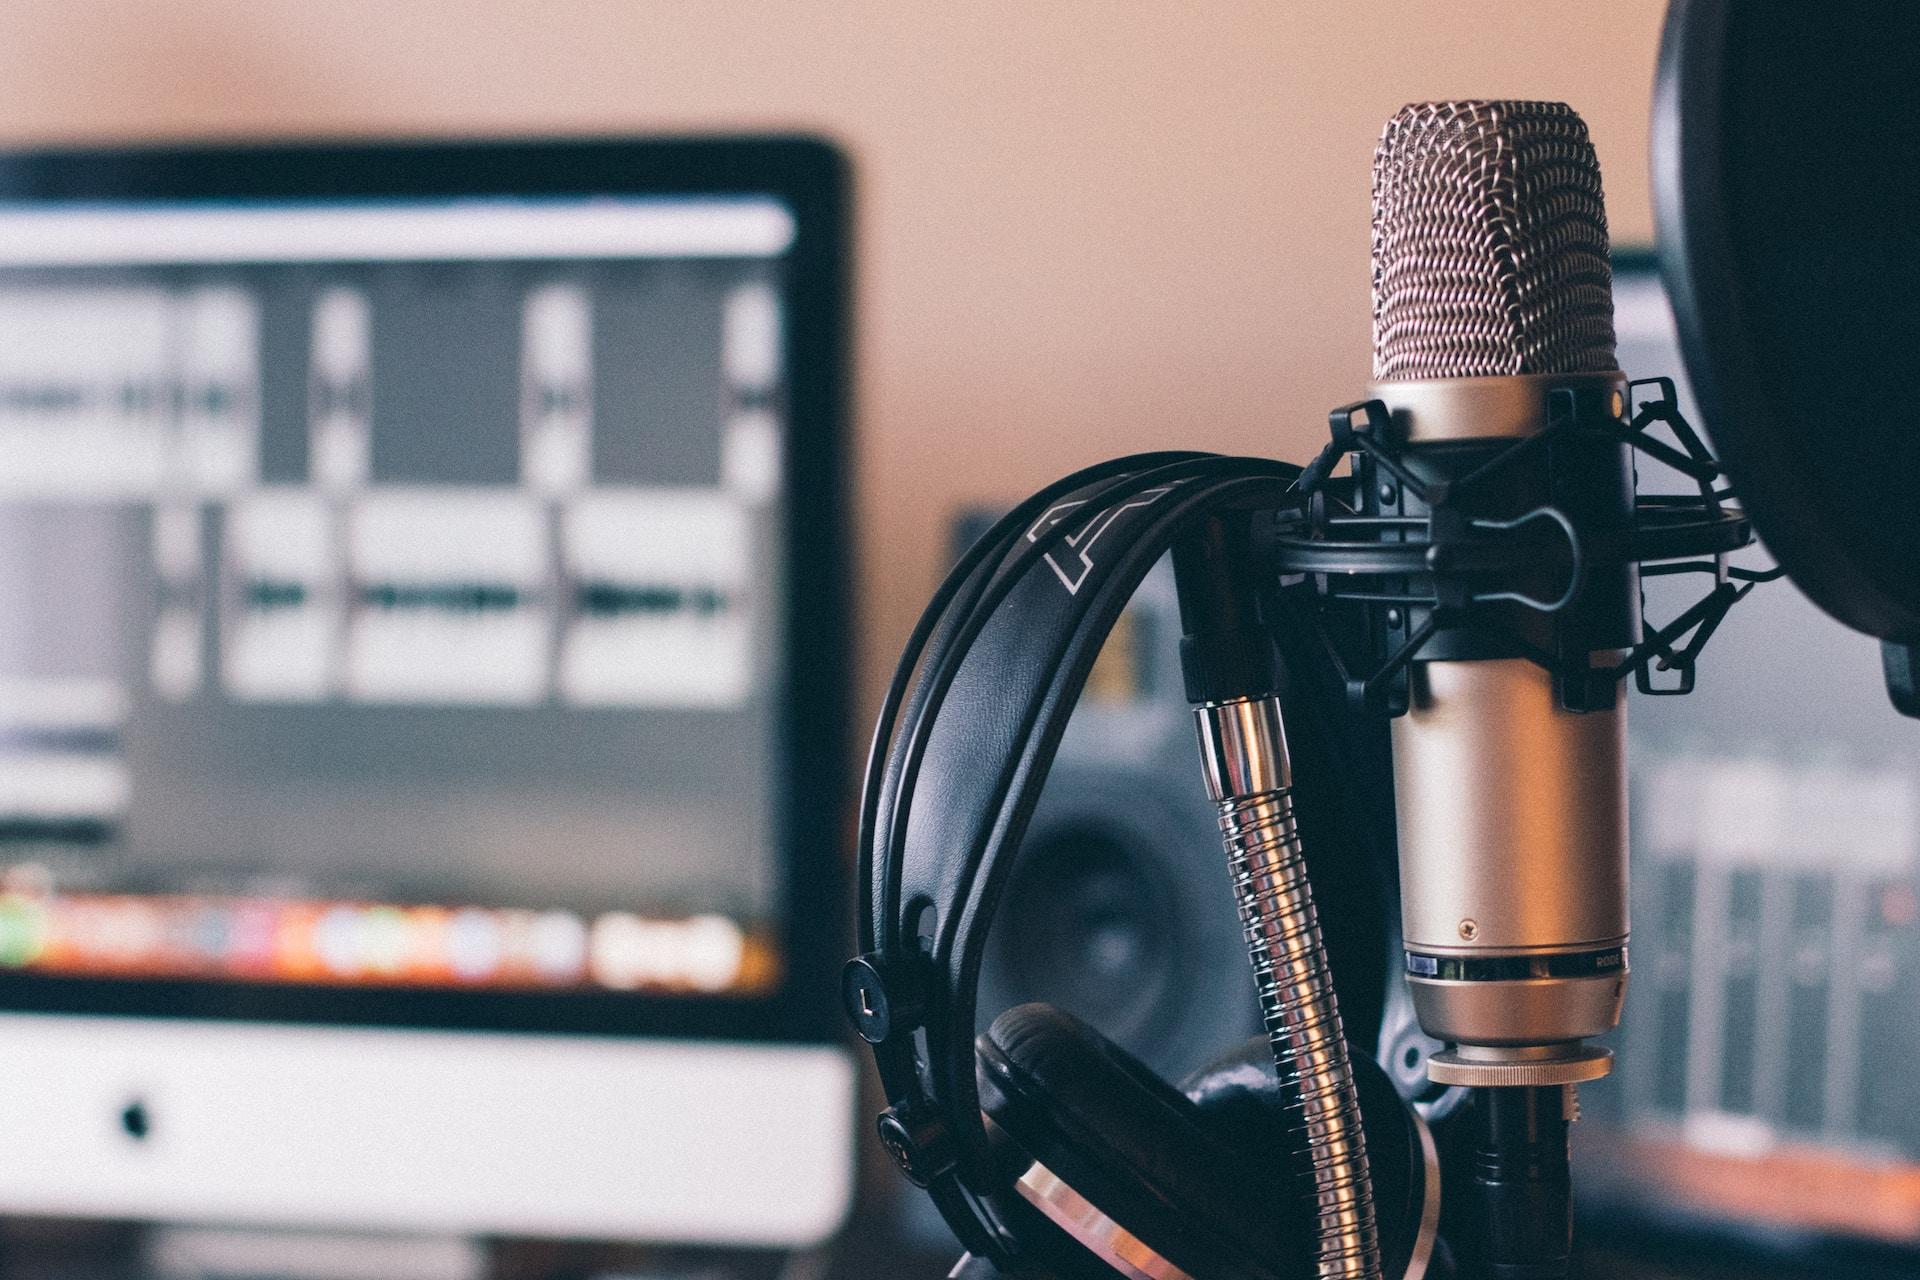

A lot of people don’t realise what a huge impact the microphone can have on the final sound of recorded vocals. Different techniques are used for different styles of singing or for different vocal types, and the equipment choices, as well as techniques, can totally change the end result.
When you listen to a song from 50 years ago, compared to a song recorded in recent years, they will almost always sound different. One of the reasons for this is the evolution in studio techniques and the way that things are recorded.


Choosing a Microphone For Studio Recordings
Whether a musician is looking for a way to record singing with a microphone in a home studio, or a studio engineer is evaluating the best way to record a vocalist, the microphone selection is crucial. This will also inform other areas of the microphone technique.
There are three types of microphones that are mainly used for recording vocals: dynamic, condenser, and ribbon. Each has its own different nuance and applications.
- Dynamic microphones: They are durable, versatile, and can handle high sound pressure levels. They are commonly used for vocals, drums, and guitar amps. One famous example is an SM58 microphone by Shure, used for a lot of different live uses. Dynamic mics are less sensitive compared to condenser microphones and are good for live performances or recording in less-than-ideal acoustic environments.
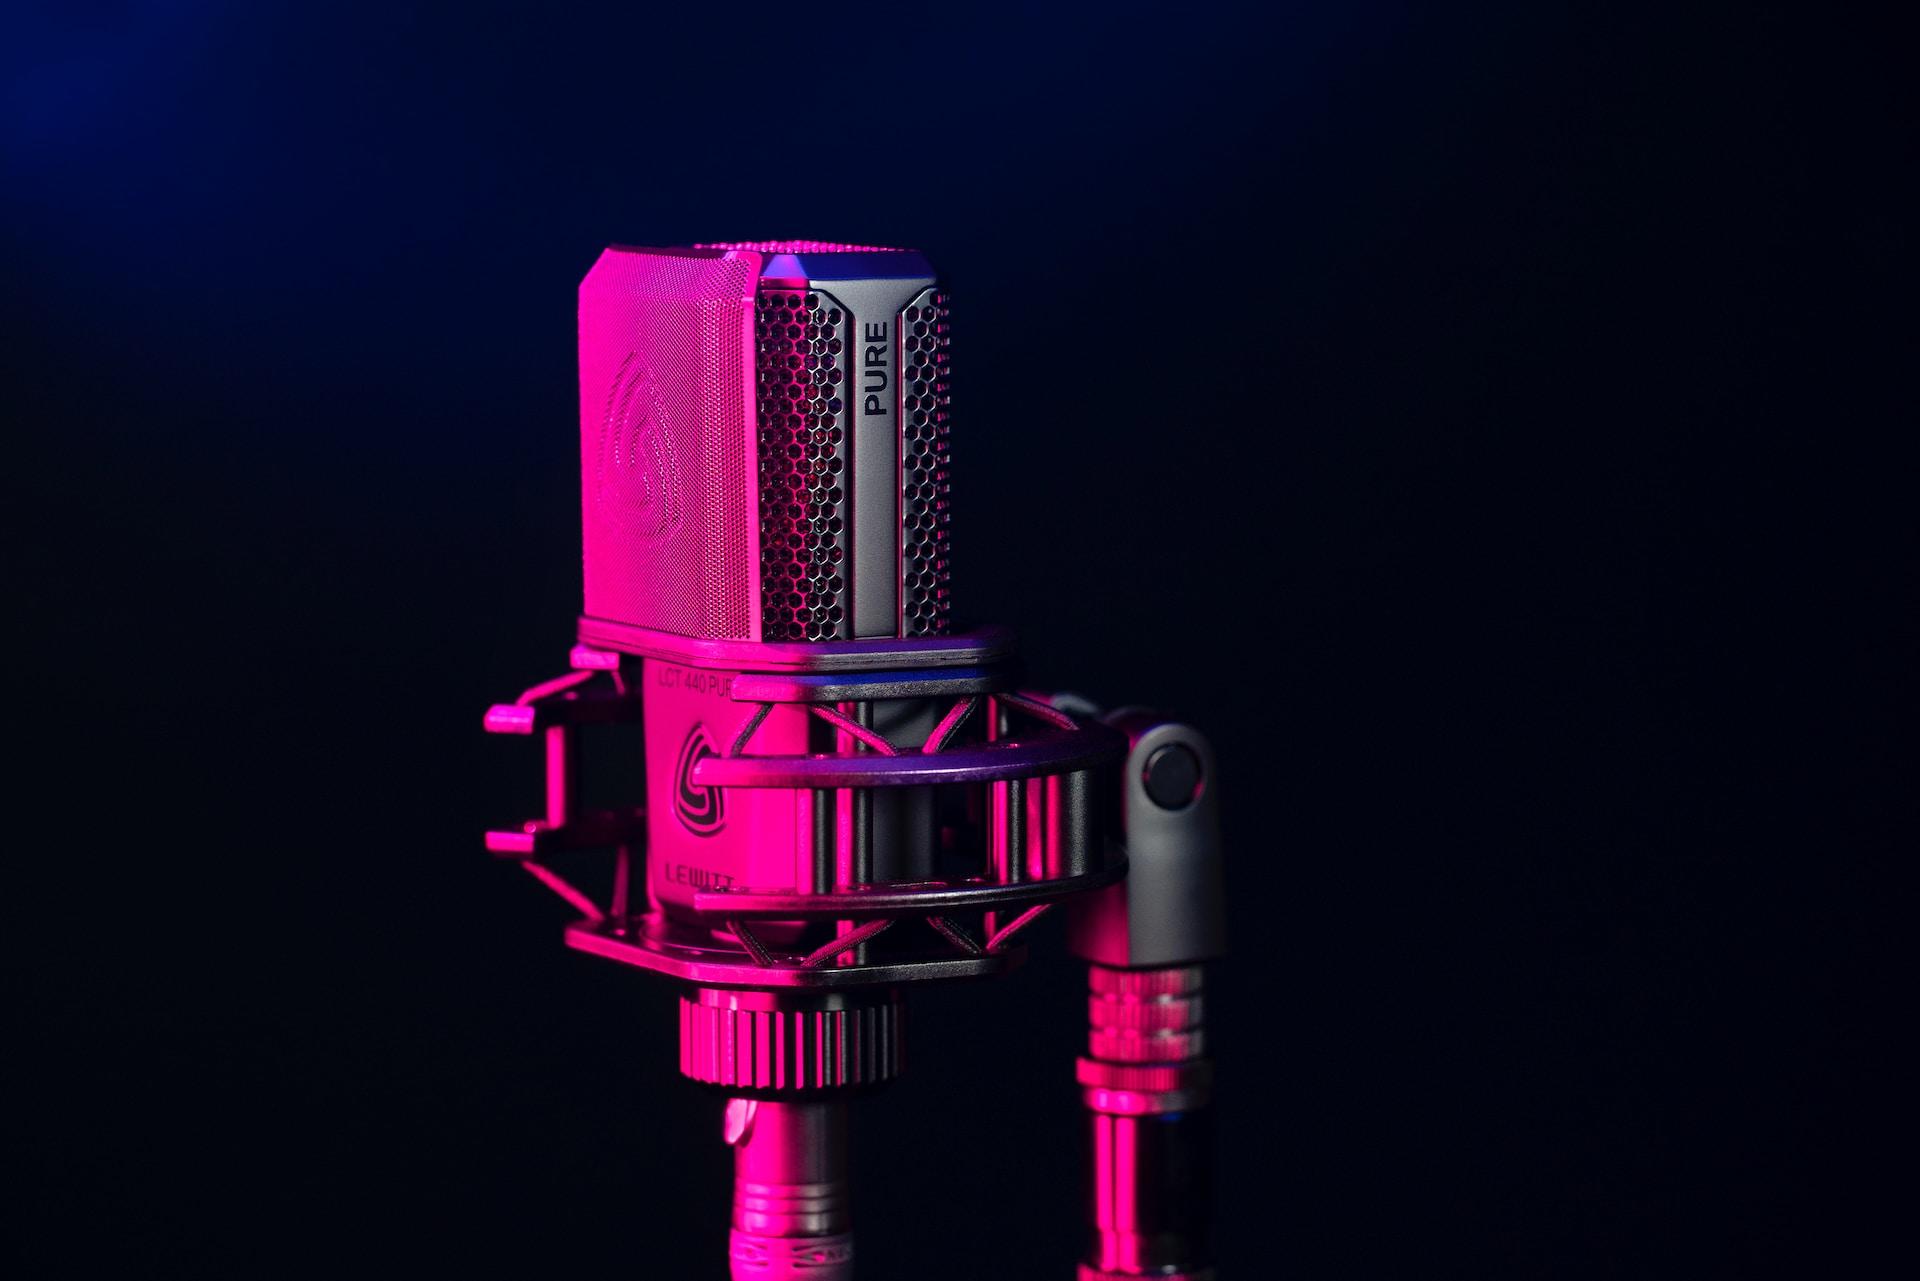
- Condenser microphones: These are more sensitive and accurate, capturing a wide range of frequencies. They require power (usually coming from a mixing desk) and are commonly used for studio vocals, acoustic instruments, and capturing detailed audio. They are more fragile so are rarely used in live environments. That’s not a problem for making studio recordings.
- Ribbon microphones: They have a vintage sound and are known for their smoothness and warm tone. They are delicate and require extremely careful handling, and they’re also expensive. Ribbon microphones are sometimes used for recording guitars, and brass instruments, plus capturing detailed sounds, but their price means they are rare.
So, from this, you can deduce the fact that condenser microphones are the most common for vocals. The pickup pattern they are using is also very important. Some microphones have switchable patterns, also called polar patterns, so ensure the singing mic is set to the right setting.
Uncover the emotional depth of your singing and connect with your audience on a profound level through singing lessons.
Cardioid is the most common way to record. This captures sound primarily from the front and rejects sound from the sides and rear. It is suitable for single-person recordings or when you want to minimise background noise.
Omni-directional. This pattern captures sound equally from all directions. It isn’t too popular for vocals, but for some uses like recording a choir it might be useful.
Figure of 8 (bi-directional) captures sound from the front and rear while rejecting sound from the sides. It is useful for recording two sources facing each other, such as interviews or possibly duets, though it is far better for each vocalist to have their own source.
Achieve your singing aspirations, whether it's mastering a challenging song or excelling in auditions, with the aid of singing lessons.
Setting Up a Microphone For Recording
Unless you are using a USB microphone, it is rarely a case of “plug in and go”. There are more considerations regarding setting up a mic for singing, and this becomes even more complex if there is also a live band. However, it is not unusual for vocals to be recorded separately and after the rest of the track is finished.
Setting up a microphone for recording includes:
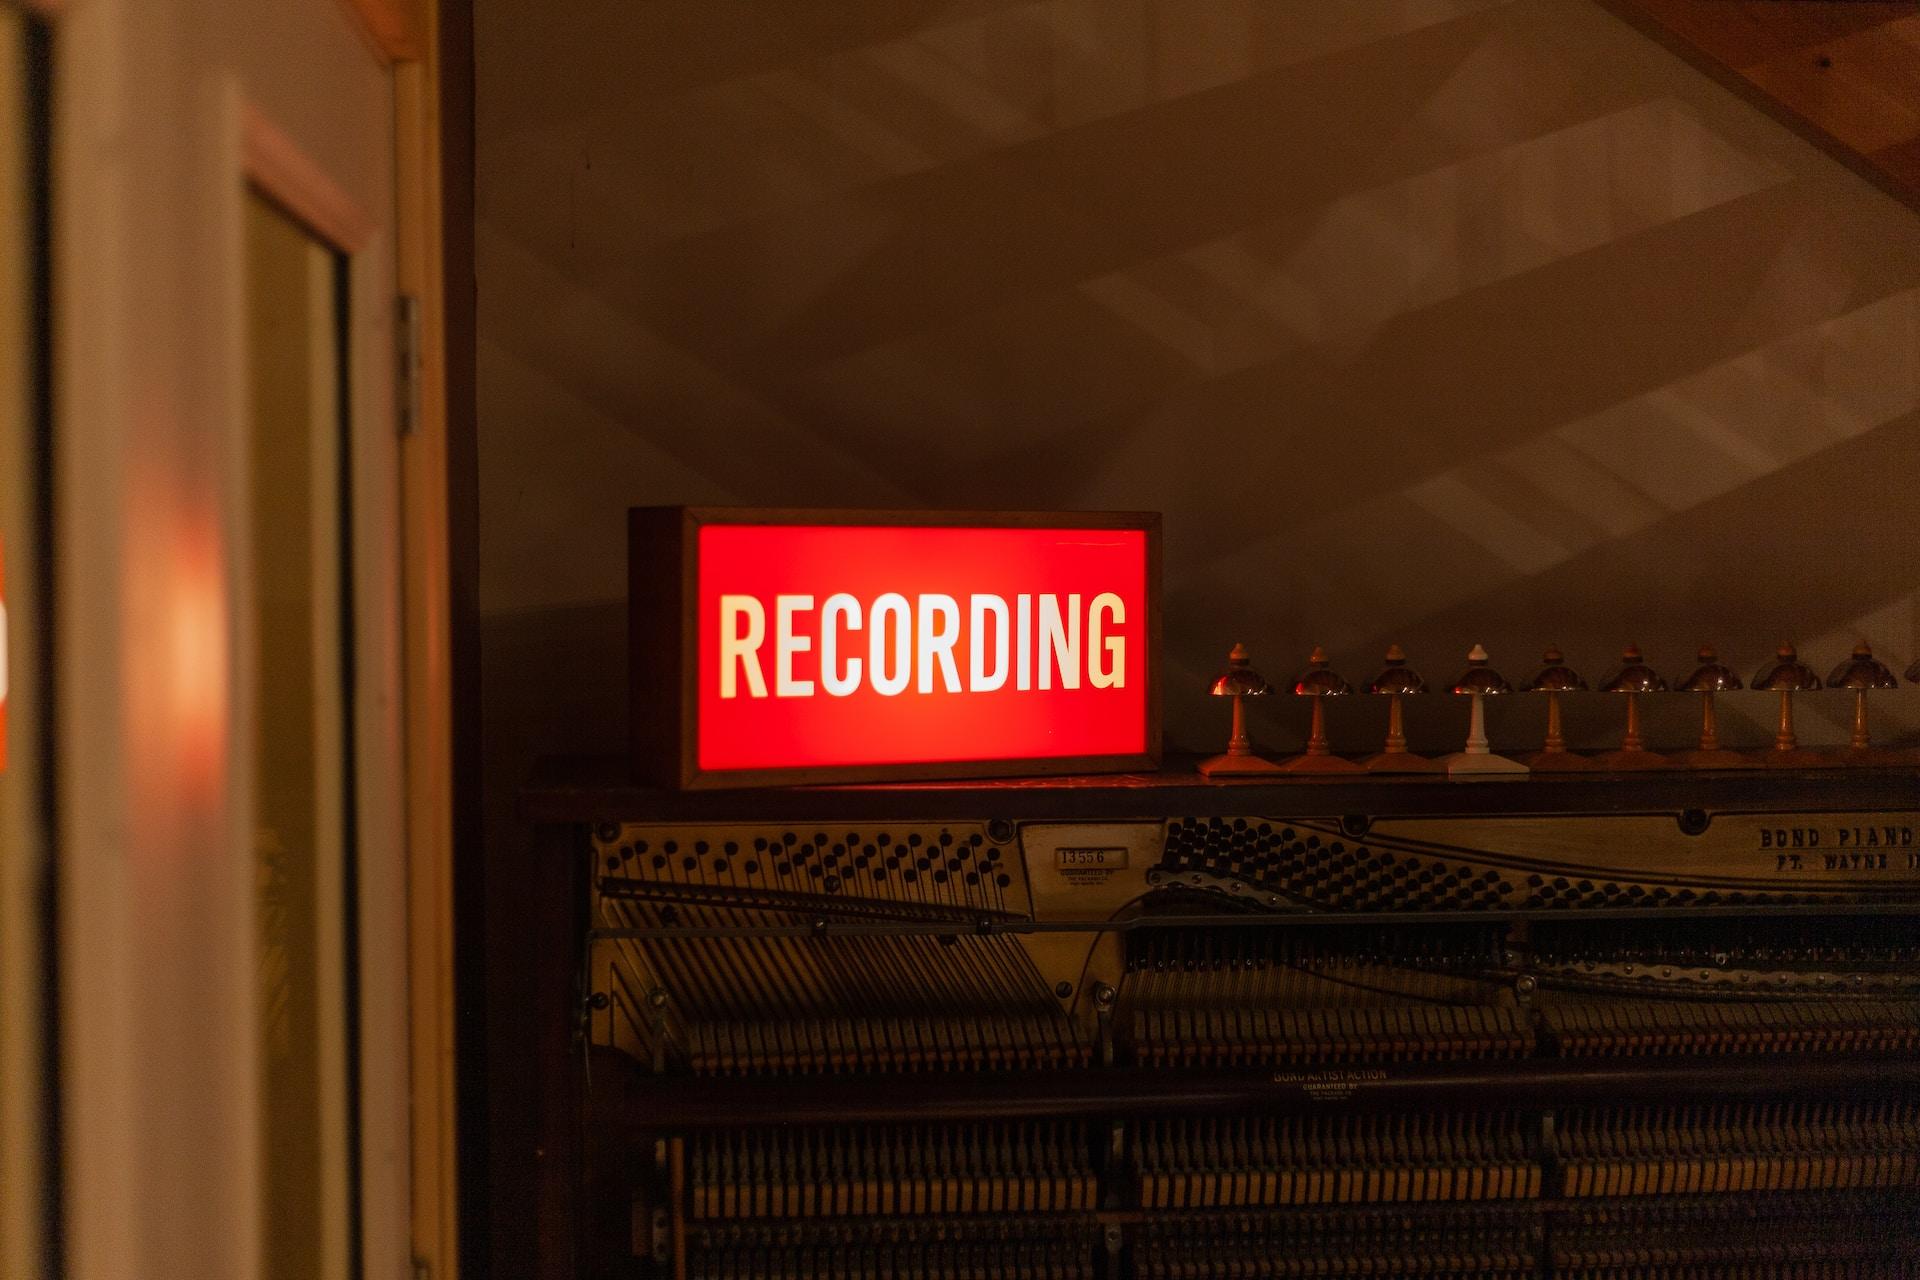
- Choose a suitable recording environment. If you don’t have a studio to record in, this means finding a quiet room or space for recording vocals. Minimise background noise as much as possible by turning off fans, air conditioners, and other sources of noise. Wherever possible, use soundproofing techniques like acoustic panels or blankets to reduce reverb and echo. These can always be added in at a later date if we want to use them as an effect.
- Position the microphone properly. Mount the microphone on a stand or microphone boom arm. Holding a microphone is not a good idea for recording as it results in inconsistent levels and potential noises from the handling of the mic. Position the microphone at a distance of about 6 to 12 inches (15 to 30 cm) from the singer's mouth, but this can vary depending on the microphone and the desired sound (for instance, singing close to the microphone can give more of an intimate sound).
- Consider pop filters or windscreens. Attach a pop filter or windscreen to the microphone. These accessories help reduce plosive sounds (such as loud overpowering "p" or "b" sounds) and prevent excessive breath noise from reaching the microphone.
- Connect the microphone. Depending on the type of microphone, connect it to your audio interface or recording device using the appropriate cable. For XLR microphones, use an XLR cable fed into an audio interface or a mixing desk, and for USB microphones, connect them directly to your computer.
- Set the microphone gain. Adjust the gain or input level on your audio interface or recording device. Start with a low gain level and gradually increase it until the vocal recording is at an optimal level. Don’t overload the mic as this can cause distortion.
- Use headphones or studio monitors to listen to the vocals and see how they sound. This means that the engineer can make adjustments on things like the gain levels or even reposition the mic.
- Test out your setup. Before starting the actual recording, have the singer perform a test recording or sing a few lines to check the microphone setup and audio quality.
- Record and evaluate: Once you're satisfied with the microphone setup and audio quality, proceed with recording the vocals. Monitor the recordings closely to ensure they meet your expectations. Make adjustments as needed during the recording process to address any issues that may arise.
Your singing mic should now be ready to use, and to experiment with. It is crucial that anyone recording audio spends time getting to know their equipment and what works best for recording vocalists.
Singing lessons offer constructive feedback and valuable insights, helping you reach new heights in your vocal performance.
Tips and Techniques For Recording Vocals

If you are an engineer looking to record vocals, there are some crucial tips that can be used in order to try and get the most out of your performer and from the studio space.
Most of these tips also apply if you are recording yourself. In the modern age, people can buy relatively affordable home studio setups and get to grips with enough recording techniques to make quality or even professional recordings. Many artists have recorded whole albums in their own homes. Justin Vernon (Bon Iver) recorded a full album in a hunting cabin in the woods.
Either way, the tips below can help to ensure that you get the best results:
- Ensure the vocalist has warmed up. This will end up getting far better results, even if it is just a couple of practice run-throughs of the song. As a bonus tip, always record these practices as sometimes you strike gold.
- Pay attention to the proximity effect. Depending on the mic type and polar pattern, the proximity effect can boost the bass frequencies when you sing closer to the microphone. Use this to your advantage if you want a warmer and more intimate sound, but be mindful of potential boominess or a muddy sound.
- Think about the distance from the microphone. A mic will stay stationary while the recording takes place. The vocalist should keep a consistent distance from the microphone to ensure a balanced and clear sound. Experiment with different microphone angles and distances to find what works for their voice and desired sound.
- Provide constructive feedback. It is unlikely that you’re going to nail it on the first try, so there will be many takes of the song. As a recording engineer, it is possible to provide some feedback, though there is a fine line here, you don’t want to offend the singer. If you’re self-recording, be critical but not overly so. Make sure you find ways to improve for the next take, whether that is tweaking lyrics to be more understandable or changing vocal techniques.
- Use multiple microphones. As well as being a failsafe if anything goes wrong, you might find that you prefer the sound from one microphone over another. This is about more than just having a backup.
- Take breaks. A recording session can be long and difficult, the vocalist is putting in a lot of effort and without breaks it is likely that the quality will gradually decline and they will fatigue. Make sure that you don’t push the vocalist too hard as this will rarely end in good results.
Making Quality Vocal Recordings Every Time
Over time, it is possible that you will discover exactly what works for you, whether you’re recording your own vocals, a bandmate’s, or a total stranger’s. The equipment choice as well as the techniques used all play a part in the recipe for a perfect song, and just like playing an instrument, recording requires practice to get things right.
Summarise with AI:
Did you like this article? Leave a rating!


