
As a student knuckling down in preparation for the GCSE exams, you’ll know all too well how stretched you can be for time. To the delight of geography students across the UK, there are certain sections of the paper that are guaranteed to feature on the exam paper each year.
This means that provided that you prepare accordingly, you can have a portion of your desired grade in the bag in advance. Year in and year out, the GCSE geography paper assesses students on their ability to construct and label their own Maps on their answer booklet.
In this article, we’ll run through how you can ensure that you manage to avail of these marks in the exam hall. By the time you wrap up your reading, you should have your sketches ticking all the boxes in the examiner’s marking scheme and be well on your way to achieving whatever grade you have set yourself the task of attaining.


Understanding the Basics of Geographic and GIS Maps
🗣️ Student Insight
👩🏫 Blogs From Teachers
🗒️ Assessments
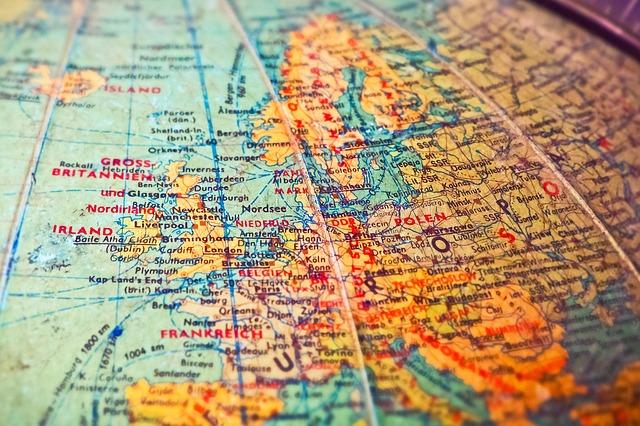
It’s important to arrive at an understanding of the importance of maps beyond their potential to catapult your grade in GCSE geography. They have the capacity to tell us so much about the Earth’s surface and convey information about roads, urban areas and amenities, allowing us to navigate and plan effectively.
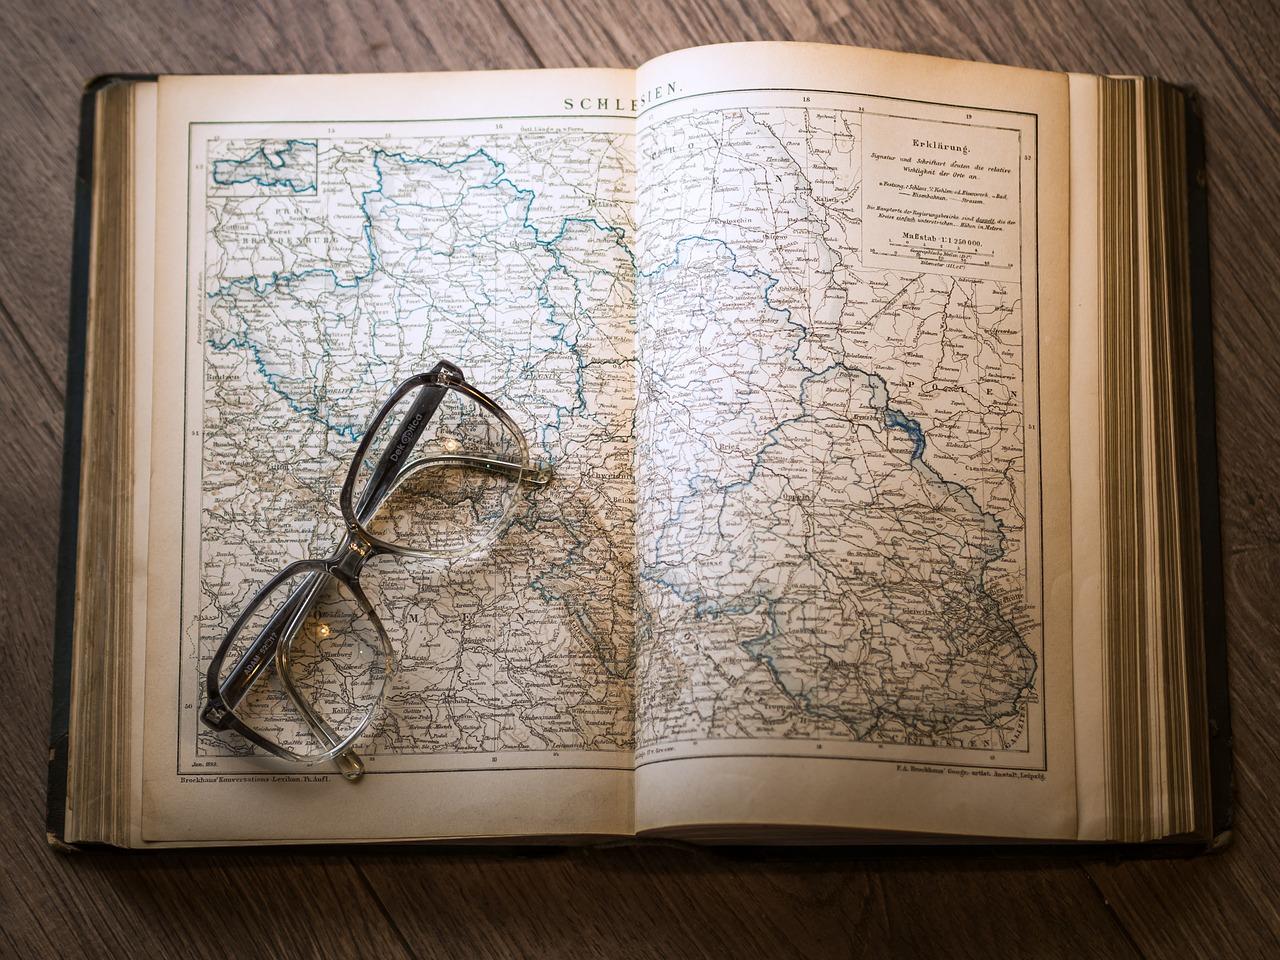
The sketch maps that you’ll be required to draw for your GCSE geography exam are illustrations that display characteristics of the terrain in ways that would otherwise be hidden on traditional maps or photographs.
So, by spending a few minutes flicking through past exam papers, many of the questions will ask you to include a particular feature on your sketch map or photo, so you’ll need to familiarise yourself with the various symbols to ensure that you come out with full marks!
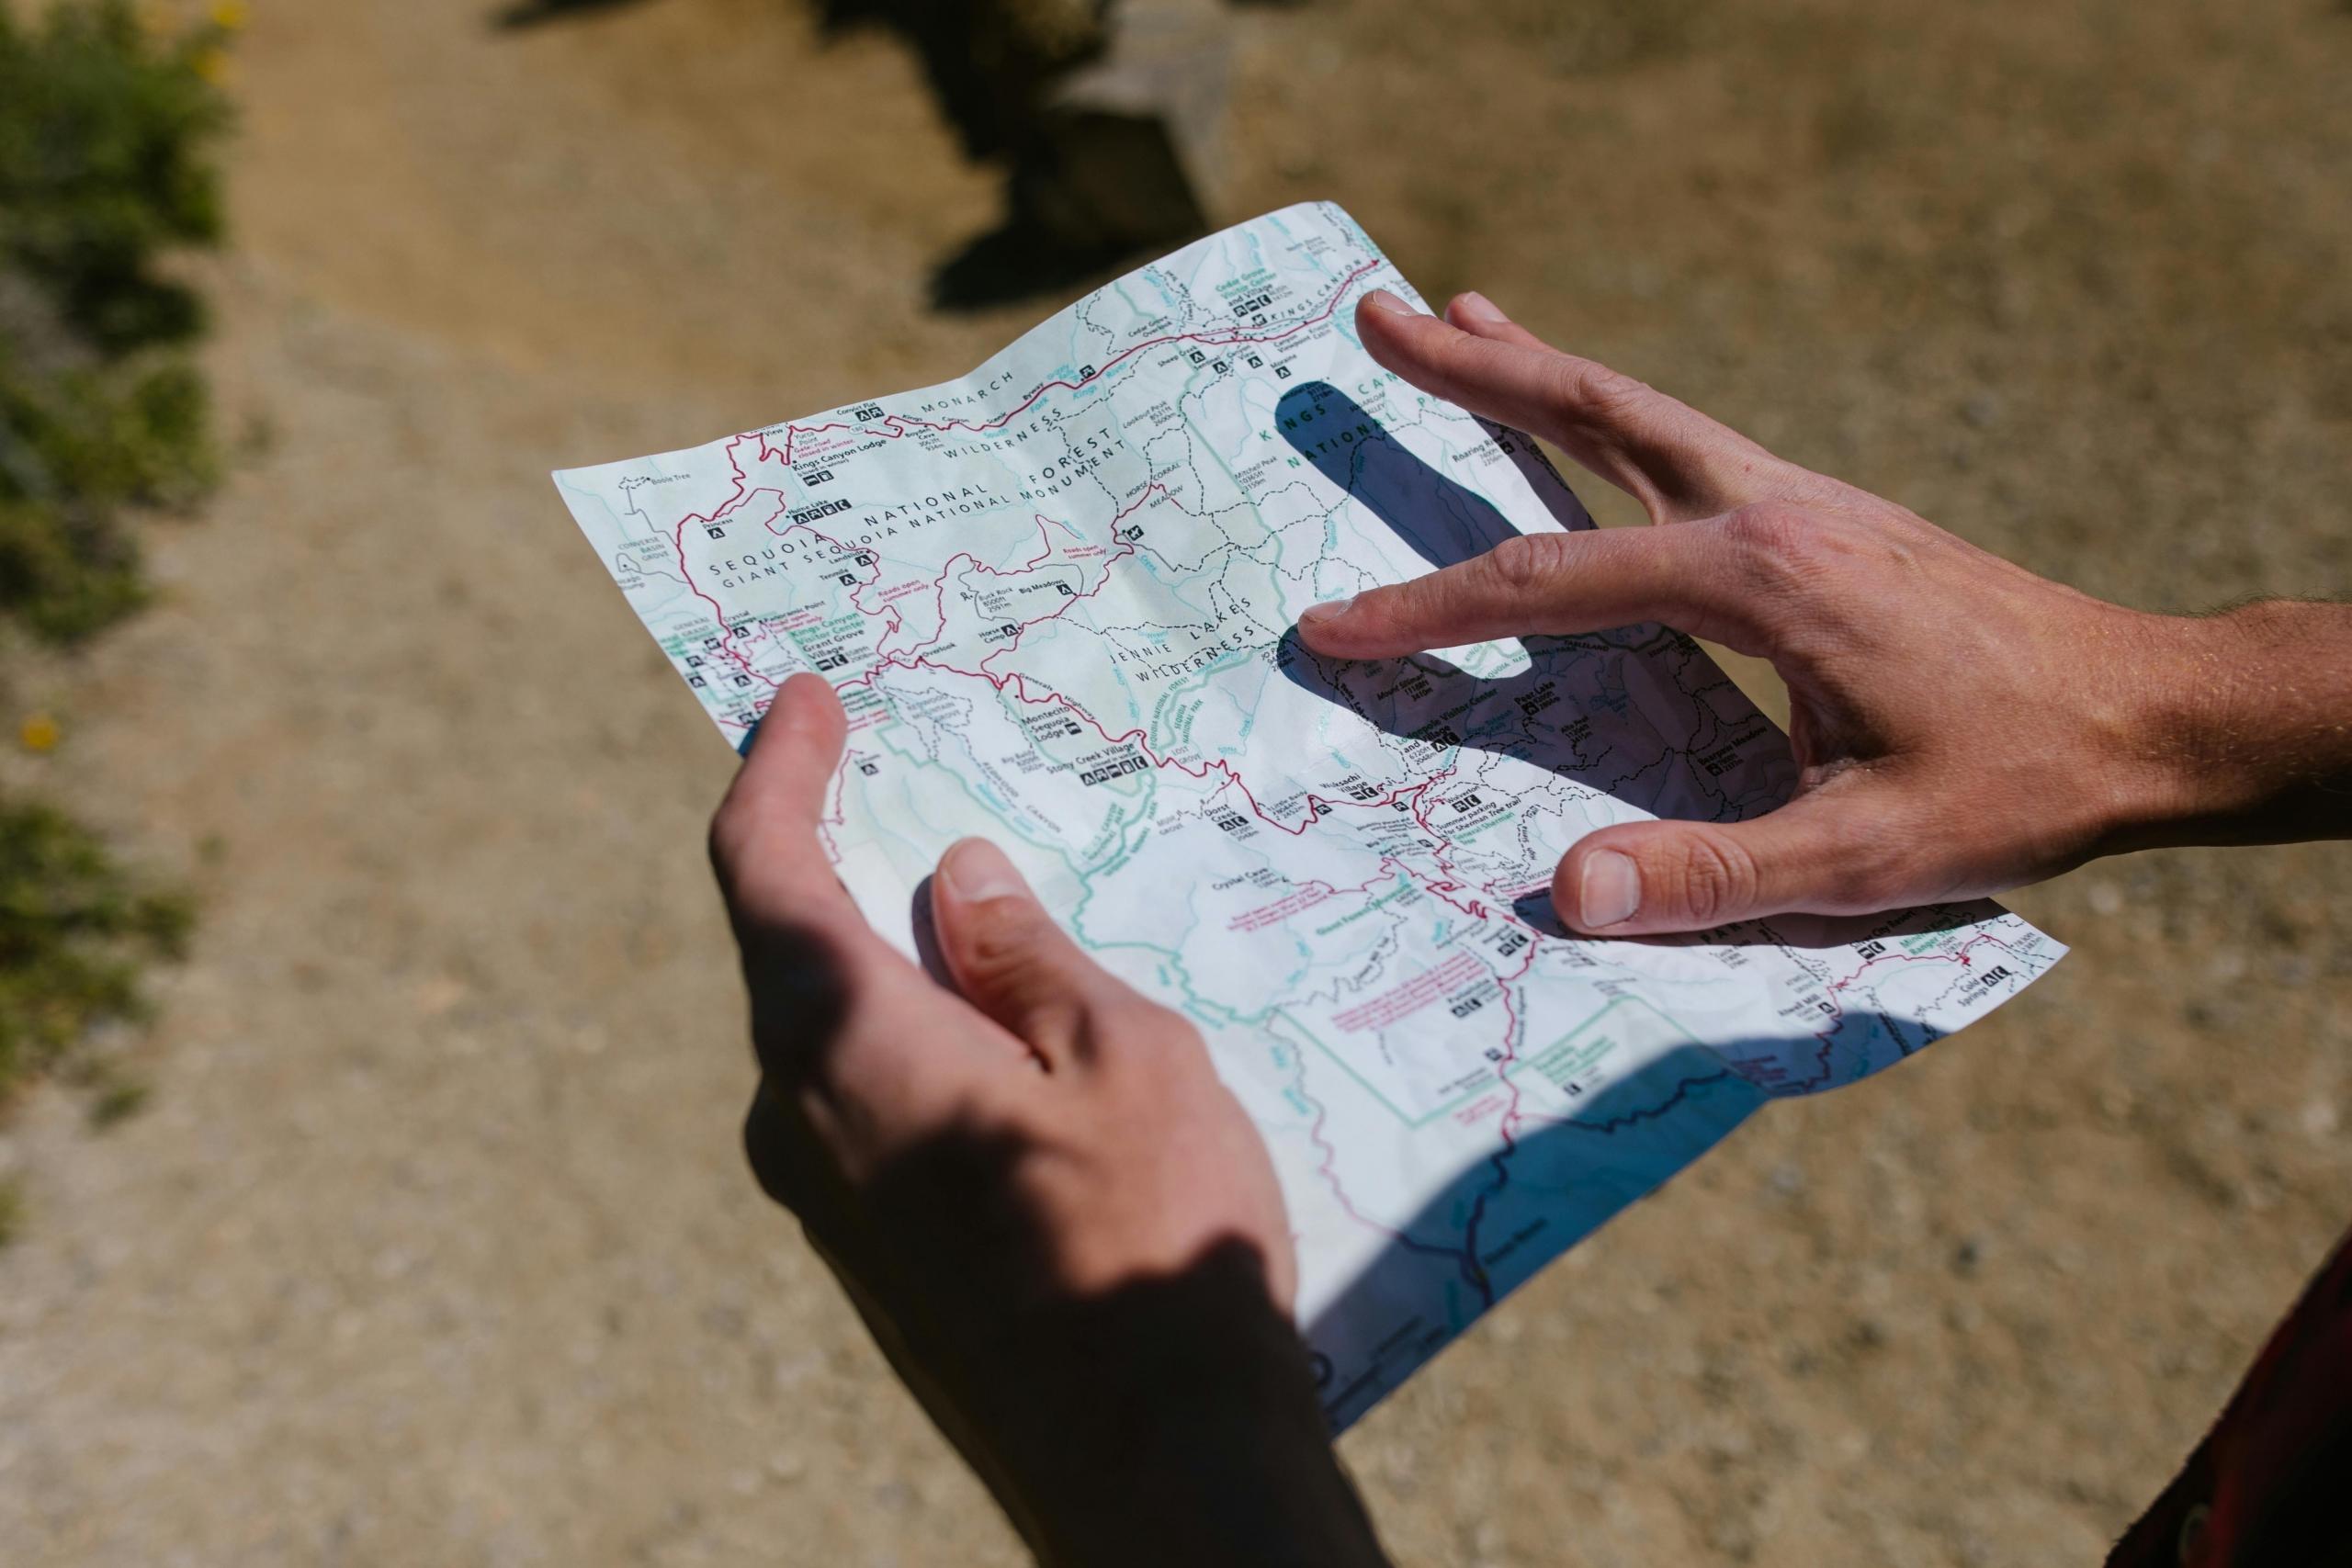
These sketches aren't just important as a means of boosting your grades; they actually serve as a valuable tool for illustrating intricate details about a particular area.
Make sure to have a fully stocked pencil case at hand, as you’ll need to illustrate many details through shading, allowing those who read your map to interact with the data you’re looking to communicate through your sketch map. When sketching your masterpiece, you’ll need to keep the appropriate symbols in mind, correct scaling for showing distances and place a compass in the corner to show the direction.
When it comes to sketching a GIS map, the process might look a little different. First of all, instead of being filled with bright colours, you’ll want your pencil case stocked with a variety of different shades of pencils, along with a reliable eraser to get you out of trouble if you make any errors along the way!
Given the complexity of these maps, you may also have some more work cut out for you when it comes to creating a legend to accompany your sketch. A ruler is most certainly a must, as not only will you have to keep your lines straight, but you’ll need to trace and transfer features from one map to another!
Developing proficiency in key cartographic and geographic skills for GCSE is fundamental to geographical analysis.
Techniques for Sketching Geographic Maps
🦅 Bird's-eye View Sketching
↔️ Horizon View Sketching
✍️ Details and Annotations
Okay, so you open up your GCSE geography exam paper, and as expected, you see the question you’ve been baking on has appeared.
Before you get ahead of yourself and begin working your way through the question, there are a number of standout features that you’ll want to keep in mind in order to show the examiner that you’re deserving of the top marks. Your map is going to need to communicate the required spatial data effectively, so let’s look at some of the key techniques for crafting a hand-drawn map for the exam.
Bird's-eye View Sketching
Many of the maps that have been asked about throughout recent years of the GCSE geography paper have been birds-eye view sketches, which is basically a fancy way of saying that the sketch is to be taken from an overhead view.

To get started, you should always begin by splitting your page into four sections with a faint sketched line, allowing you to have a better idea when it comes to scaling your sketch and ensuring that your features are kept in proportion.
The next thing you should do is fill in and symbolise any key elements of the terrain, such as any hillsides, valleys, pathways or structures.
Make sure to always keep the examiner and marking scheme in mind when going about your sketches!
It’s more likely that the marking scheme rewards students with marks for the arrangement and spatial connections, so this should be your priority instead of getting caught up in small details. Grasping the fundamentals of Ordnance Survey map interpretation is vital for excelling in your geography fieldwork!
Horizon View Sketching
In contrast to the overhead view, you can also be asked to construct your sketch from the ground level using a method known as horizon view sketching. This is a great option when it comes to capturing elevation shifts and highlighting the aspects of features that might be hidden from up above.
If this question is featured on your exam paper, then your approach will shift as you want to start your sketch by filling out the skyline and front view. From here, you can start filling out all of the key elements of the scene, such as any hills, forests or buildings.
One area that students tend to fall short on in this sort of sketching is the skill of depicting depth. You don’t need to be an art student in order to get full marks; you just have to use some key perspective tricks, such as making things in the distance appear smaller than those in the foreground of your sketch.
Adding Details and Annotations
There are plenty of marks up for grabs when it comes to adding details and annotations to your sketches. So naturally, this is something that you are going to want to get into the habit of doing effectively in advance of stepping foot in the exam hall.
Adding details and Annotations will also help your examiner navigate your sketch and identify key components so that they can award you the marks you deserve for your efforts.
You’ll need to use your initiative too! When tasked with sketching a region of interest for purposes like tourism, you’ll want to consider highlighting key aspects such as popular tourist attractions or regions influenced by visitor interactions.
Creating GIS Maps: A Step-by-Step Approach
If when you open your paper, you are met with the task of sketching a GIS map, then you’ll need to adapt your process somewhat if you’re looking to come out with a top grade.
Your sketch will need to be accessible for the examiner so that they can extract the data and insights that have been outlined in the question.
If your examiner has to squint their eyes when looking at your map or spends a great deal of time trying to make sense of it, it will hurt you when it comes to grading your paper.
Grasping the fundamentals of geology map analysis is essential for comprehending complex geological processes.

Choosing the Right Basemap
The start of the process should always be picking the right base map to set the groundwork for your map with coordinates. You should always aim to go with a base map that complements your data as opposed to one that might overshadow it.
When it comes to GCSE Geography, urban development is one of the most commonly assessed themes, so a light grey canvas base map would be perfect because it gives some context without taking from your data’s importance.
Adding and Styling Layers
Once you’ve got your base map nailed down, the next logical step would be to shift your focus to mapping your data. This is an important stage that will not only impact how your map looks but also how it is graded!

This basically involves incorporating your data layers onto the map and tweaking them to convey your message effectively to the examiner. Many aspects of this will be familiar from previous techniques we’ve covered so far, such as choosing symbols and colours and ensuring that the features included are sized proportionately.
It’s all about how you communicate your data. So, if you’re tasked with depicting population density on a map of a city or the United Kingdom as a whole, then using circles of varying sizes could be one avenue you might want to go down when it comes to depicting population.
Working on Your Sketching Skills
Equipped with an understanding of the importance of maps, their potential to boost your GCSE geography grade, and the techniques needed to satisfy your examiner, you’ll have a newfound sense of confidence stepping foot inside the exam hall.
Regardless, if you flick through the exam paper and find that you’re tasked with creating overview sketches or GIS maps, you’ll be able to describe the respective terrain and express your data effectively. When determining how you should be using your time as the exam approaches, this is definitely an area where your preparation will be rewarded.
If you’re looking for an edge in your preparation or a helping hand to guide you through your learning, you could get a lot of value from reaching out to one of the qualified tutors on Supeprof. By inputting geography and your location on the homepage, you’ll immediately be presented with plenty of options to start your learning as soon as today!
Summarise with AI:
Did you like this article? Leave a rating!